“We live in a mad world where we have to ask the question…If the gluten’s free, why’s the bread so expensive?” – Unknown
Seriously though?!? Lol, why is it that you pay $4 for a GF bun, and then the bun only falls apart when you go to take your first bite? Or it’s so hard that you may as well have paid $4 for a door stop. We’re fairly confident that if you’re reading this, you know exactly what we’re talking about! The hardships of a GF bun are ongoing and never seem to end – until now.
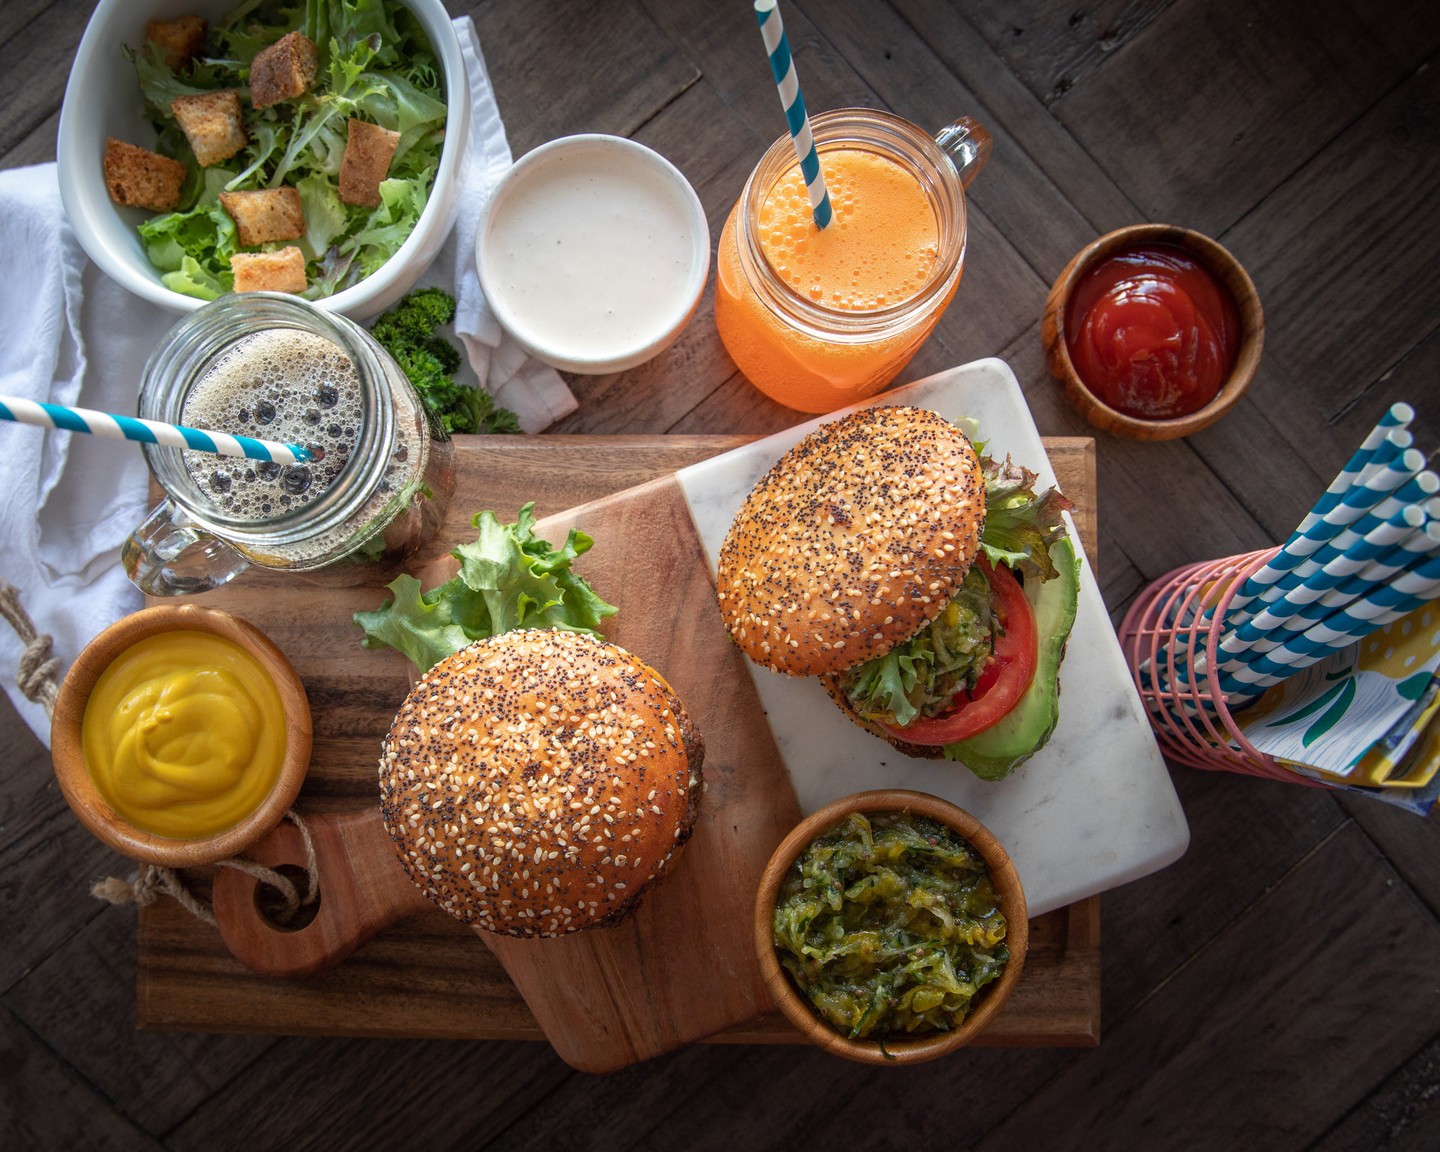
We are SO excited to share this recipe with you all. Never again will you be disappointed when you sink your teeth into your gourmet sandwich or freshly grilled hamburger! Never again will you have to microwave or grill your bun just so its barely edible.
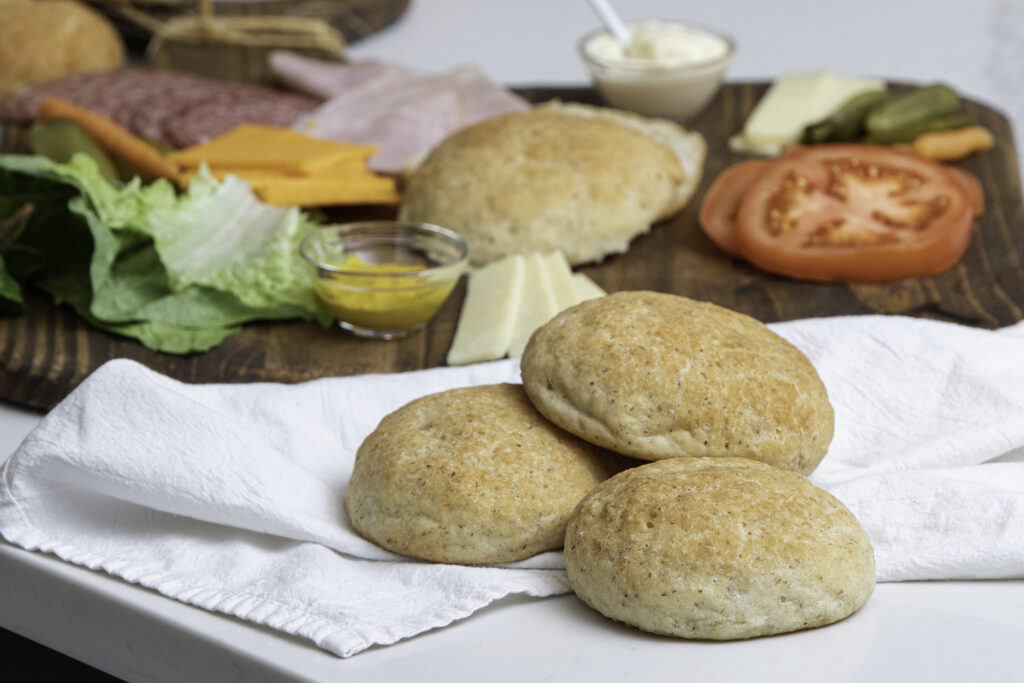
This recipe will allow you to enjoy fresh bread just as it should be! You’ll also be able to shape these buns into whatever type of bun you’re looking for. You can make incredible hamburger buns, hotdog buns, slider buns, sub buns….the list is as long as your creativity allows. The recipe is so simple that we’re sure you might never buy another GF bun again. Anyone can make these!
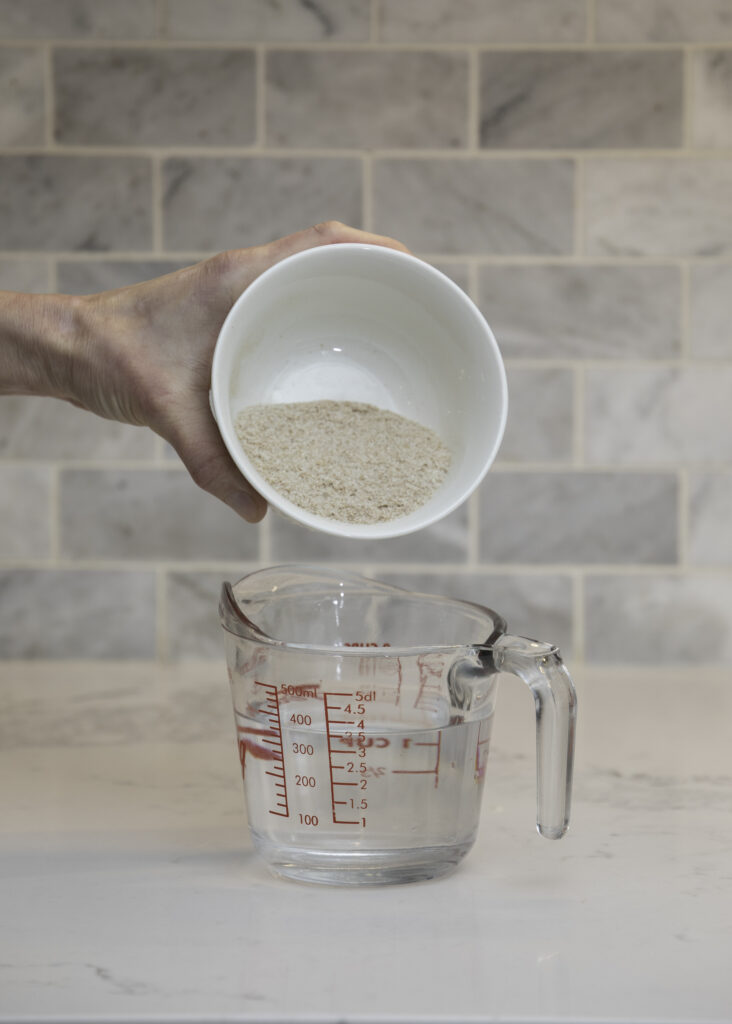
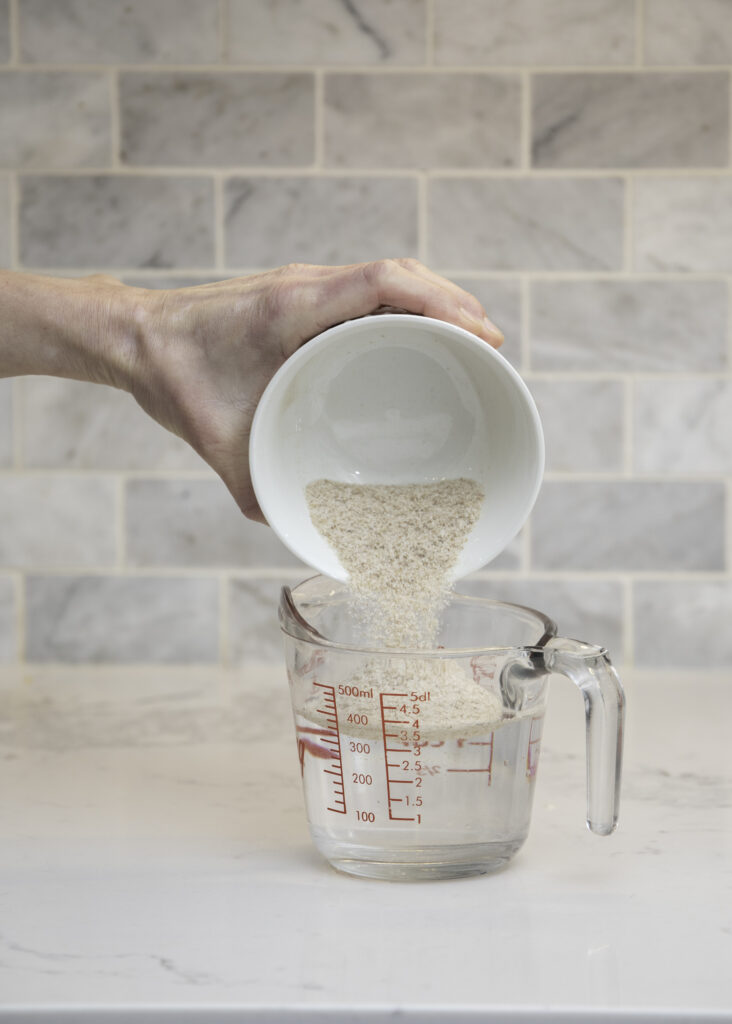
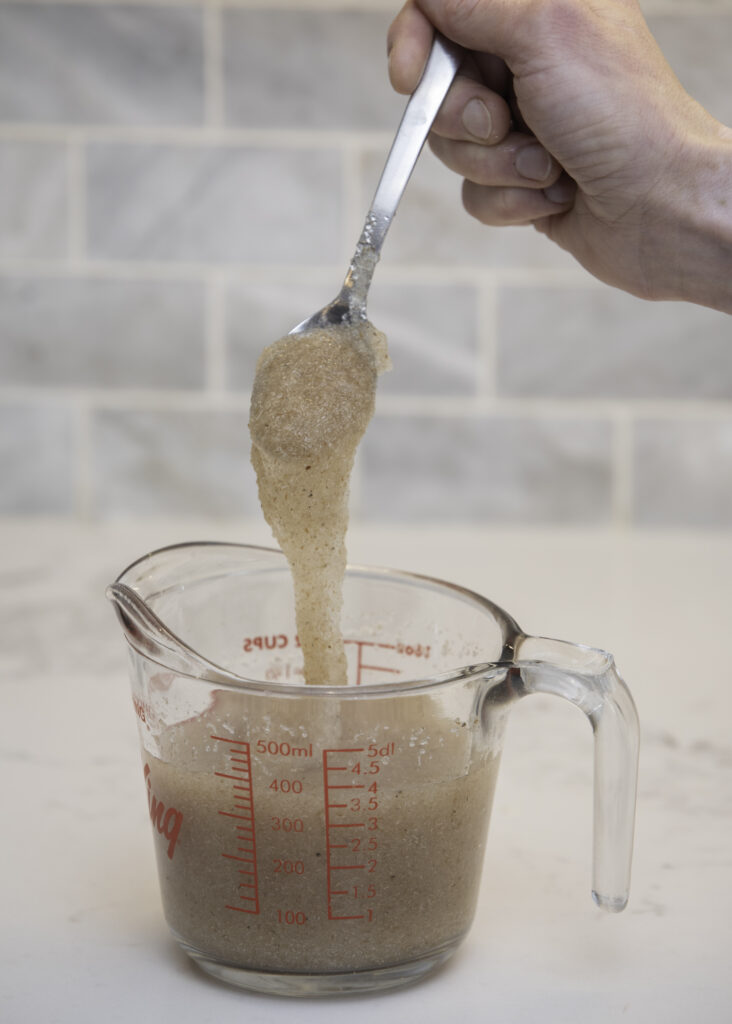
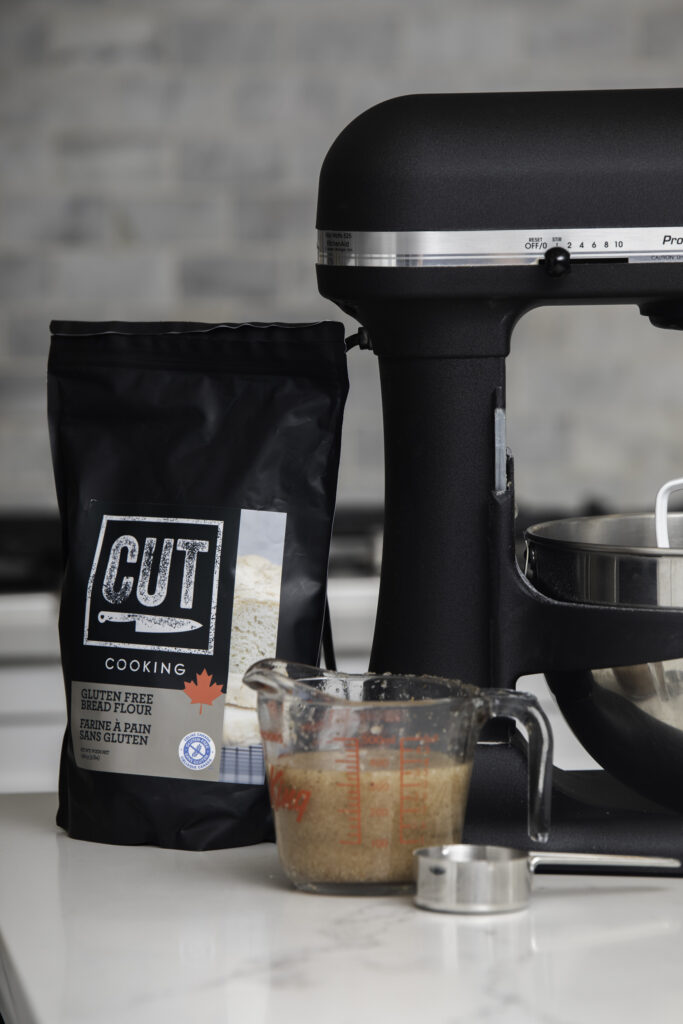
To get started, you’ll need CUT Cooking Bread Flour and another ingredient called whole psyllium husk. We’ve used this before in our pizza crust and cinnamon buns…This magical unicorn ingredient is exactly that. There are no substitutions, it is what it is. If you’re doing any GF baking, this is something you’ll want to stock in your pantry. The psyllium husk will allow you to shape the buns and replicates the elasticity of gluten. This recipe for buns won’t work without it!
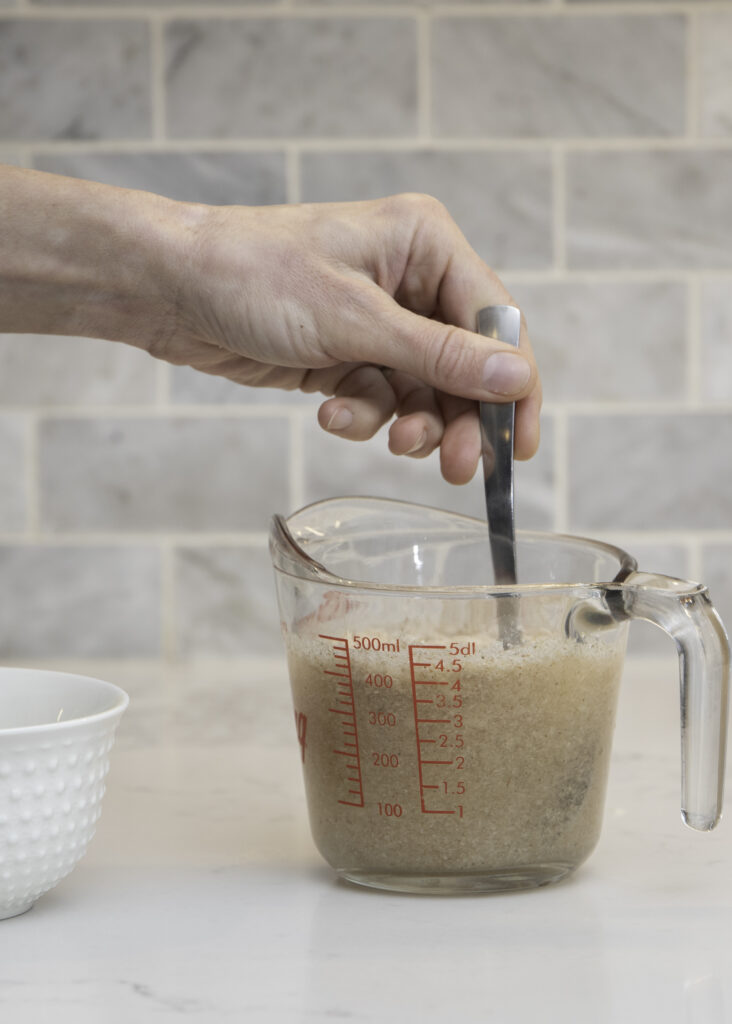
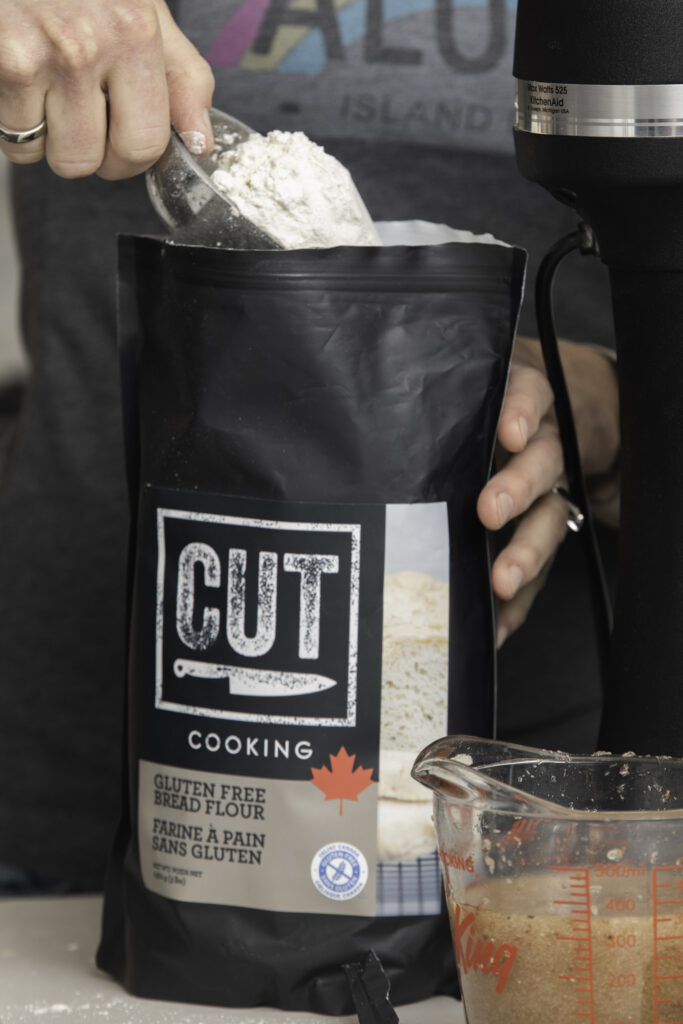
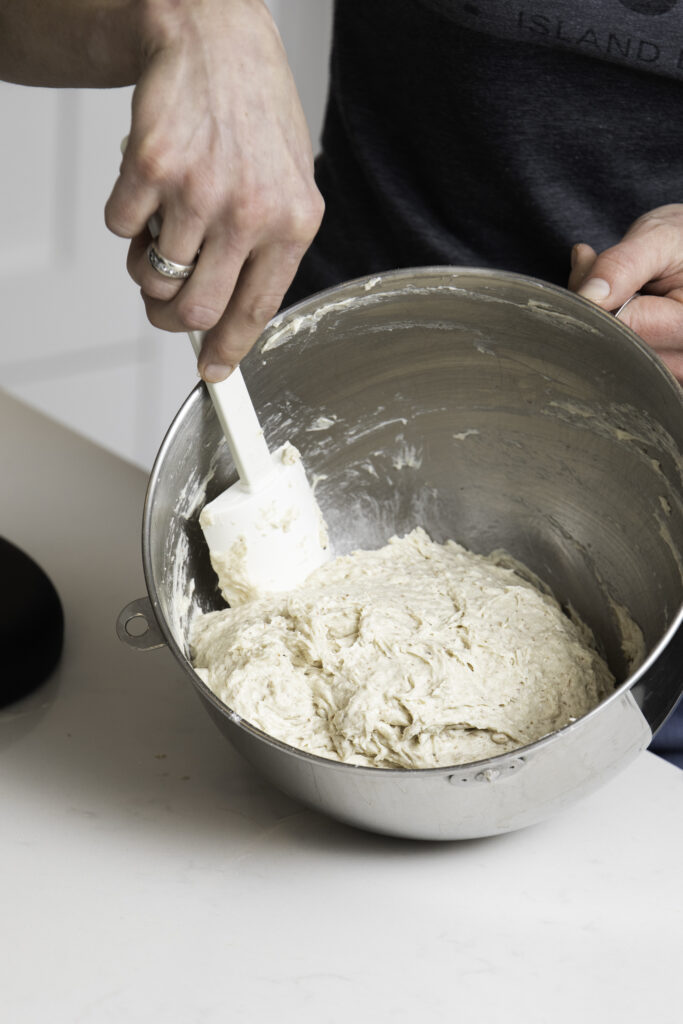
To start this simple recipe, you’ll make your psyllium paste. While it sits and rests, pull out your mixer. Using the paddle attachment, combine the CUT Cooking Bread Flour with the rest of the ingredients. Lastly, add the psyllium paste and mix everything together. Scrap the sides of your bowl a couple times, and let the mixer run on medium speed for about 2/3 minutes.
There’s not a lot of method to the mixing of dough but this next step is crucial to your buns turning out light and airy. The less you handle the dough, and the less additional flour added in the shaping process, you’ll end up having a much nicer bun.
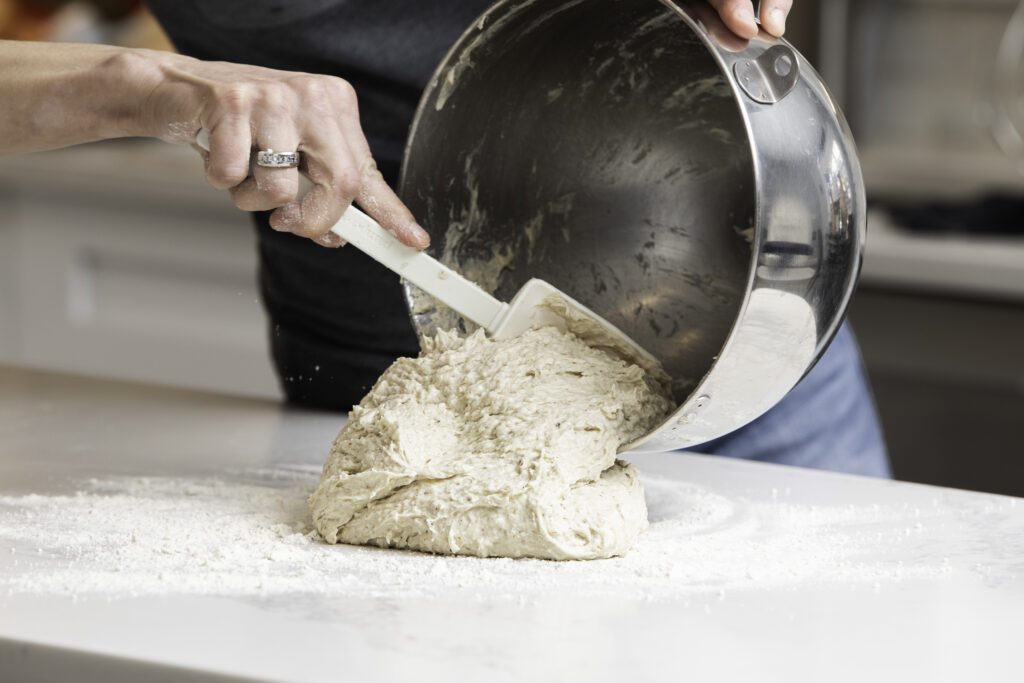
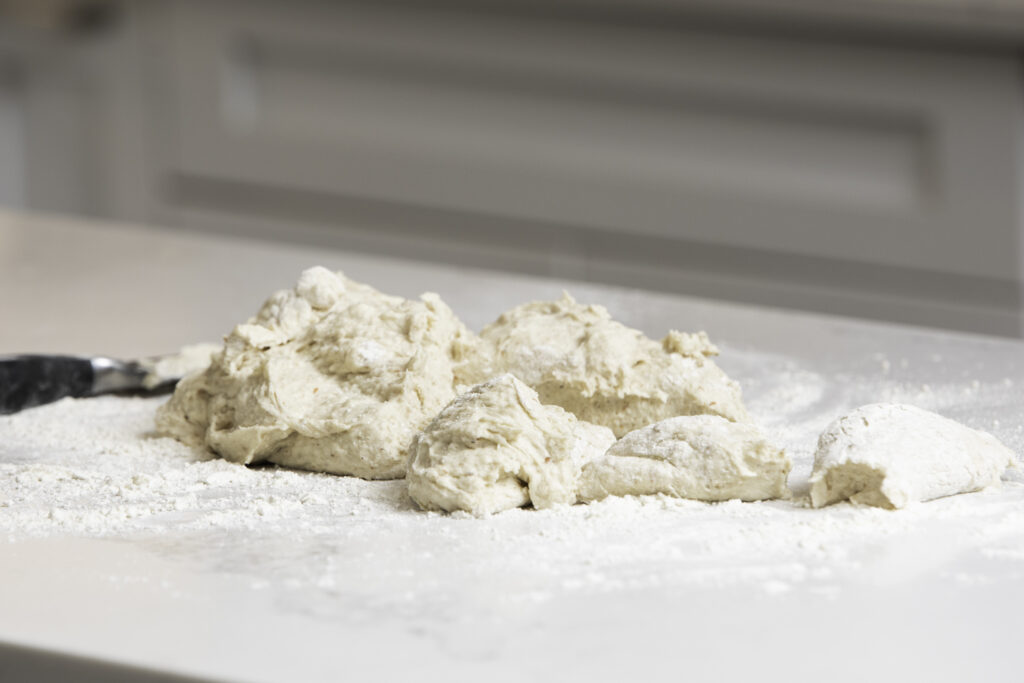
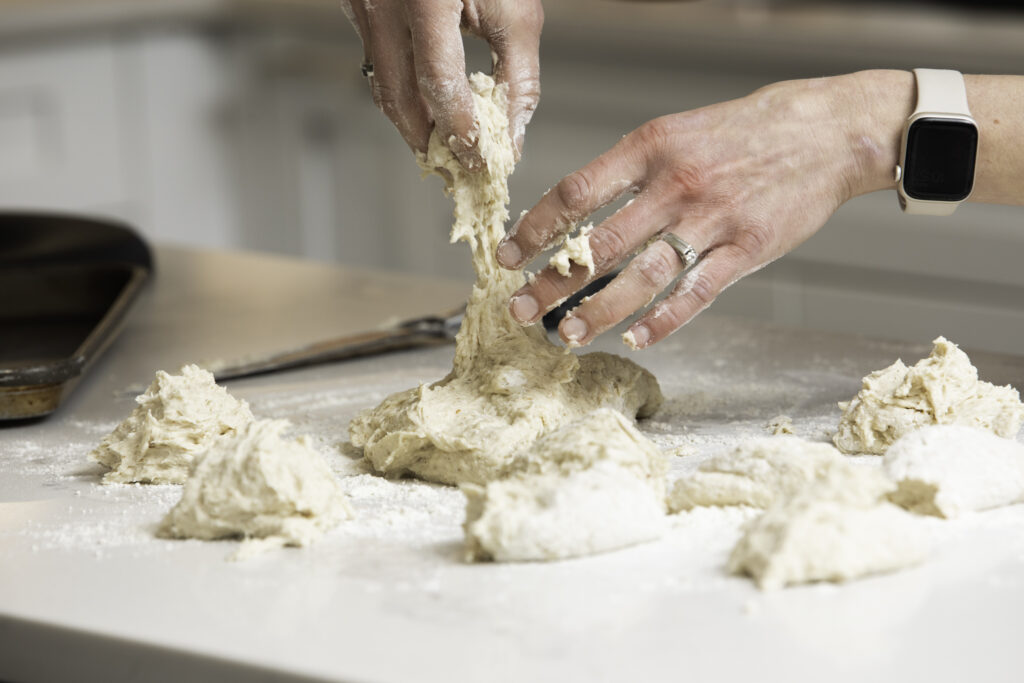
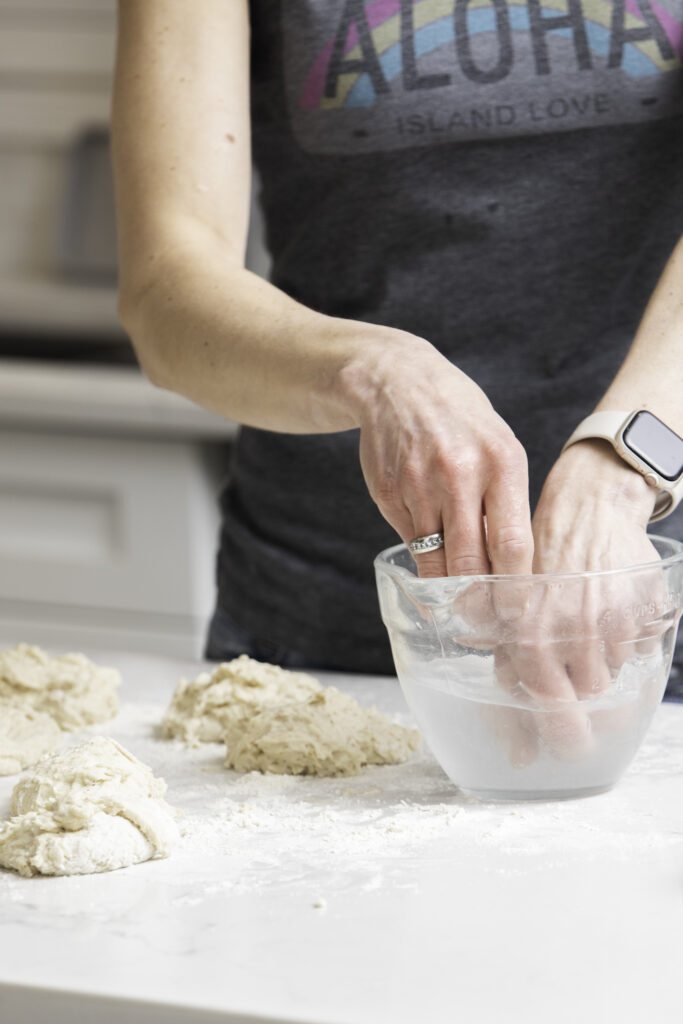
When the dough is mixed, lightly flour your working surface with CUT Cooking bread flour and transfer the dough from the mixing bowl. Divide the dough either with a knife or simply by hand into 12 equal parts. As we mentioned before, the less handling of the dough at this stage is important! Fill a small bowl with water as a “finger” bowl. With clean, wet hands, gently pick up a ball of divided dough and toss it back and forth between your hands. Shaping the dough and smoothing the outside of it.

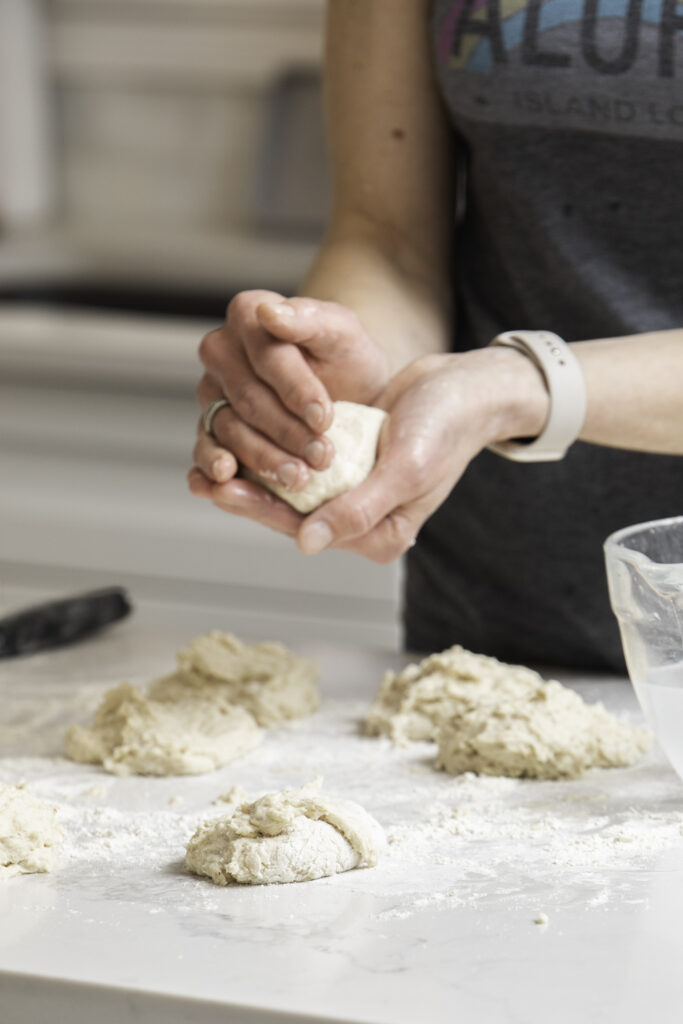
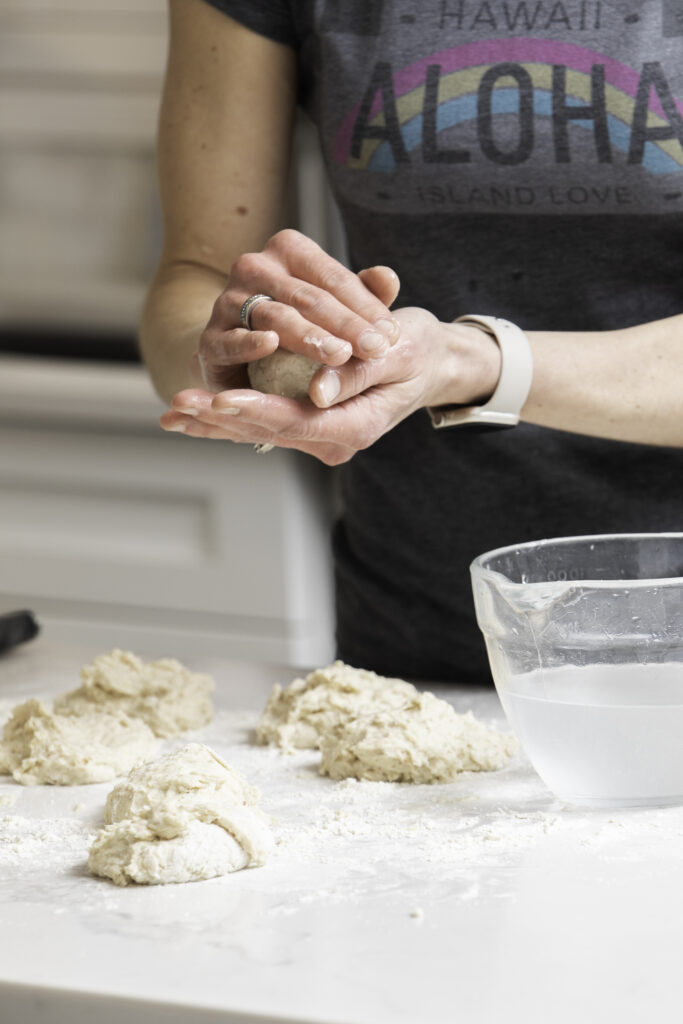
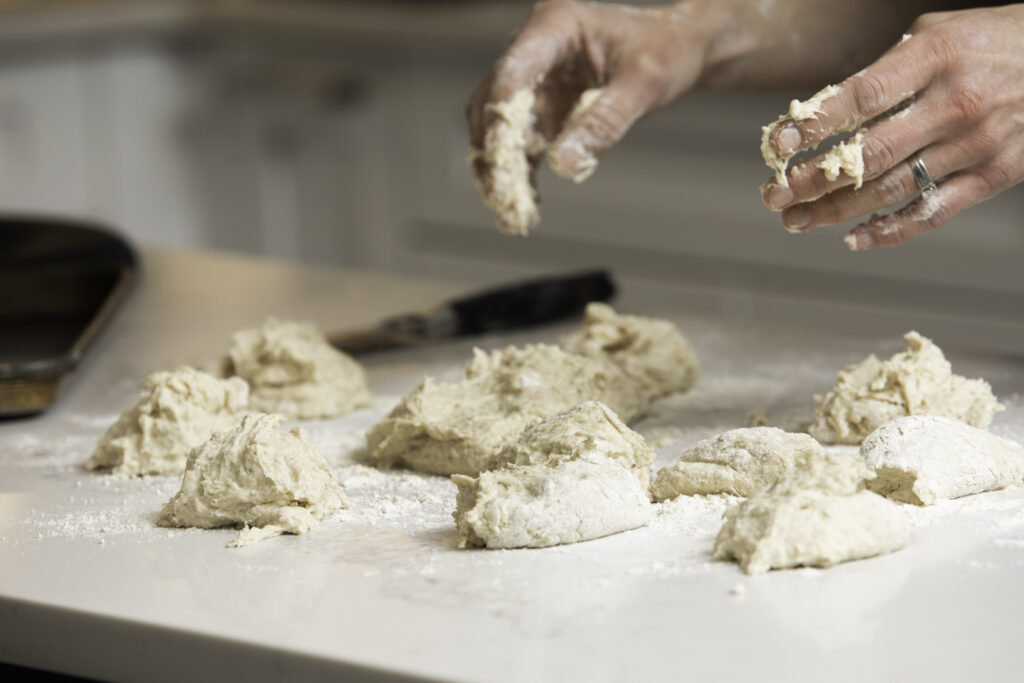
Once you’re happy with its form, lay it on a parchment covered baking sheet. Continue to do this until all the dough is shaped and resting on parchment lined, metal baking sheets. Ensure that you keep dipping and wetting your hands. This will ensure that the buns won’t stick to your hands and be smooth.
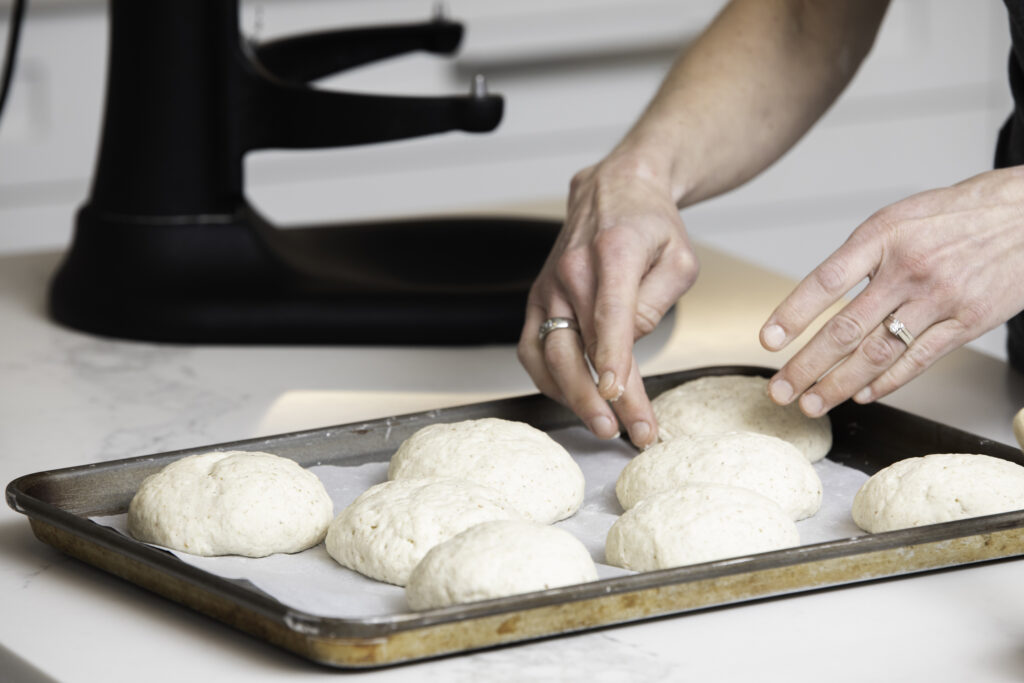
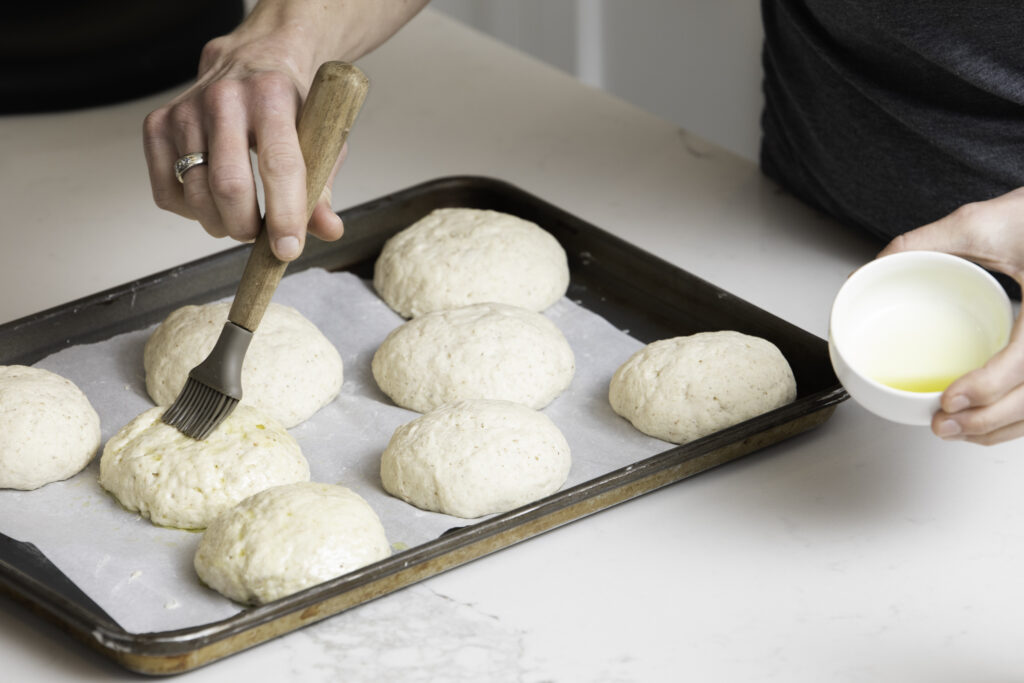
To give your buns a lovely golden finish, you’ll then lightly brush olive oil all over the top of the bun. Be sure to evenly cover the entire bun. If you miss a spot it will bake differently and the buns will look spotty on the top! Then they’re ready for proofing. You can either put them in a cool, barely warmed (100F) oven or simply leave them on the counter. Either will yield a bun that rises and will bake beautifully!
This recipe takes about 40 minutes to proof your buns. Depending on your elevation and how warm your kitchen is will effect how long it takes your buns to rise. Don’t panic if you either think they’re ready to bake after 30 minutes of rising, or if you leave them an extra 10 minutes. This recipe is forgiving! Just remember that how your buns look going into the oven, will be how they bake. They won’t grow much more in the oven in comparison to a gluten bun.
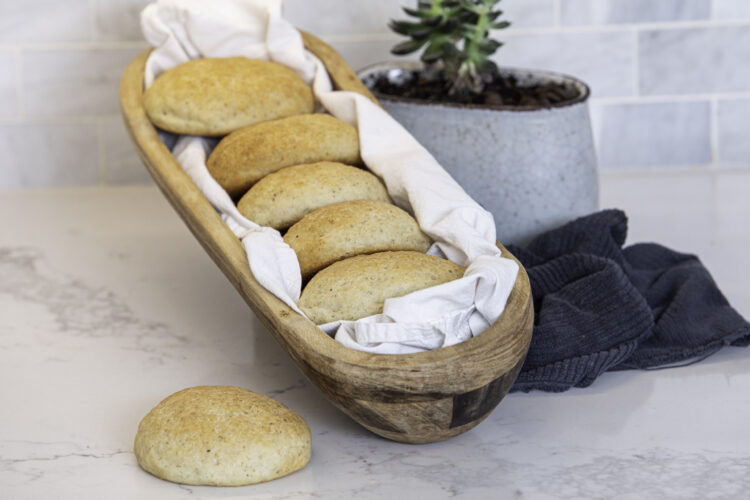
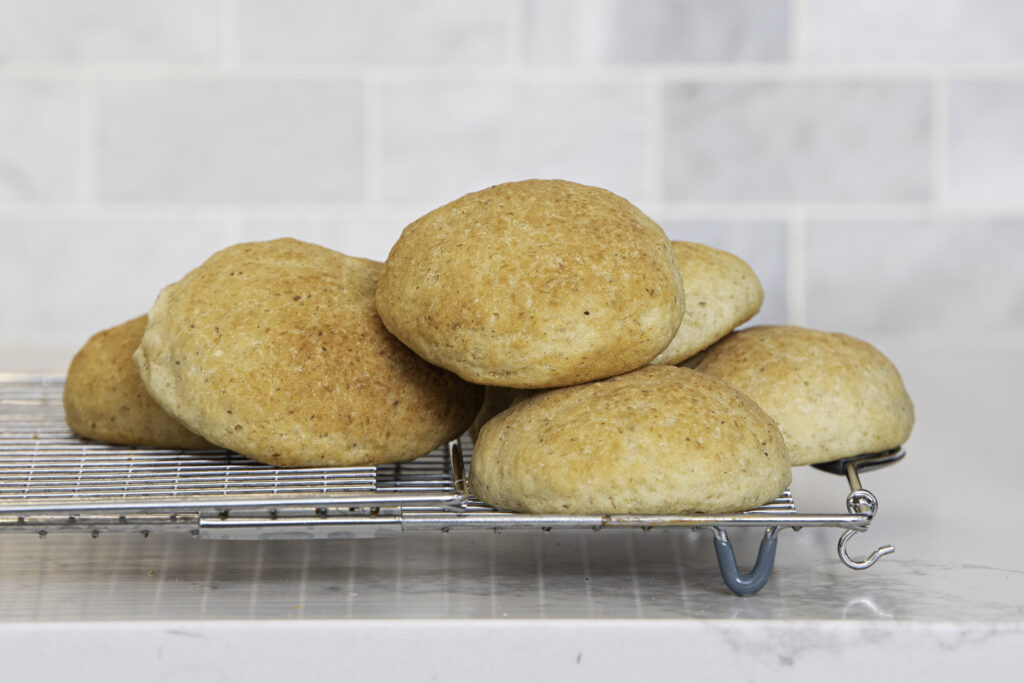
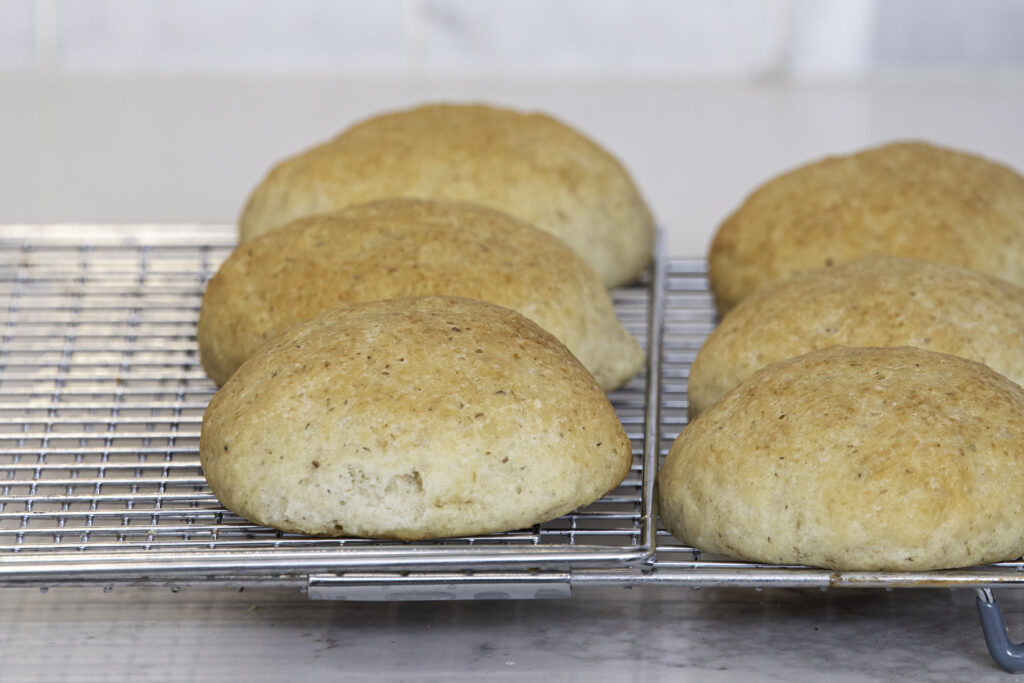
Once the buns have baked, simply let them cool on a cooling rack. They will cut better when cooled and the outer crust will soften. These buns will stay fresh for a couple days on your counter. If you’d like to keep them tasting like the day they were baked, pop the buns in a freezer bag and in your freezer. Ensure that they’re 100% cooled before freezing and then its best to let them thaw at room temperature.
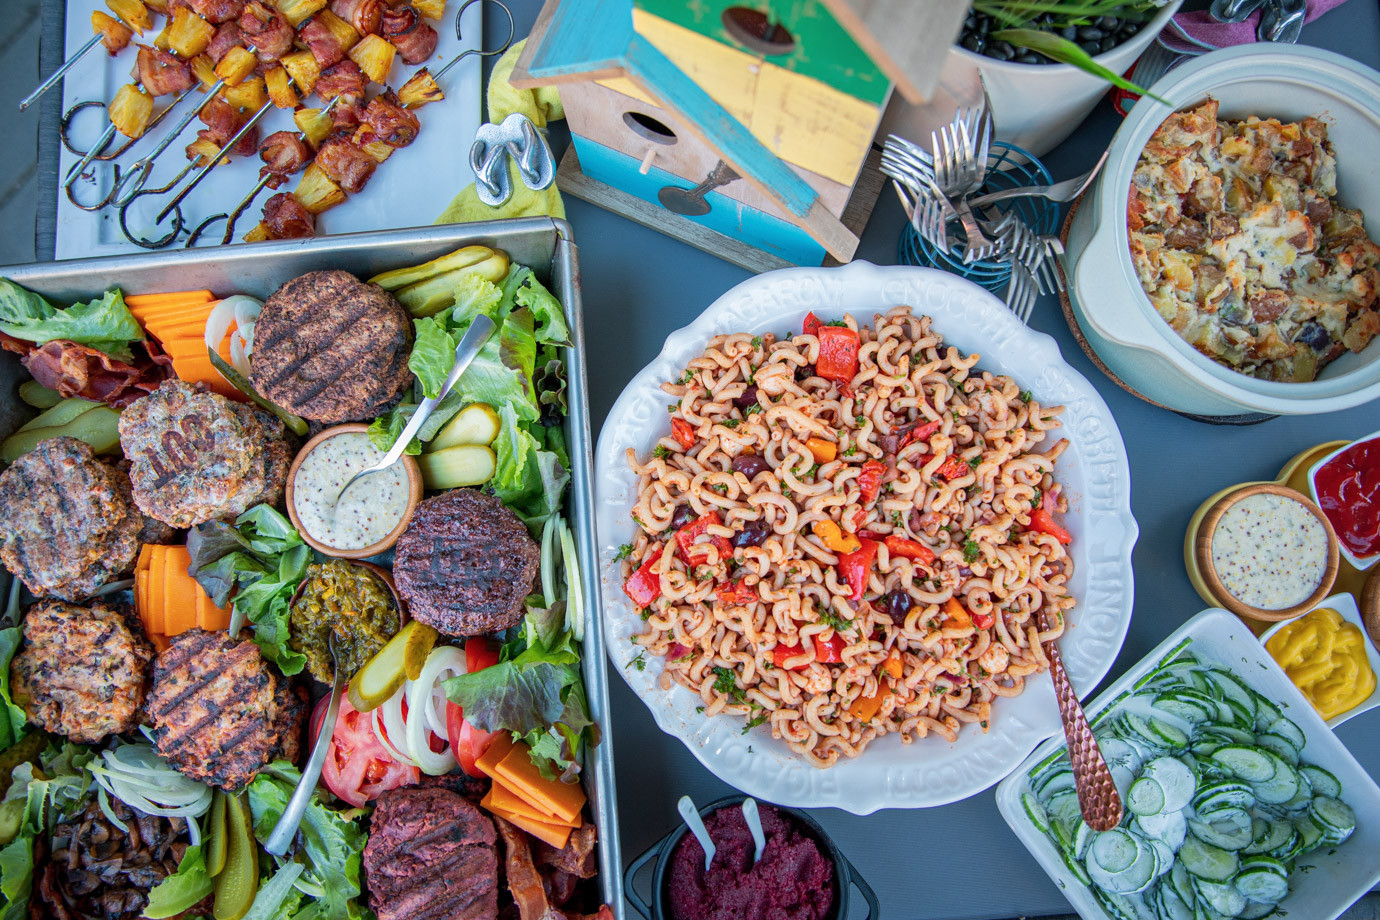
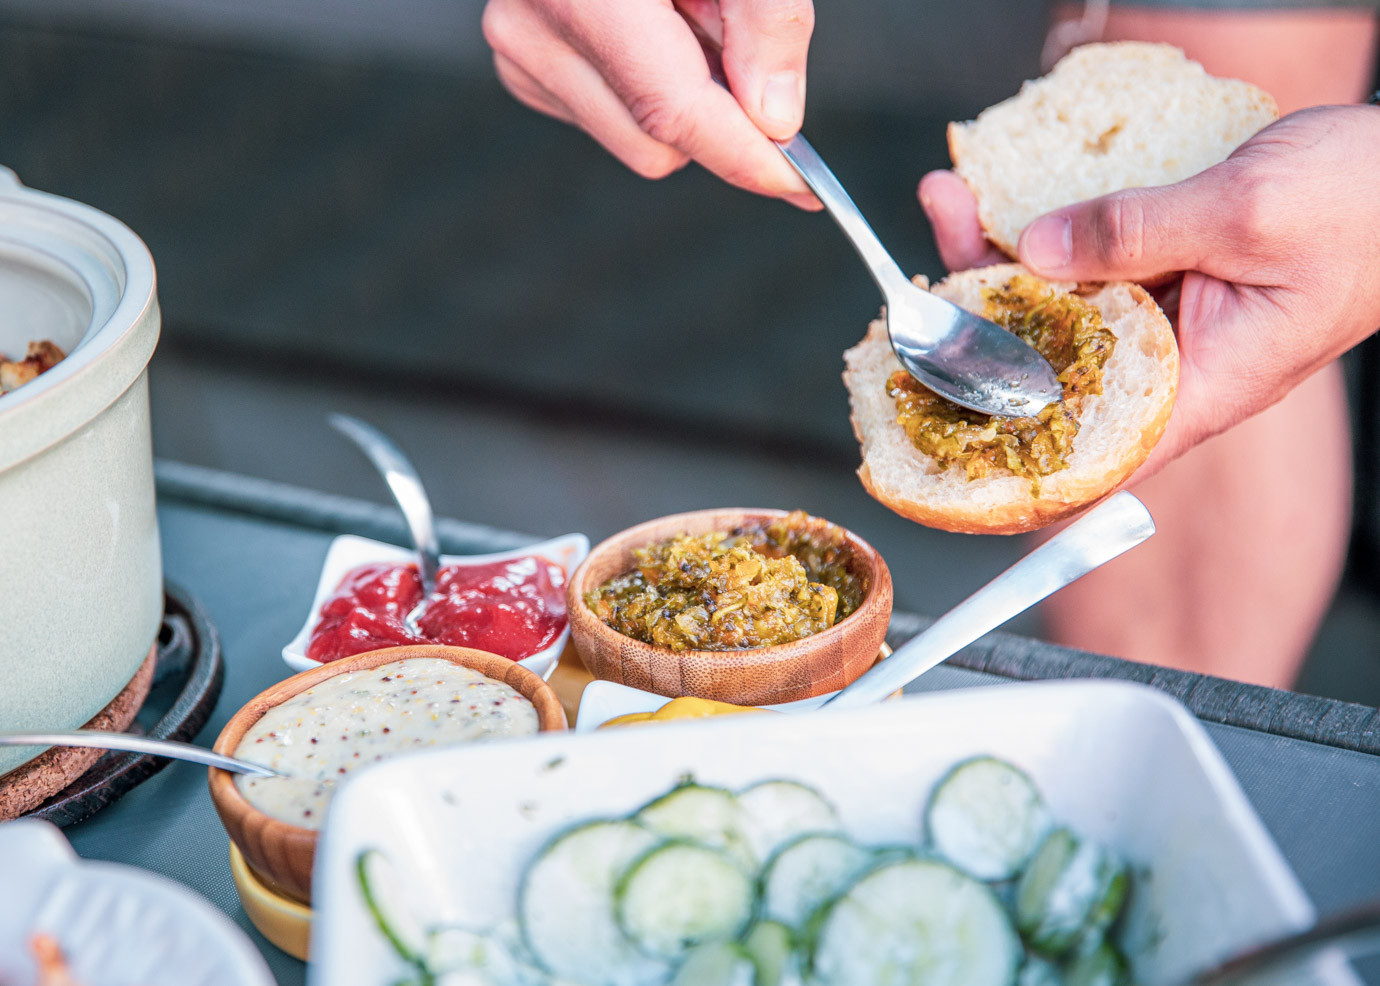
Fire up the grill or slice the fresh tomatoes…or better yet, simply pull the bun apart and spread it with warm butter. You might not remember how good fresh buns really are!

CUT Buns
Difficulty: Easy4
servings30
minutes40
minutesThis recipe will allow you to enjoy fresh bread just as it should be! You’ll also be able to shape these buns into whatever type of bun you’re looking for. You can make incredible hamburger buns, hotdog buns, slider buns, sub buns….the list is as long as your creativity allows. The recipe is so simple that we’re sure you might never buy another GF bun again. Anyone can make these!
Ingredients
- Psyllium Paste
1 ½ cup warm water
1/3 cup whole psyllium husk- Dough Ingredients
3 ¾ cups bread flour (625g)
2 tsp instant yeast
3 tbsp sugar
1 tsp salt
1 ½ cup warm water (353g)
¼ cup olive oil
1 tsp baking powder
2 tsp apple cider vinegar
2 egg whites
- Topping
olive oil, enough to brush lightly over buns (1/4 cup)
Directions
- Combine ingredients for psyllium paste, mix together and let sit for a few minutes to make paste.
- Using electric mixer with paddle attachment, combine the CUT Cooking Bread Flour and the rest of the ingredients.
- Add psyllium paste and mix. Scraping the bowl a couple times, mix dough for about 2/3 minutes on medium speed.
- Using CUT Cooking Bread Flour, lightly flour your working surface and transfer dough. Divide dough either using your hands or a knife into 12 equal parts. Use as little of flour as possible and handle dough balls as little as possible.
- Fill a small bowl with water as a “finger” bowl.
- With clean, wet hands, gently pick up a ball of divided dough and toss it back and forth between your hands. Shaping the dough and smoothing the outside of it.
- Transfer to baking sheet covered with parchment.
- Pour small amount of olive oil into small bowl. Lightly brush all sides, and tops of buns with olive oil. Be sure to cover evenly and don’t miss any sections or buns will appear “spotty”.
- Let proof for at least 40 min. You can either place in draft free area such as a cool oven or just leave on the counter.***
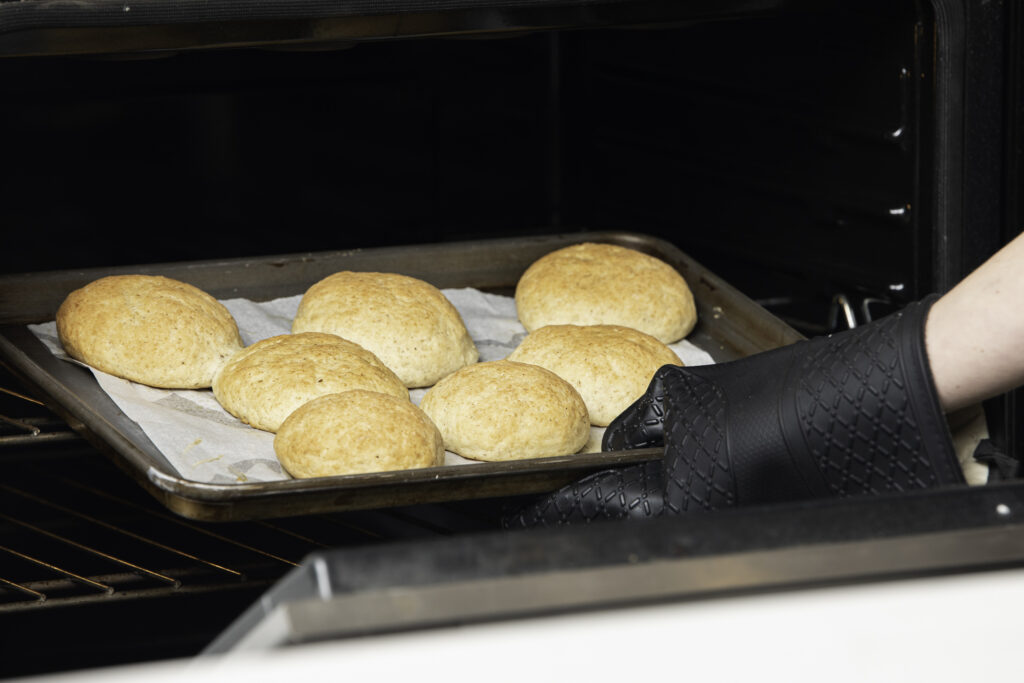
- ***Preheat oven to 375F while buns are proofing the last 15-20 minutes.
- Bake for 35 minutes.
- Transfer to cooling rack and let buns cool.
- If freezing, ensure buns are absolutely, totally cooled. Store in freezer bags. Thaw at room temperature as needed.
- Never buy a GF bun again…Lol, Stacey and Meg.