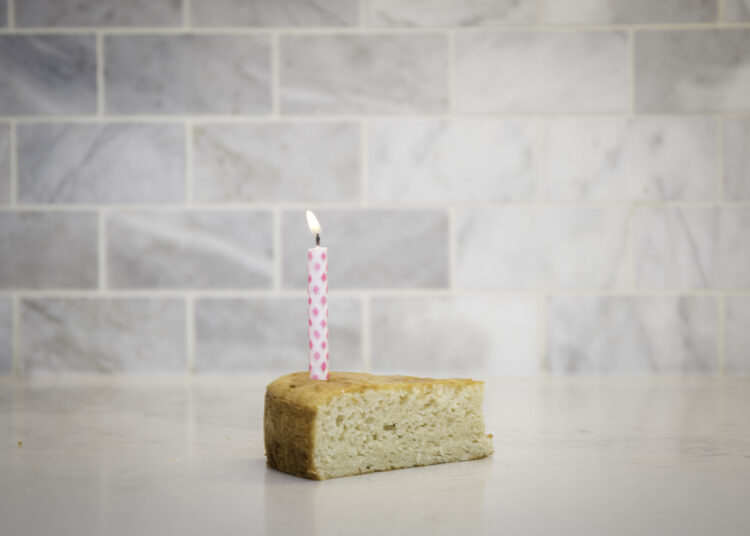
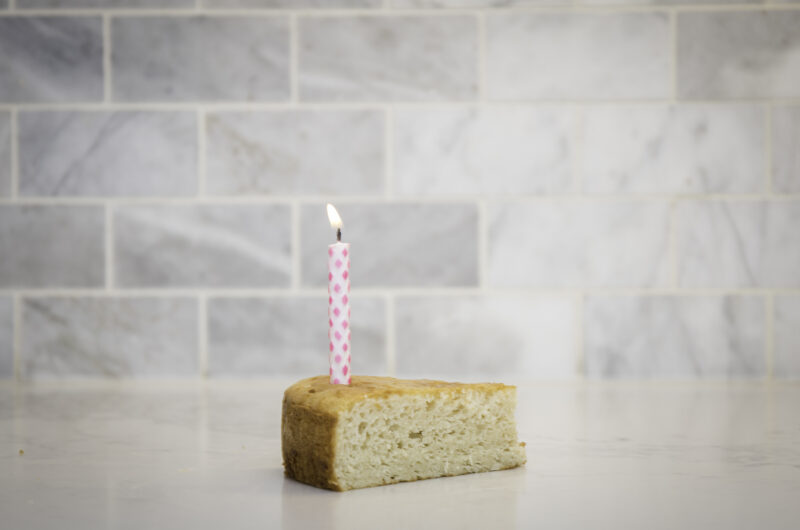
May is ‘the birthday’ month in both our families. Hands down, it’s the busiest, most popular times to have a birthday! It seems like everyday from May 1 thru May 30 we could celebrate someone special to us. This blog is dedicated to doing exactly that!
We know there are many of you who love a good chocolate cake, however, we think there might be even more of you seeking an incredible white, vanilla cake! In fact, if you’re on a gluten free diet, we’re fairly certain that the elusive gluten free vanilla cake may be only something you thought in your dreams. We’re so excited to tell you that it’s now your reality!
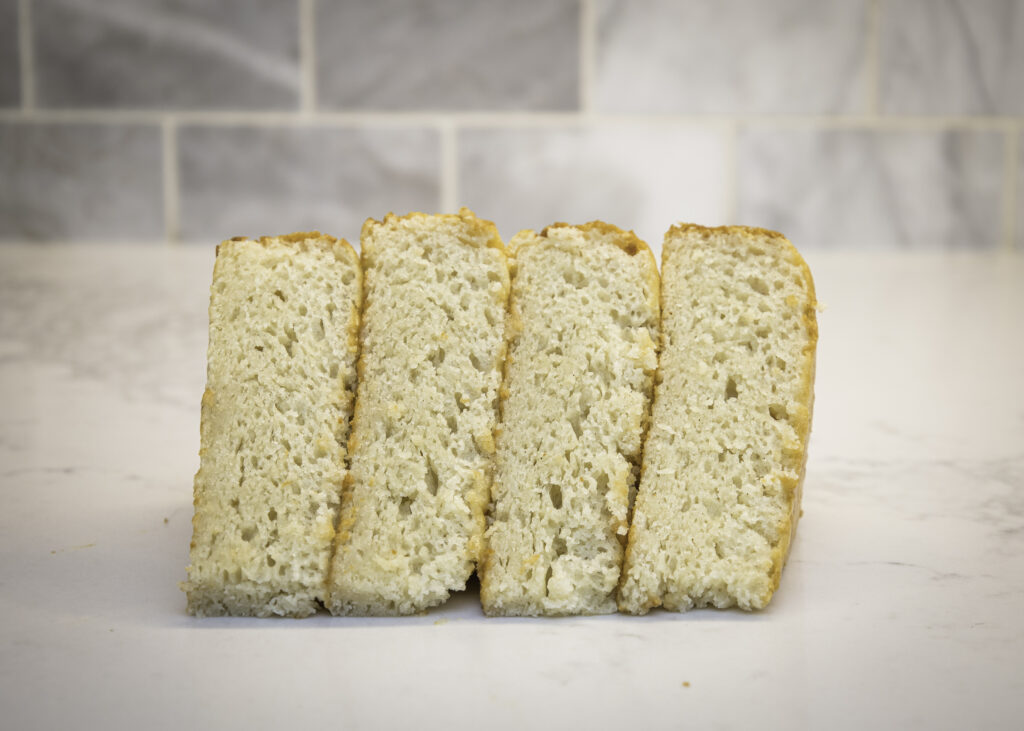
Our recipe for white vanilla birthday cake is so incredibly easy. It mixes within minutes, and bakes to a fluffy, light, incredibly moist cake. You can use it for stacking, and it won’t crumble upon icing. The texture is spot on, and best of all – it tastes SO GOOD!
We know that you’d rather take a bite of this amazing vanilla cake then read about it – so lets go! Pull out the mixer and let’s get baking.
You’ll begin by first mixing the eggs and sugar. This is an important first step as it will ensure your cake stays light and fluffy. Mix for about 3 minutes on high speed. Keep mixing until the sugar is well incorporated and the eggs look a pale yellow.
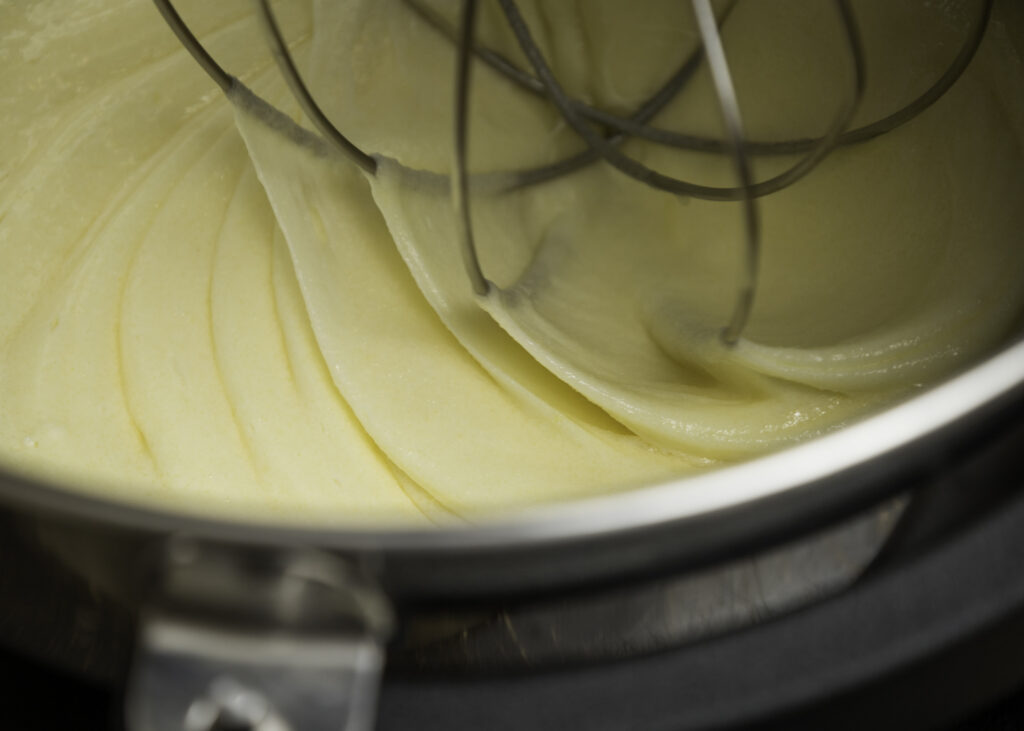
If your fortunate enough to own a standup mixer, add the eggs and sugar and let them do their thing. You can begin then to mix the dry ingredients in a separate bowl. If you’re using an electric hand mixer, that’s ok! It’ll just take a few extra minutes – whip the eggs and sugar and then mix your dry ingredients.
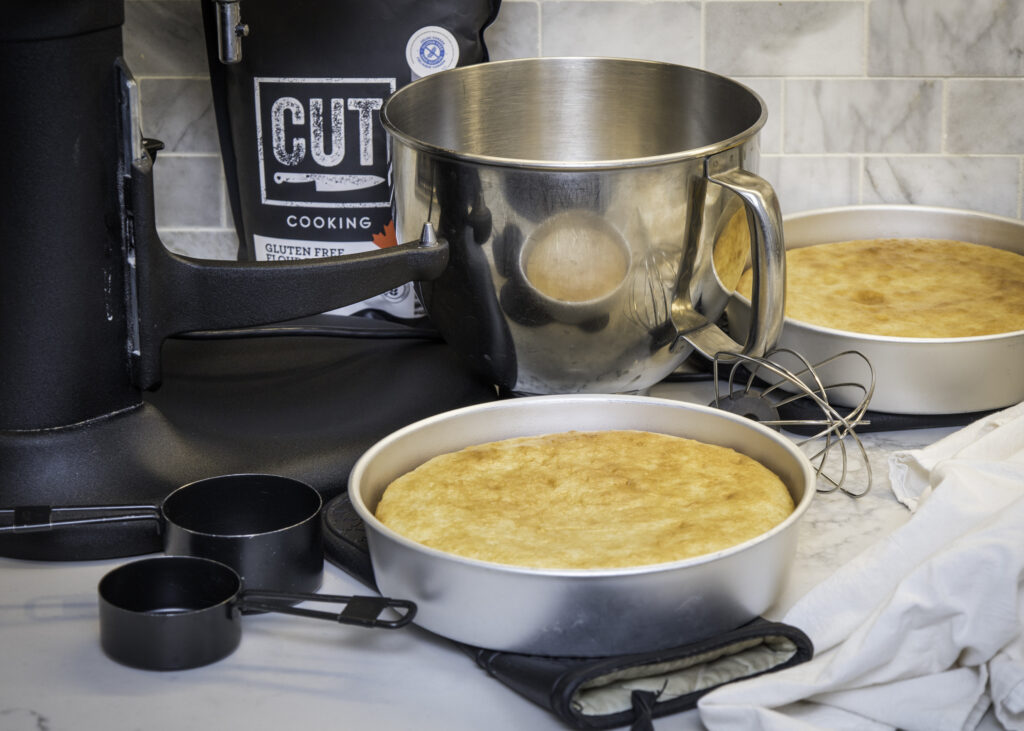
Our recipe for Vanilla Cake calls for using our CUT Cooking All Purpose Flour. This gives the end result a smooth, velvety texture. You can either measure it by cups, or we’ve also included the exact measurement in grams. Our flour is designed to be able to be measured by cups; don’t worry if you don’t own a kitchen scale. Measure out 2 cups of CUT Cooking AP Flour and the end result will be delicious!
The only other real trick to this incredible cake is to slowly add the different incorporations and ingredients. After the eggs are finished, you’ll continue adding the other wet ingredients listed. Slowly pour each increment into the bowl while mixing. This will allow for a smooth decadent cake.
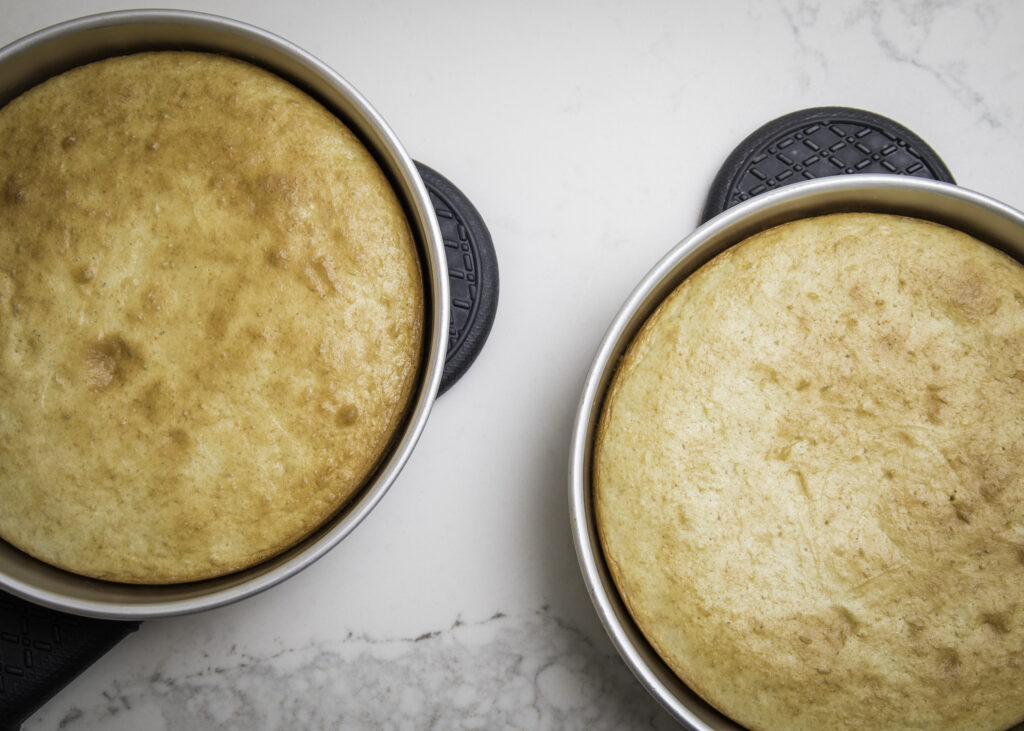
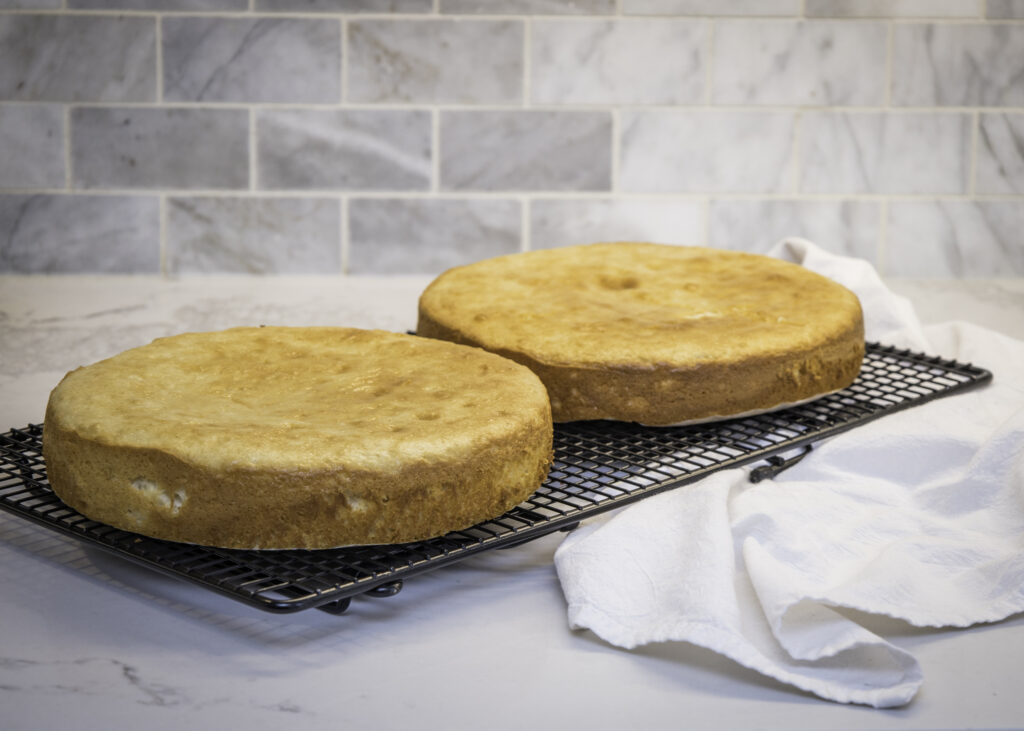
After all of the wet ingredients have been added, you can finally add the dry ingredients mixed at the beginning. Again, slowly incorporate and keep the mixer working. Once everything is well combined, you’re ready to pour the batter into your baking pans. This recipe uses 2 X 8″ round cake pans. However, if you’d rather bake cupcakes or a rectangle 9 X 13 pan- feel free! This recipe will work great for all these options. Simply adjust your baking time to be longer or shorter accordingly. A great test to check if your cake is thoroughly baked, is to simply insert a toothpick into the middle when you think it might be done. If you pull the toothpick out and the cake doesn’t stick, it’s ready to go and baked! If the toothpick brings out a sticky batter still, then keep the cake baking.
We do recommend using cupcake liners or lining the bottom of your pan(s) with parchment paper. This will allow the cake to come out of the pans easily and not stick to the bottom. We also suggest to lightly spray the sides of pan(s) with cooking oil. Using both of these techniques will ensure your cakes come out clean and easy. When they’re slightly cooled, simply run a sharp knife around the edges of the pan. You should be able to then invert and the cake will come right out. The parchment paper can be peeled right away off the bottom or feel free to leave it on if freezing.

Wait! Did you catch that? Our recipe for vanilla cake freezes amazing! Leaving the parchment paper on the cakes to freeze helps keep everything intact, and maintain a flat base in the freezer. That’s right, you can bake this cake ahead of time and freeze it either decorated, or not, before the special day. Just remember to pull the parchment off before any icing or stacking!
With that, we’re going to preemptively wish you all a Happy Birthday! Enjoy your bite of GF Vanilla Cake. Let your imagination run wild on how you’d like to decorate or build the cake of your dreams!
Vanilla Cake
Course: DessertCuisine: CanadianDifficulty: Easy20
minutes30
minutesThe elusive gluten free vanilla cake that’s only in your dreams has now become your reality! This incredibly easy recipe mixes within minutes, and bakes to a fluffy, light, moist cake. You can use it for stacking, and it won’t crumble upon icing. The texture is spot on, and best of all – it tastes SO GOOD!
Ingredients
3 eggs
1 ½ cups sugar
- Wet Ingredients
½ cup sunflower oil
1 tsp vanilla
1 tsp lemon juice
½ cup sour cream
1 cup non-fat milk
- Dry Ingredients
2 cups CUT Cooking All Purpose Flour (335g)
3 tsp baking powder
1 tsp salt
Directions
- Preheat the oven to 350°F.
- Using electric mixer, combine sugar and eggs and whip until fluffy and pale yellow in colour. Approximately 3 minutes on high speed.
- In separate medium sized bowl, measure CUT Cooking All Purpose Flour and combine all dry ingredients. Mix well with whisk.
- When eggs and sugar ready, slowly add the rest of the wet ingredients one by one- sunflower oil, vanilla, lemon juice, sour cream and milk. Mixing well between each addition.
- Slowly add dry mix incrementally to ensure everything is absorbed into batter and incorporated well.
- Lightly spray with cooking oil and line 2 X 8″ round cake pans with parchment paper.
- Pour mixed cake batter between the 2 pans. Divide batter evenly.
- Bake for 30 minutes at preheated 350°F oven.
- Check to see if cake is fully baked by inserting a toothpick in the middle. If the toothpick comes out clean, the cake is finished baking. If it comes out with some batter still on then continue baking and test again in a few minutes.
- When cake fully baked, removed from oven and set on cooling racks.
- When cake is slightly cooled, simply run a sharp knife around the edges of the pan. You should be able to then invert and the cake will come right out. Let fully cool on rack.
- Happy Birthday! Enjoy your bite of GF Vanilla Cake. Let your imagination run wild on how you’d like to decorate or build the cake of your dreams! – Stacey and Meg