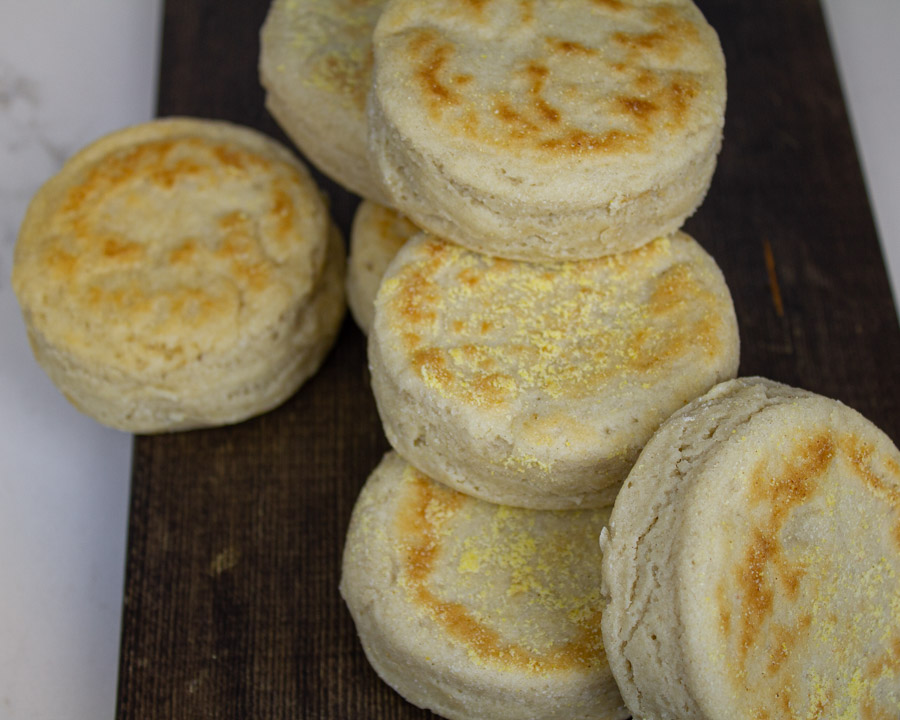
Whether your diet is gluten-free due to celiac disease, by choice, or another gut issue, it really doesn’t matter. There are a few foods you shouldn’t have to live without. We have decided that English muffins is one of them!

We fully recognize these round, flat breads may not even be on your radar. This is about to change… Our recipe for English muffins is simple and won’t take you all day. We’ve drastically cut the proofing time and created a gluten-free version that tastes incredible.
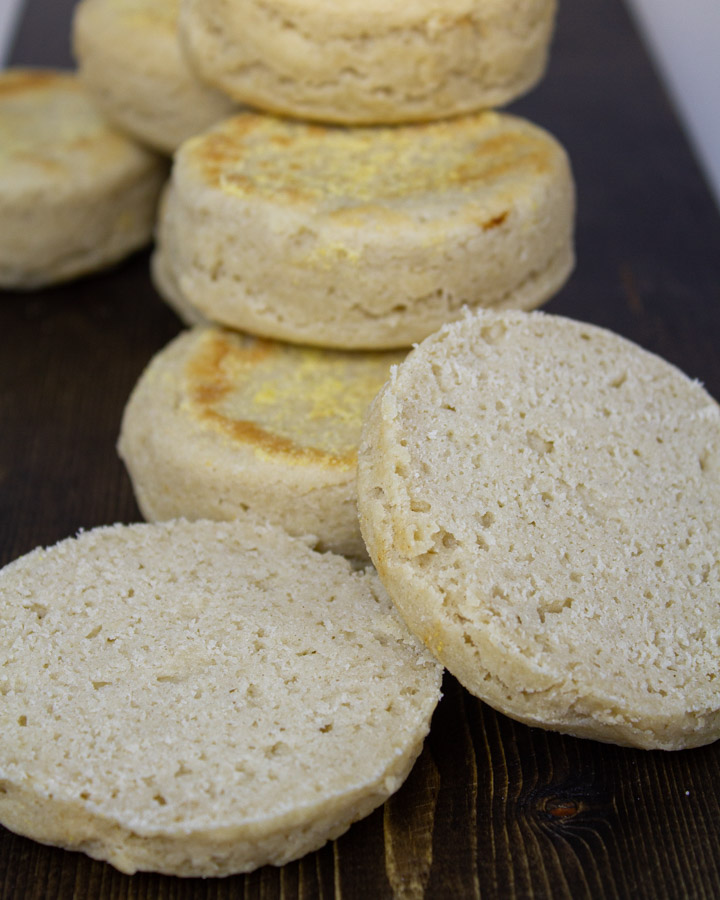
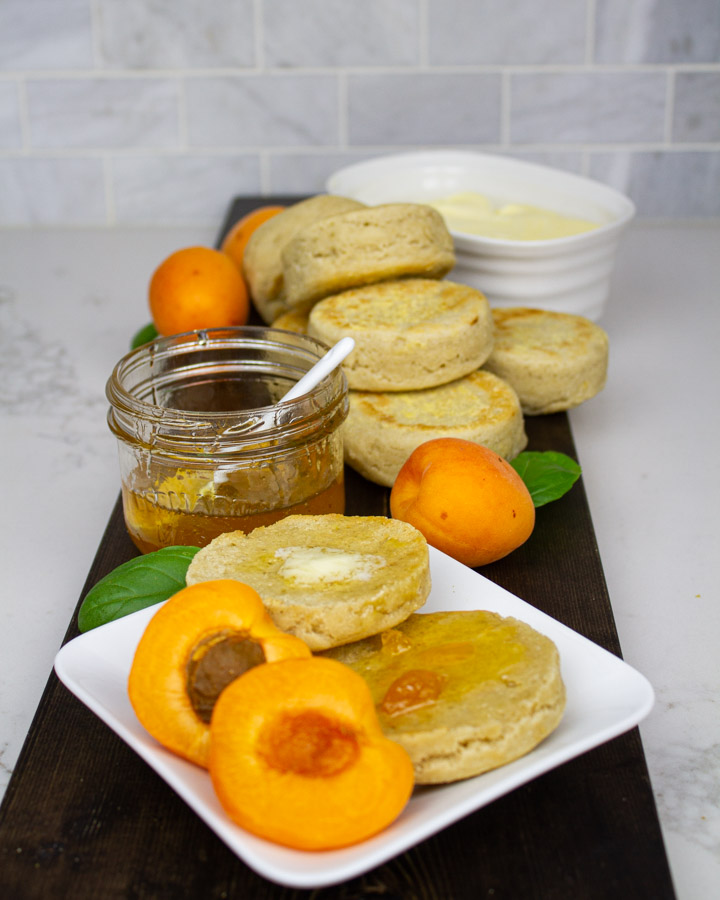
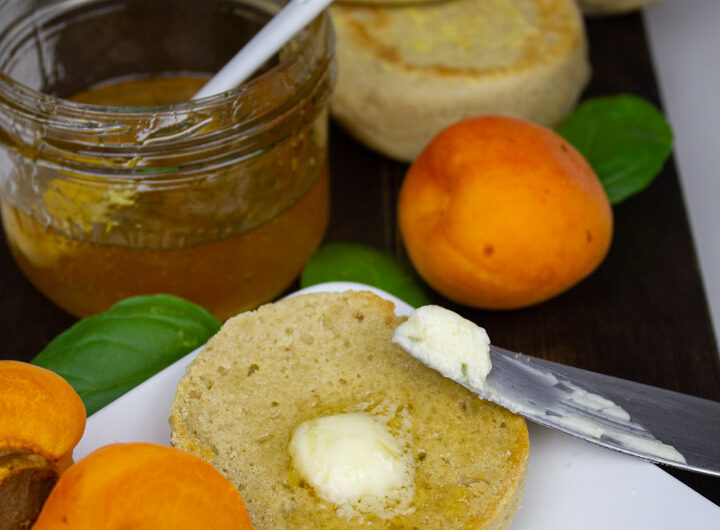
A warmly toasted english muffin with melted butter – is there anything more delicious? Pour your cup of coffee. Saturday mornings are about to get even better!
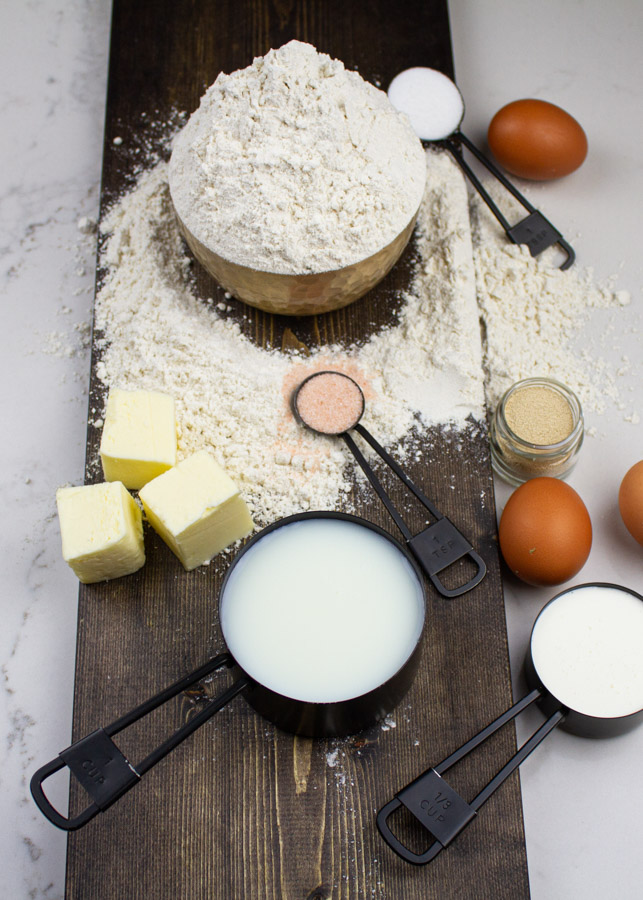
You should have most ingredients in your pantry and fridge. There’s nothing that you’ll need to look very hard to find – even the yeast. Lol, it looks like the grocery stores have even caught up with the supply and demand of Covid home baking. At least here in Calgary.
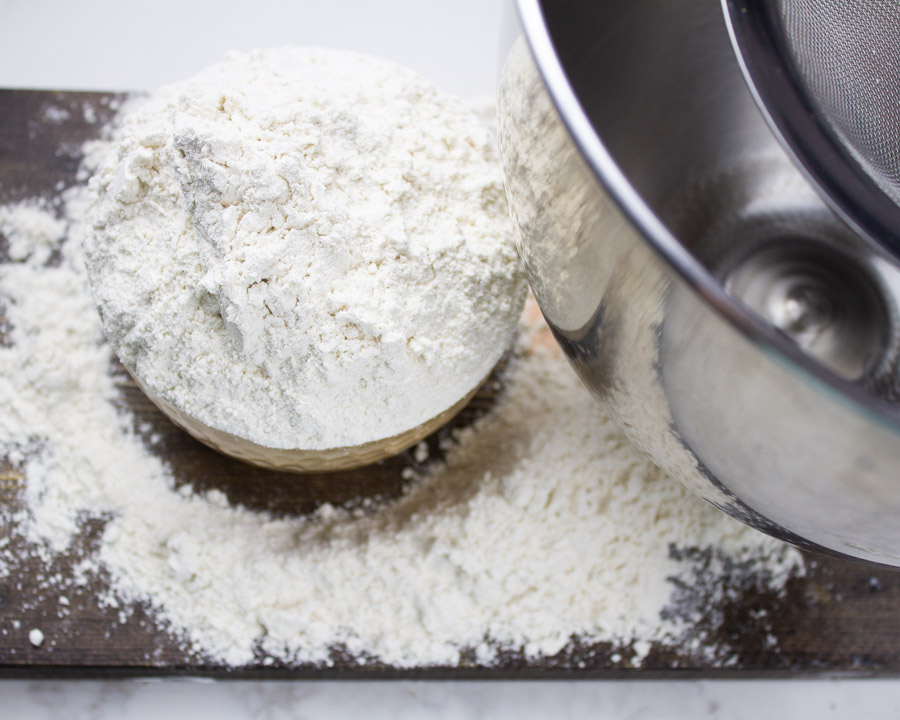
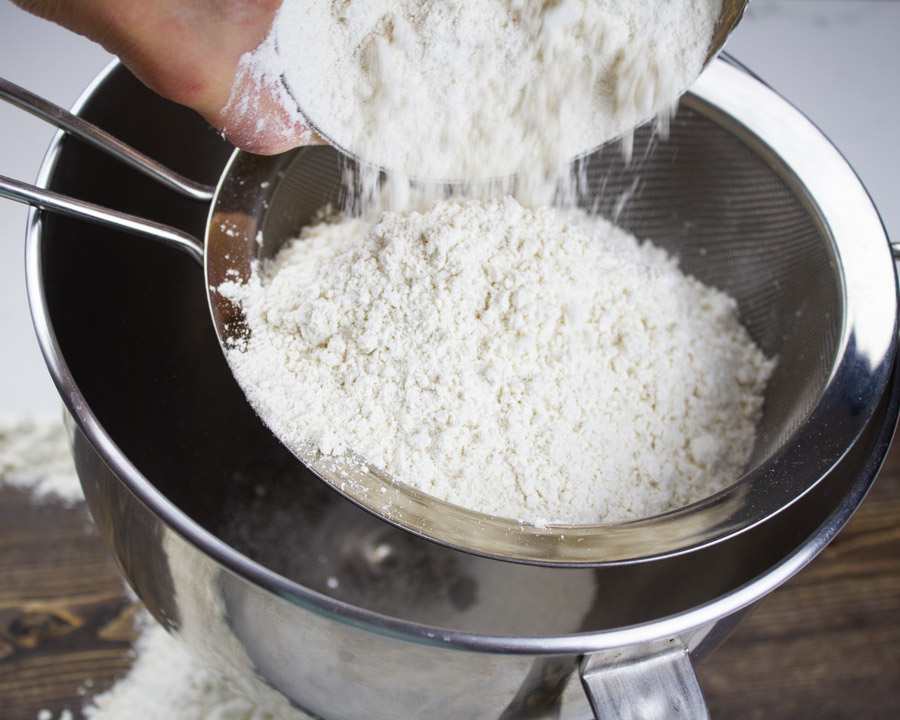
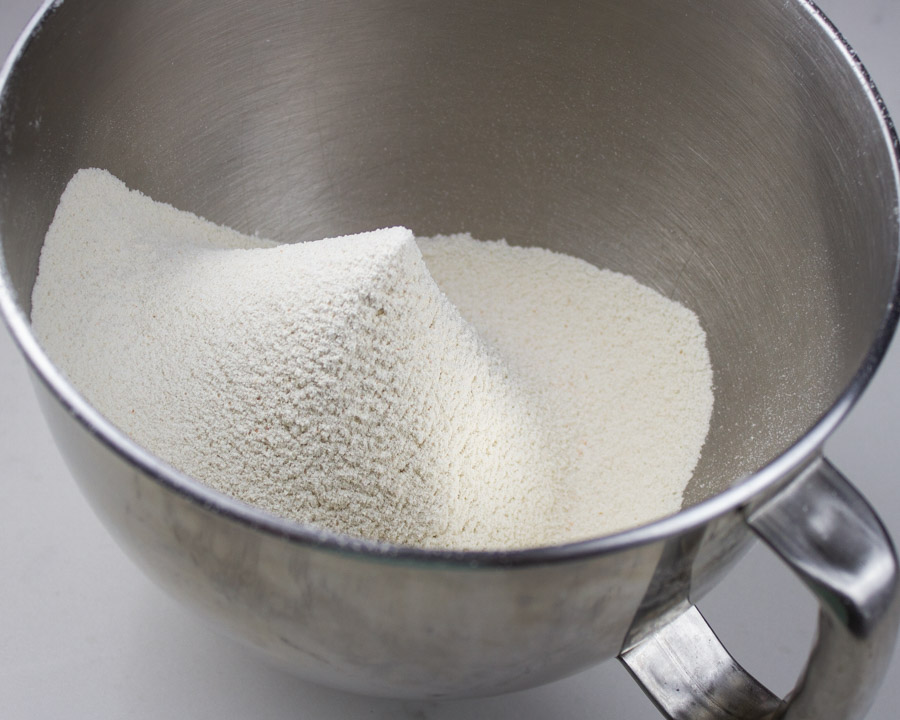
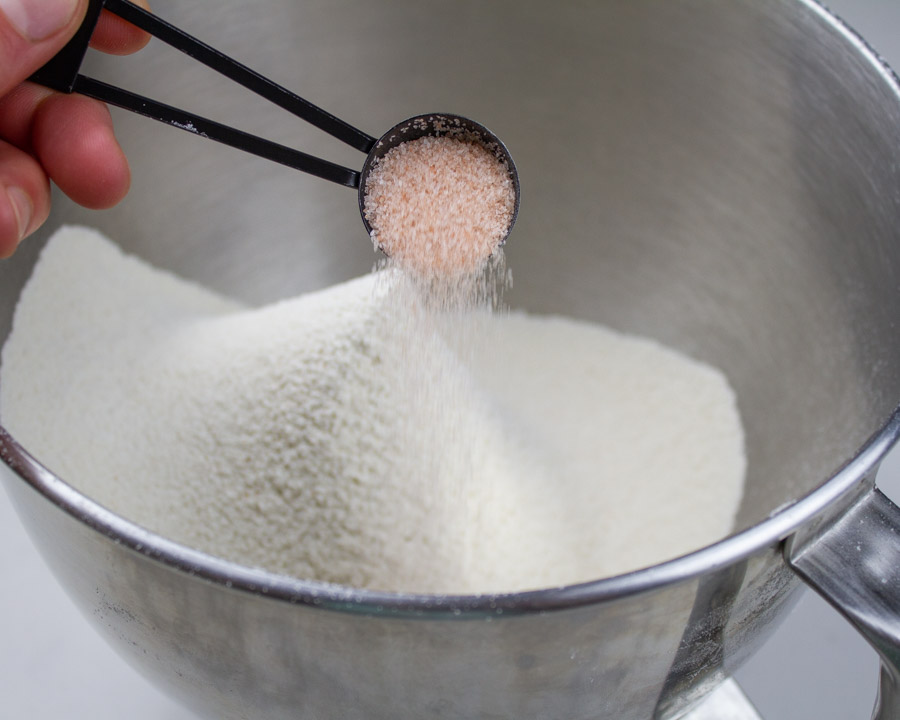
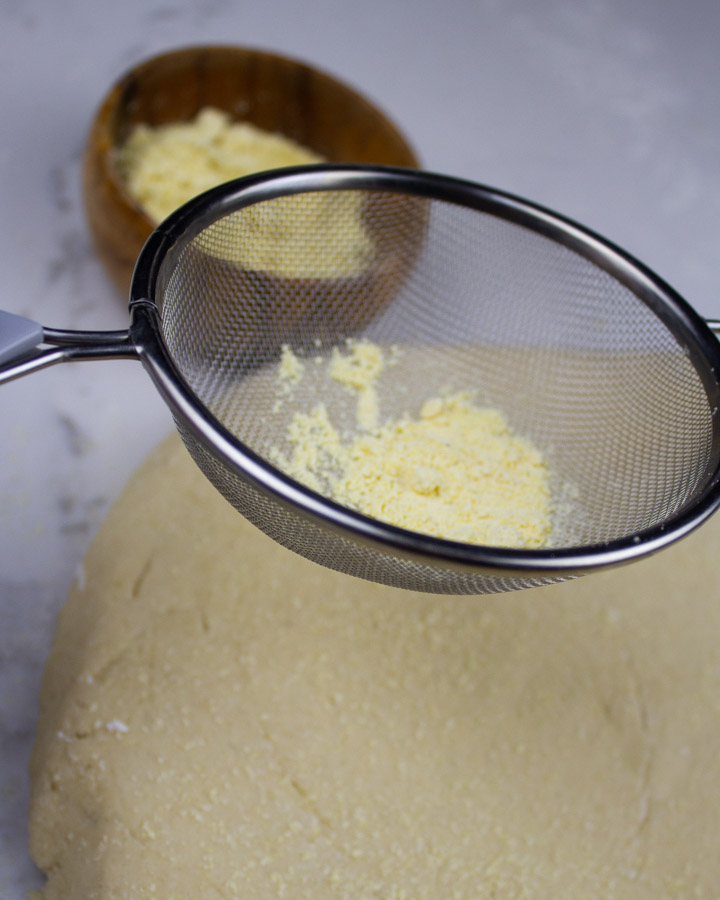
Sift the CUT flour, add your salt and away we go!
There’s a few steps to making English muffins but there’s nothing hard about it. Just follow our instructions closely and your kitchen will smell like the finest bakery in town. We’ve dedicated this blog to walking you through the process with pictures. We know you’ll succeed!
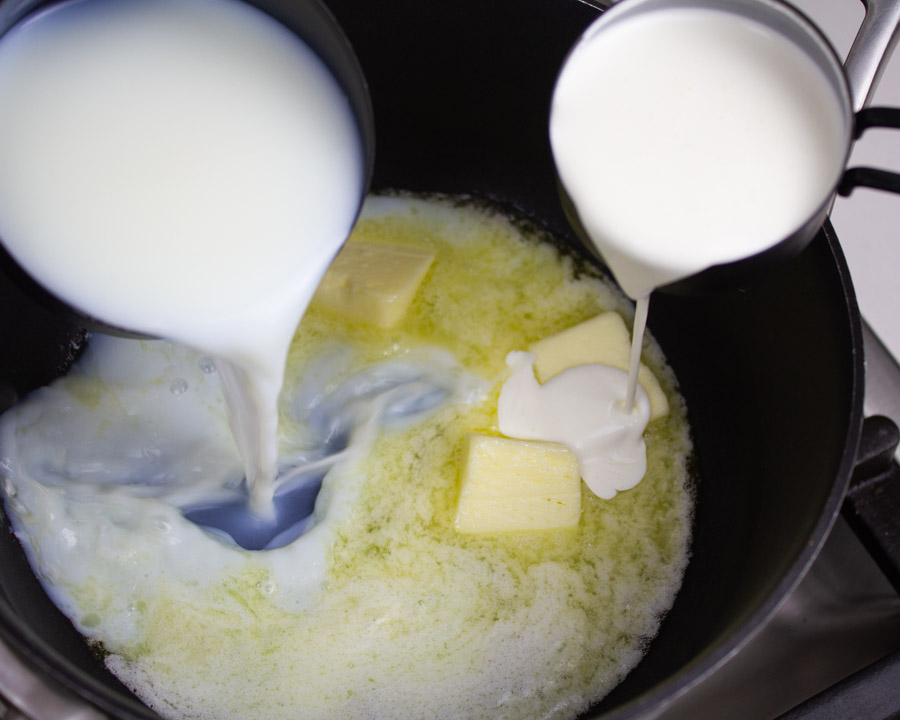
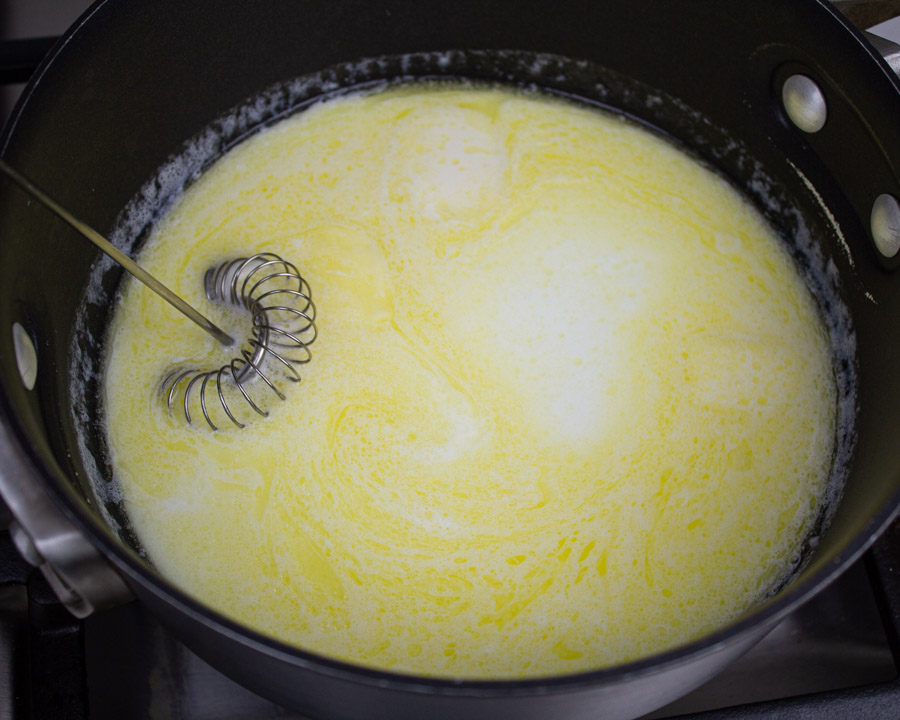

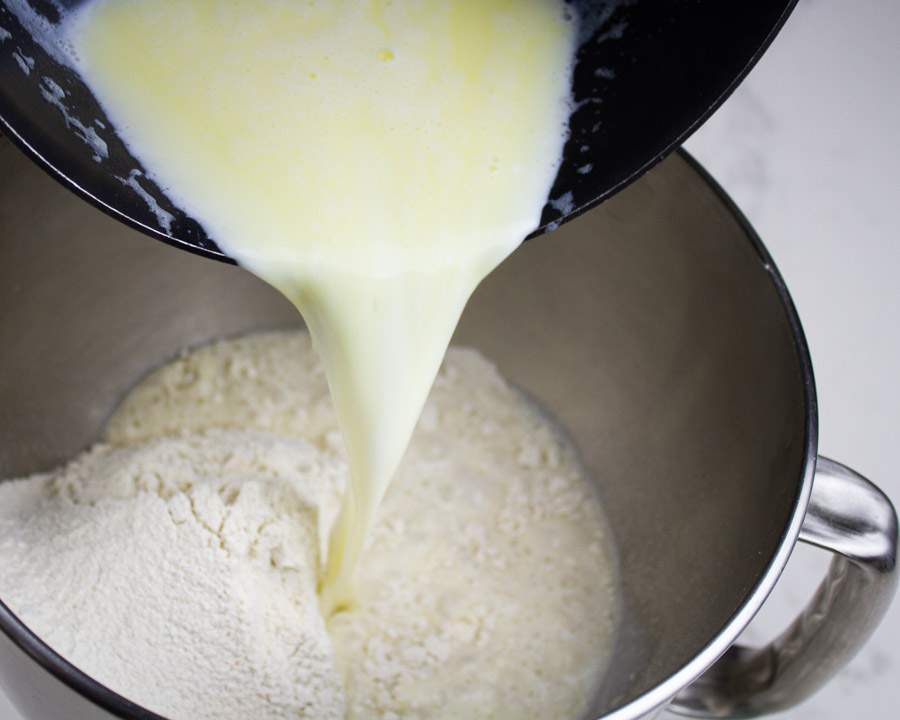
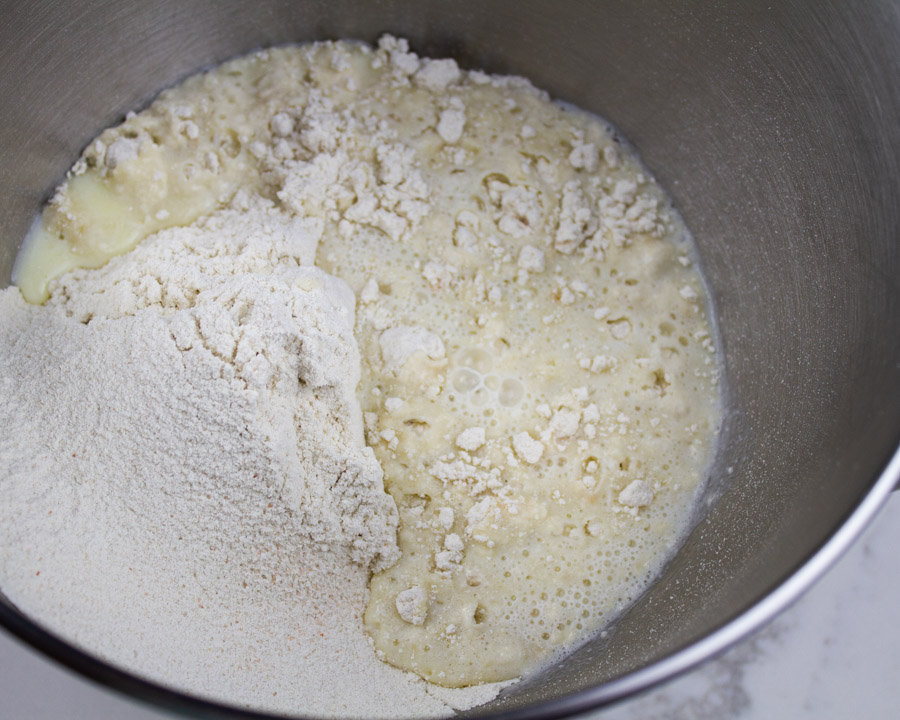
After you have sifted the flour and salt; melt the butter, cream and milk together. Bring this to a boil and then go ahead and add it to the flour and salt. Stir everything well using an electric mixer and let the dough sit to cool slightly.
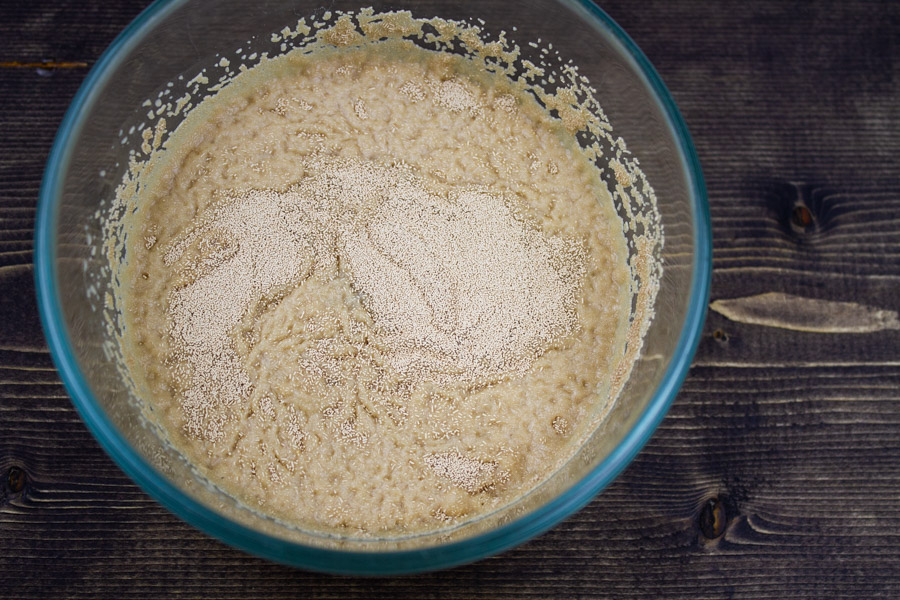
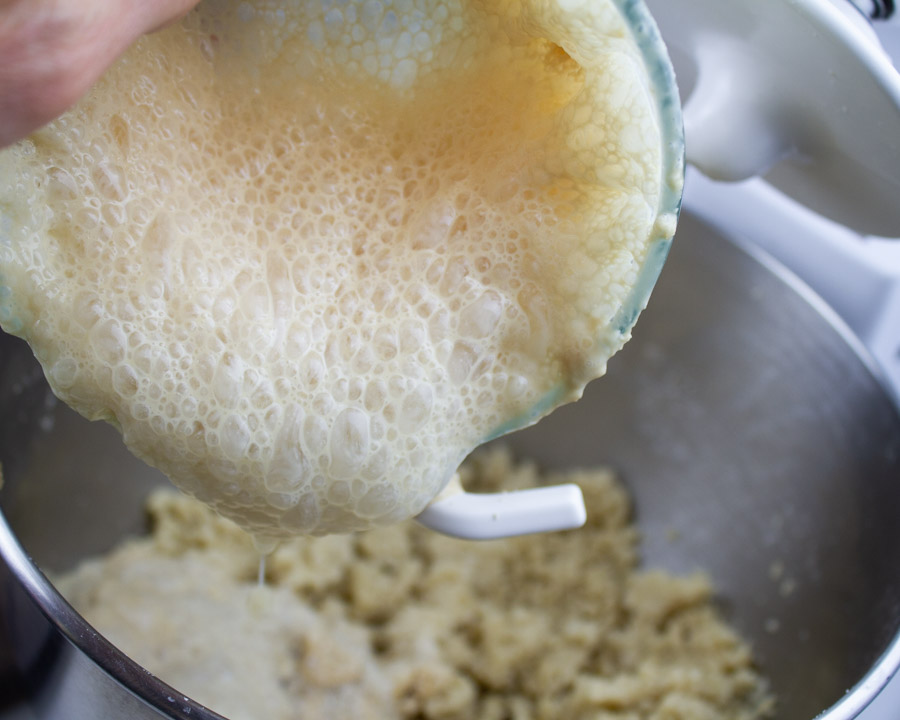
The yeast is added and proofed with sugar and water all on it’s on. Once it’s proofed, you can then go ahead and add it to the rest of the ingredients.
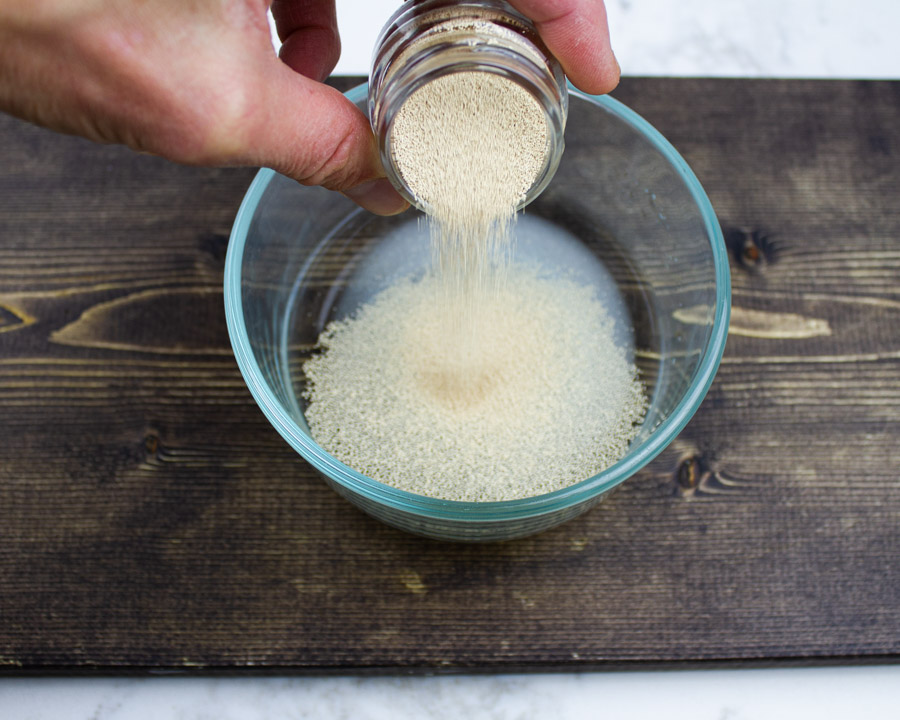
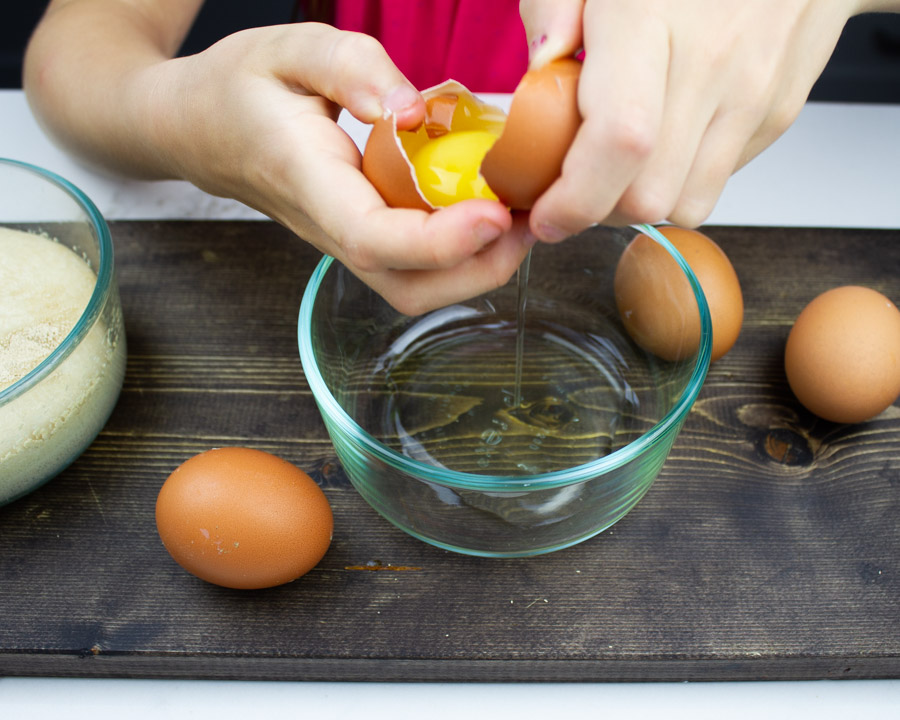
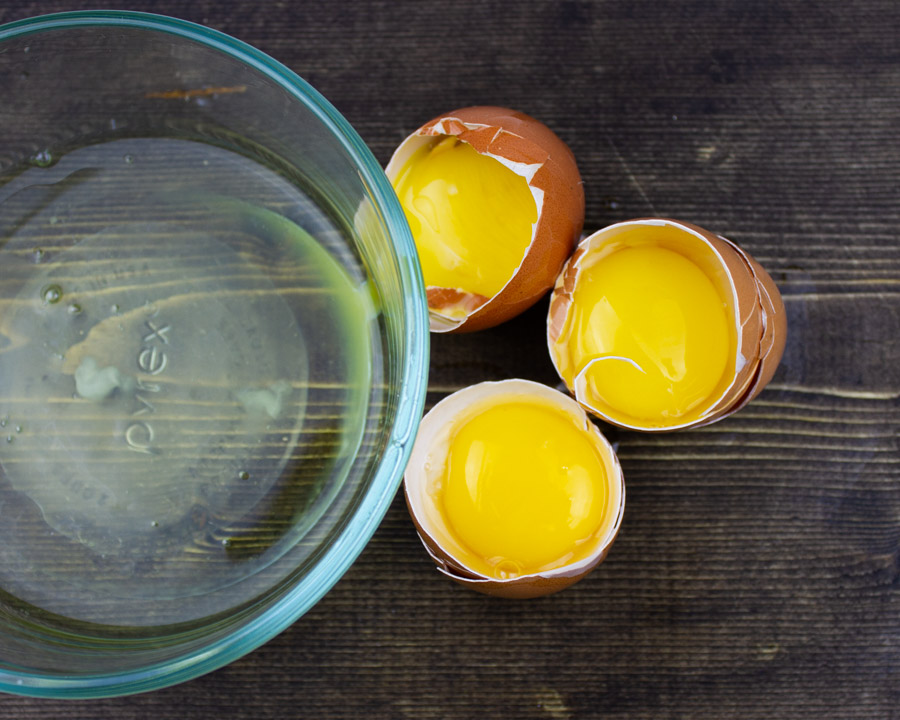
While waiting for the yeast to proof, separate 3 egg whites. We suggest doing this in a smaller bowl, one at a time. Then if you get any yolk in, you only lose one single egg. Don’t stress it! We all crack an egg wrong from time to time…Not to mention it takes a bit of practice to master separating eggs.
After approximately 15 minutes, your yeast mixture will have proofed. It should have grown and be full of foamy bubbles. Combine this with the rest of your ingredients in the mixer. The only thing that’s not added yet to the dough are the egg whites. They are one of the very last steps before rolling out your dough.
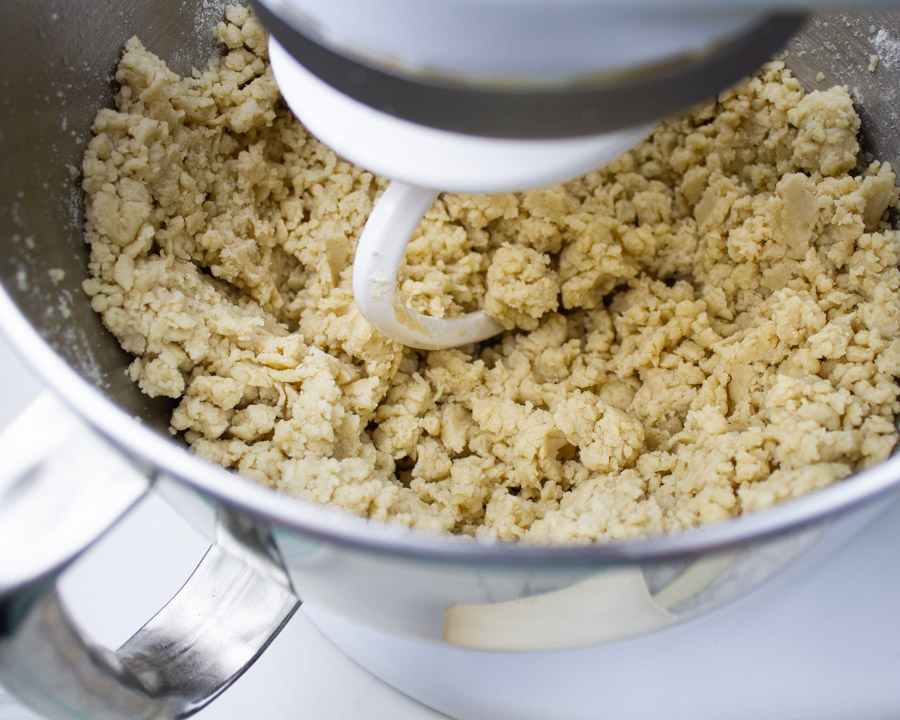
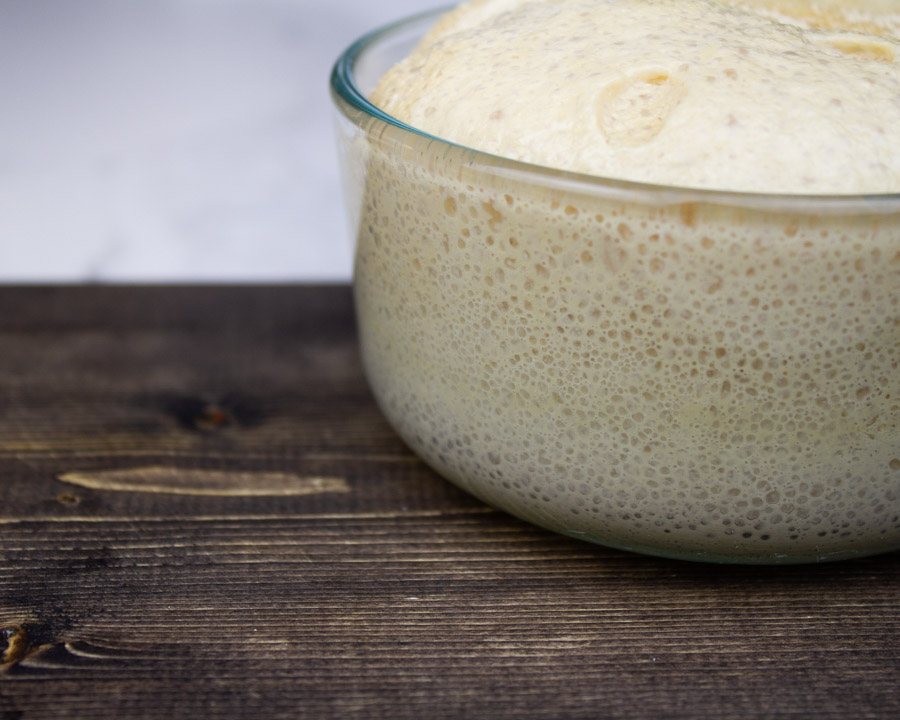
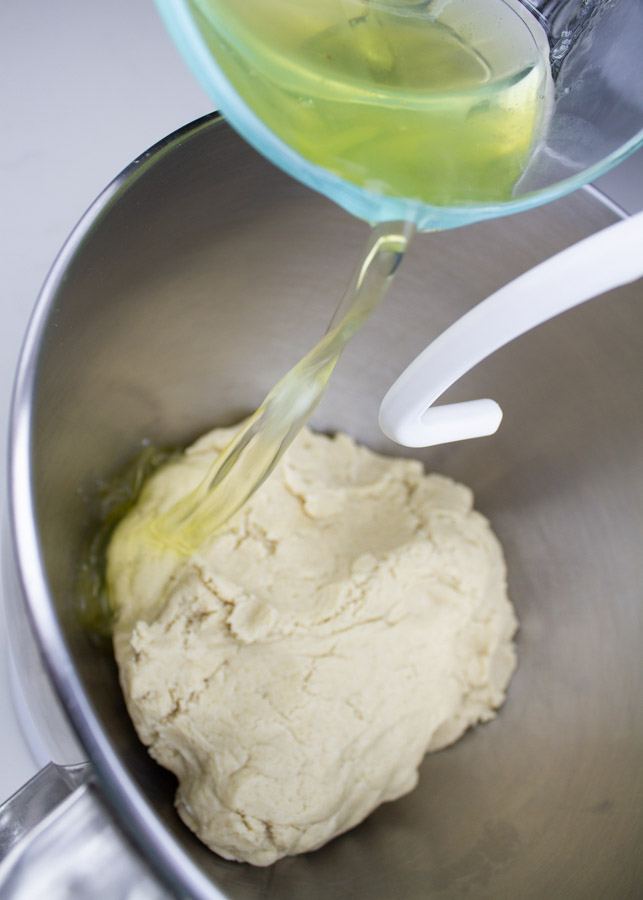
Before adding the egg whites, you’ll need to let the dough rise slightly. Don’t expect a big fluffy ball of dough to appear though! English muffins are a flat bread. The wait time allows the gluten free flour to absorb more moisture. Transfer the mixed dough to a floured surface and cover it with the mixing bowl.
After the dough has sat, transfer it back into the bowl and lastly add the egg whites. Beat everything well to combine your dough!
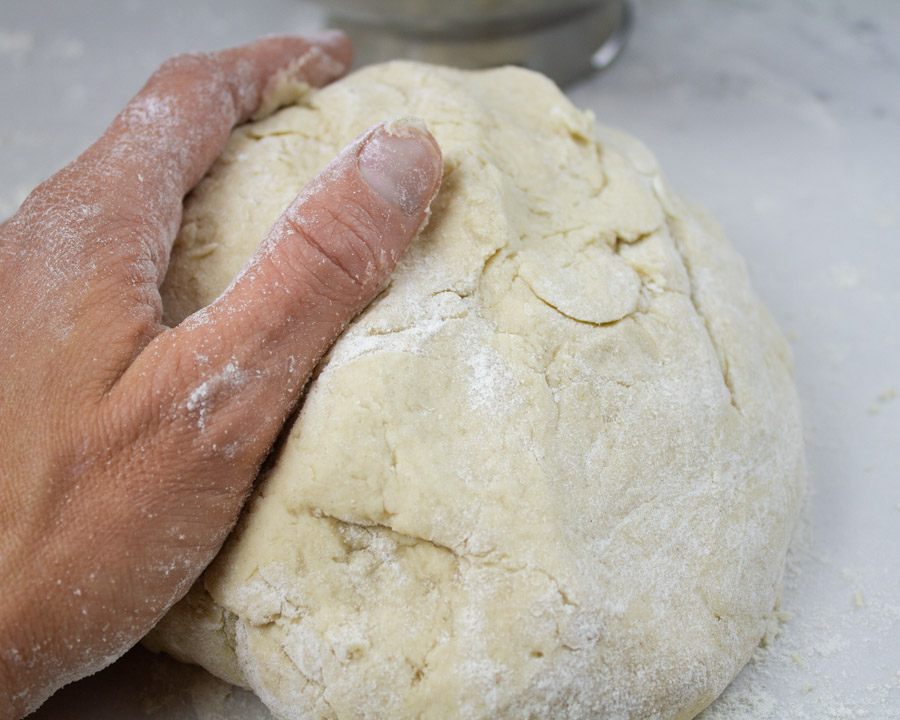
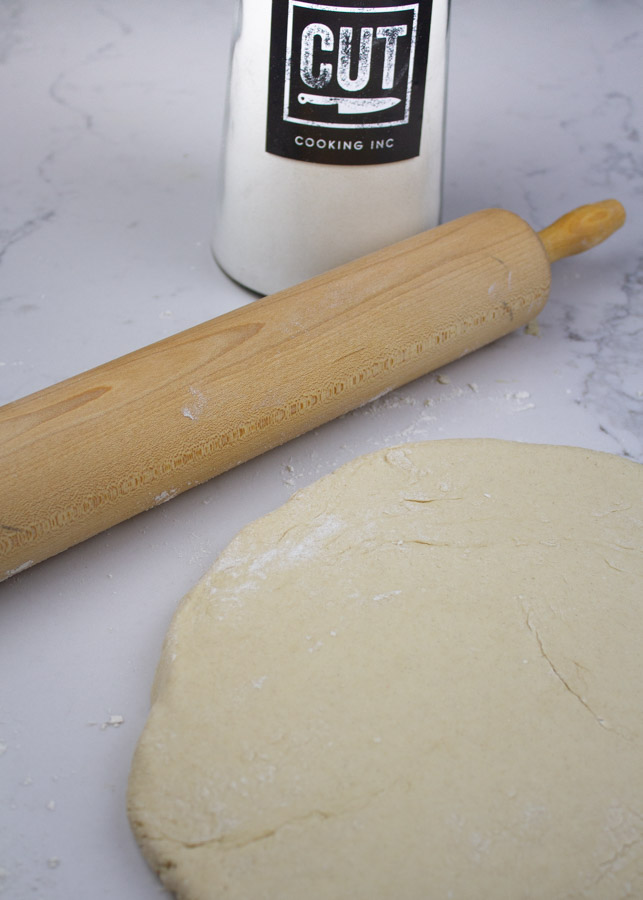
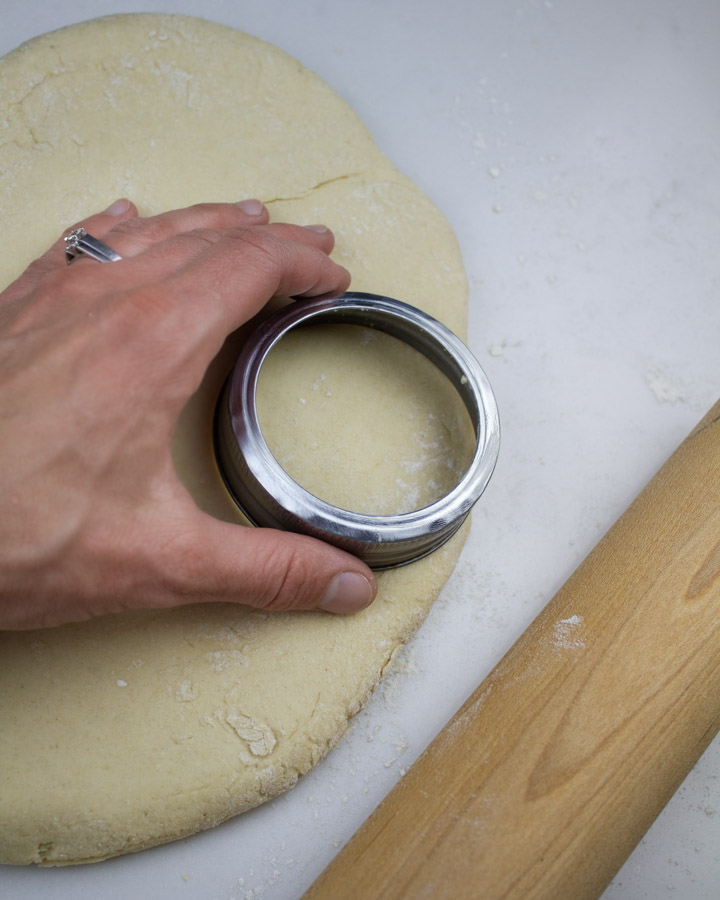
Finally, with all ingredients mixed, you’re ready to roll out the dough and cut out your muffin circles! Sprinkle a little flour on your rolling surface, knead the dough slightly and roll it thick; approximately 1.5″.
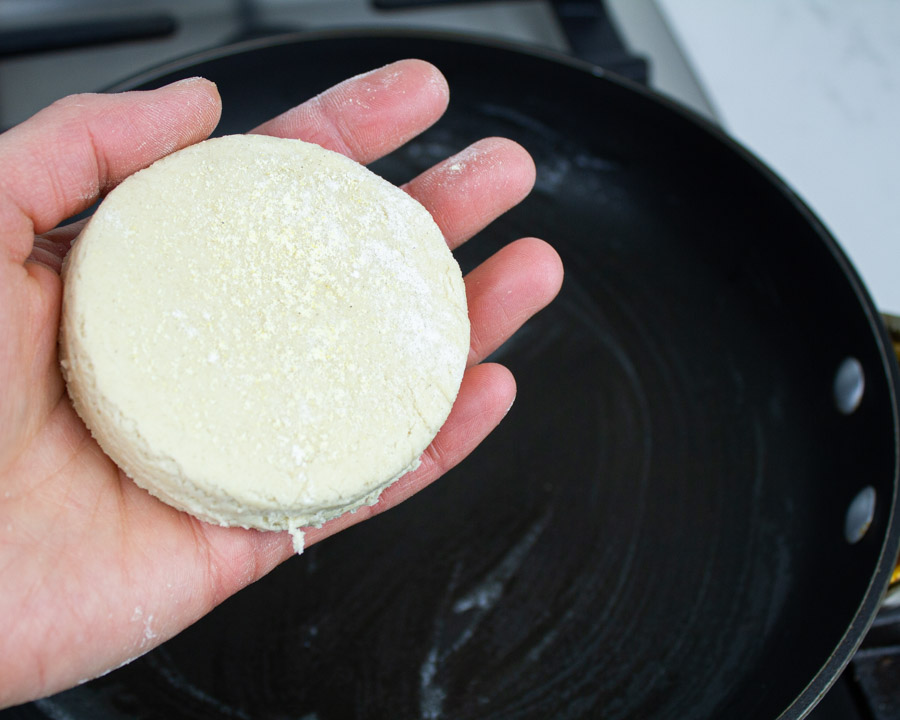
After dusting the rolled dough with gluten-free corn flour, cut out your English muffin circles. Go ahead and use whatever works. A cookie cutter, a lid or even a simple glass works well! Whatever you decide to use, it should be around 3″- 4″ in diameter.
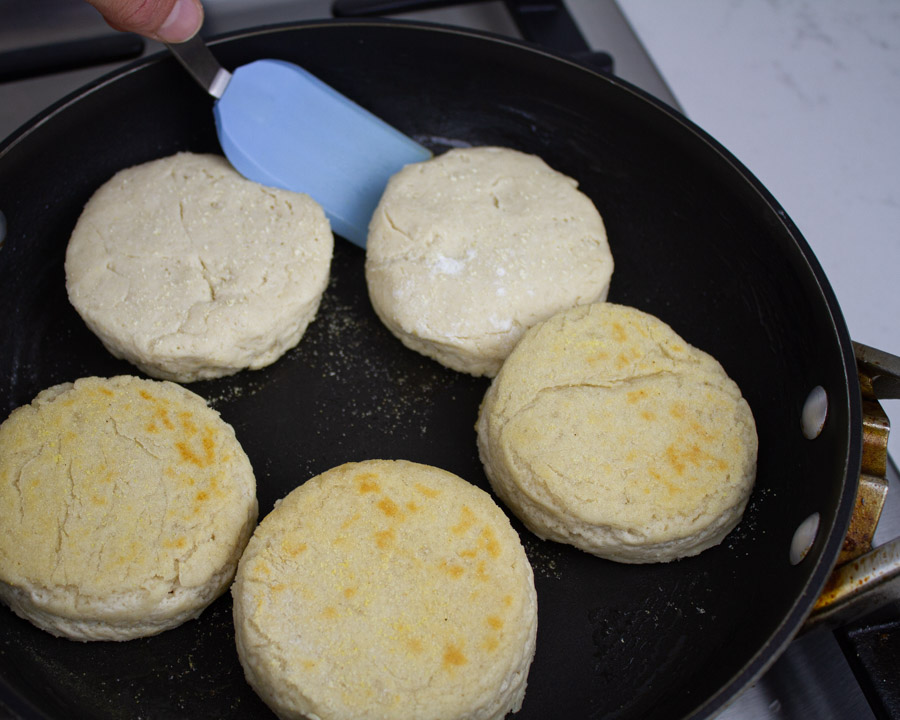
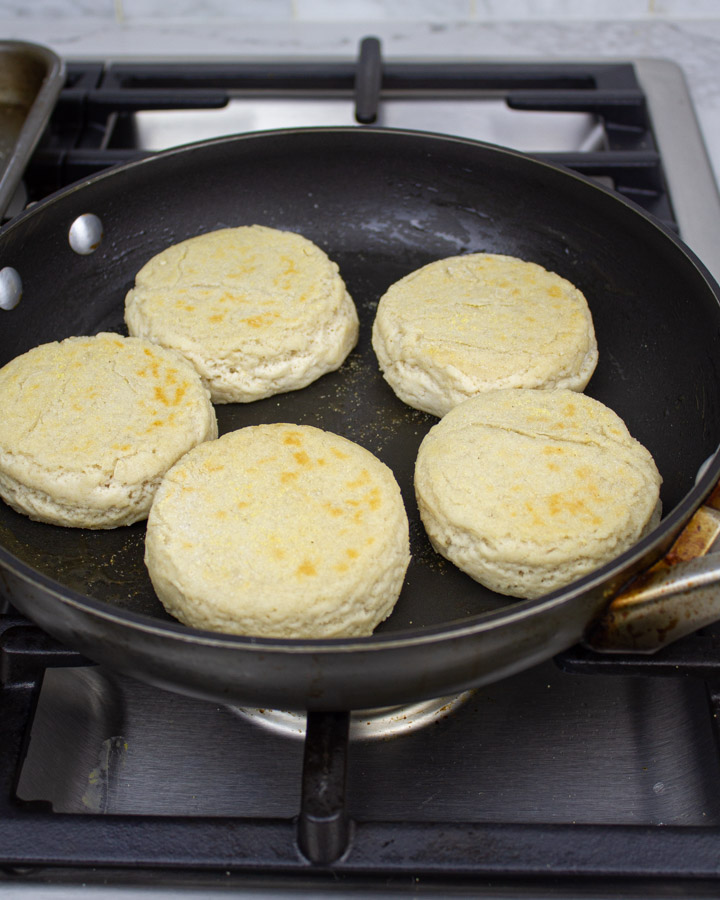
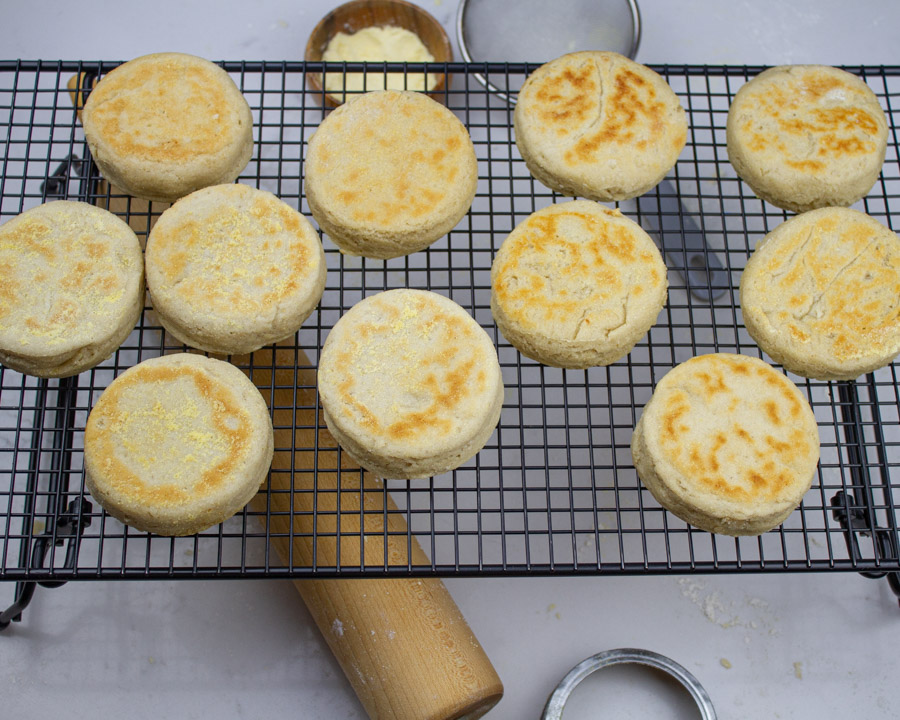
At this point, preheat the oven, and dust a baking tray with corn flour. Once all the English muffins rounds have been cut, melt a bit of butter in a medium sized frying pan. Fry each English muffin 1.5 min per side and place on the prepared baking tray. Ready to go into the oven and be baked.
Frying the English muffins before baking them gives the golden brown outside you’d expect from an English muffin. It’s a bit crunchy on the outside and has soft small holes which form from baking on the inside.

English Muffins
Course: Not Always BreakfastCuisine: CanadianDifficulty: Moderate12
servings1
hour15
minutesToasted warm, these gluten-free English muffins have a slightly crunchy outside, and a soft inside full of nooks and crannies; perfect to be spread with butter.
Ingredients
3 cups CUT flour
1 tsp salt
1 cup milk
1/4 cup cream
3 tbsp butter
1 tbsp dry yeast
1 tsp sugar
1/3 cup water (room temp)
3 large egg whites
1-2 tsp butter for frying
3 tbsp gluten free corn flour for dusting
Directions
- Sift together flour and salt.
- On medium/low heat melt butter, milk and cream. Once it comes to a boil, remove from heat and pour into flour mixture. Combine using stand up mixer. Let cool.
- Combine sugar and room temp water in medium bowl.
- Add yeast, wait for 15 minutes to proof.
- Pour yeast mixture with other ingredients in stand up mixer. Combine well.
- Flour counter surface with a small amount of flour and transfer dough onto counter. Cover with mixing bowl for 30 min.
- Separate 3 egg whites and allow to warm to room temperature.
- After 30 minutes, transfer dough back into mixing bowl with egg whites. Stir well to combine.
- Flour surface again if needed and slightly knead dough. Make a smooth ball and with rolling pin begin to roll flat.
- Roll to 1.5″ thick and dust dough with corn flour.
- Preheat oven to 350°F and dust baking tray also with corn flour.
- Using a round cookie cutter, lid or drinking glass, cut out circles for English muffins. They should be approximately 3-4″ wide in diameter.
- Melt about 1 tsp butter in large frying pan on medium/low heat. Fry muffins about 1.5 min per side or until golden brown. When flipped to fry the other side, dust more corn flour if needed over muffins in pan. Transfer to baking tray.
- Bake muffins for 12 minutes.
- Transfer to rack for cooling.
- English muffins are made for Saturday morning.
Stacey and Meg
Recipe Video
Notes
- These gluten-free English muffins freeze amazing. Make a batch and get ready for the weekend. Eggs Benny here you come!
Pour the coffee, spread the jam. It’s muffin time!