“Have yourself a Merry little Christmas, let your heart be light. From now on your troubles will be out of sight…”
It’s Christmas time! Let the celebrating begin, let’s pull out all the stops and really celebrate! We’ve made it through another year – Another year learning how to be more adaptable than ever with restrictions, quarantine, and how to keep living through these crazy times. If you’re anything like our families, we are ready for a pause in the busy.
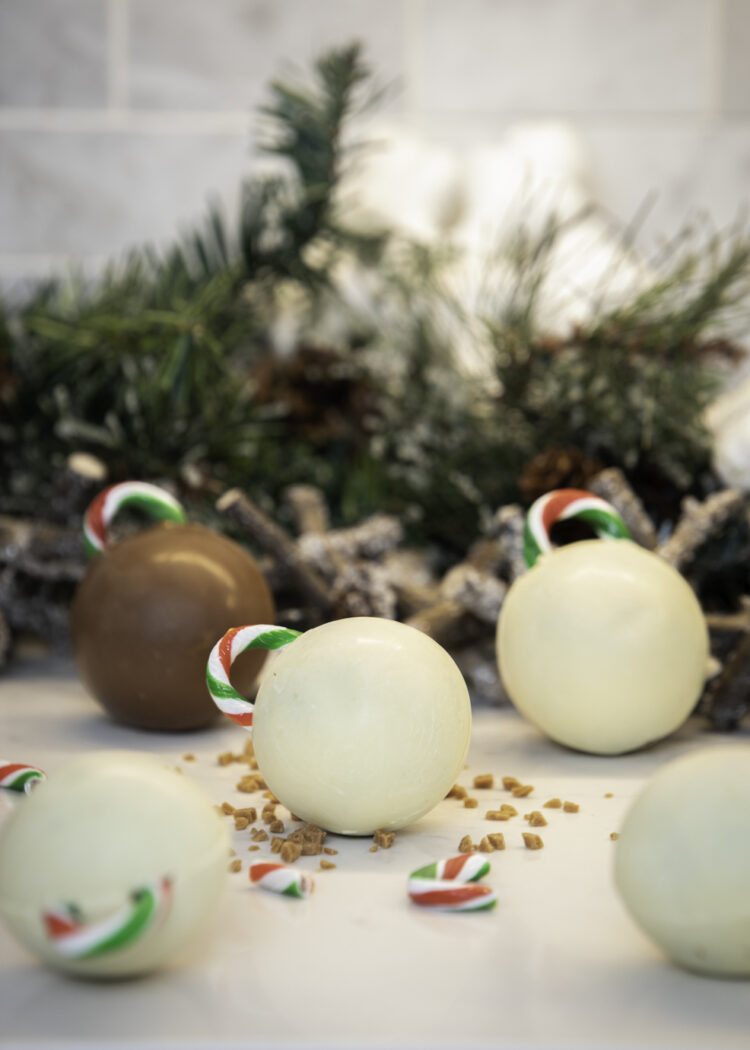
Thank goodness through it all we still have chocolate!! Lol, can you imagine if we didn’t?! We are so excited to share this recipe with you for our chocolate ornament bombs. A rich GF chocolate cake with added skor bits, held together with Cococo chocolate, and then infused all together with a warm gingerbread sauce …Do we have your attention? This recipe is “the bomb”!
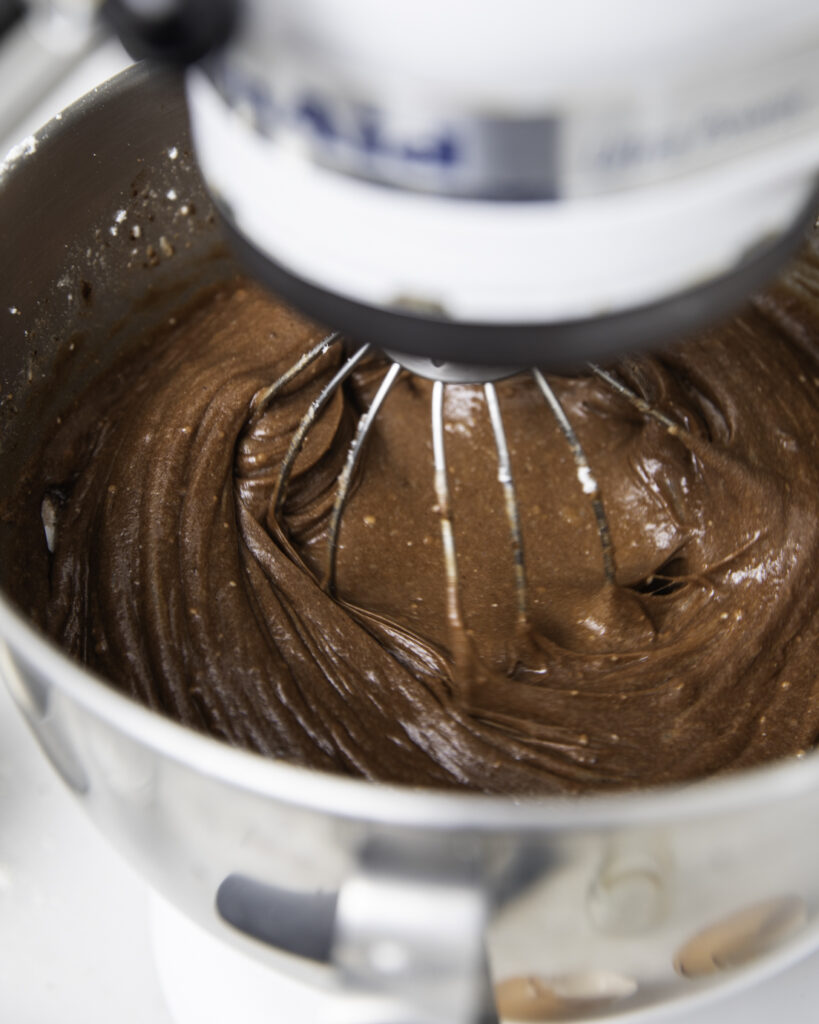
To get started, ensure you have a bag of CUT Cooking Flour and begin by baking the moist incredible GF chocolate cake. We promise this recipe will become your go-to chocolate cake. It’s light, moist and full of flavour.
While the cake is baking and cooling, begin creating the chocolate shells. As always, we’ve used our favourite local chocolatier – Cococo Chocolatiers. The quality and predictability in their baking chocolate is unmatched. So run to the nearest Cococo (or order from their website) and grab your favourite baking bar whether it’s semisweet, milk or white chocolate and let’s get tempering…

If you’ve never tempered chocolate before you might be asking first what tempering chocolate even is! Tempering is the process is which chocolate is heated and then cooled so it stabalizes to make glossy candies and confections. We’ll use this technique in creating the outer hard shell of the chocolate ornament.
It’s important to know that tempering chocolate isn’t hard but it needs to be executed with precision! Do not heat the chocolate too quickly and do not heat it over 43°C. Have patience! Using a double boiler melt the chocolate to 43°C. Then you’ll remove from heat and begin stirring in shaved/small pieces to bring the temperature down accordingly. For a dark chocolate you’ll want to bring it to 32°C, milk chocolate 30°C and about 29°C for white chocolate. To check if your chocolate is tempered correctly, dip the tip of a spoon into the chocolate. If the chocolate hardens quickly and is shiny (in 2-3 minutes) then it is tempered.
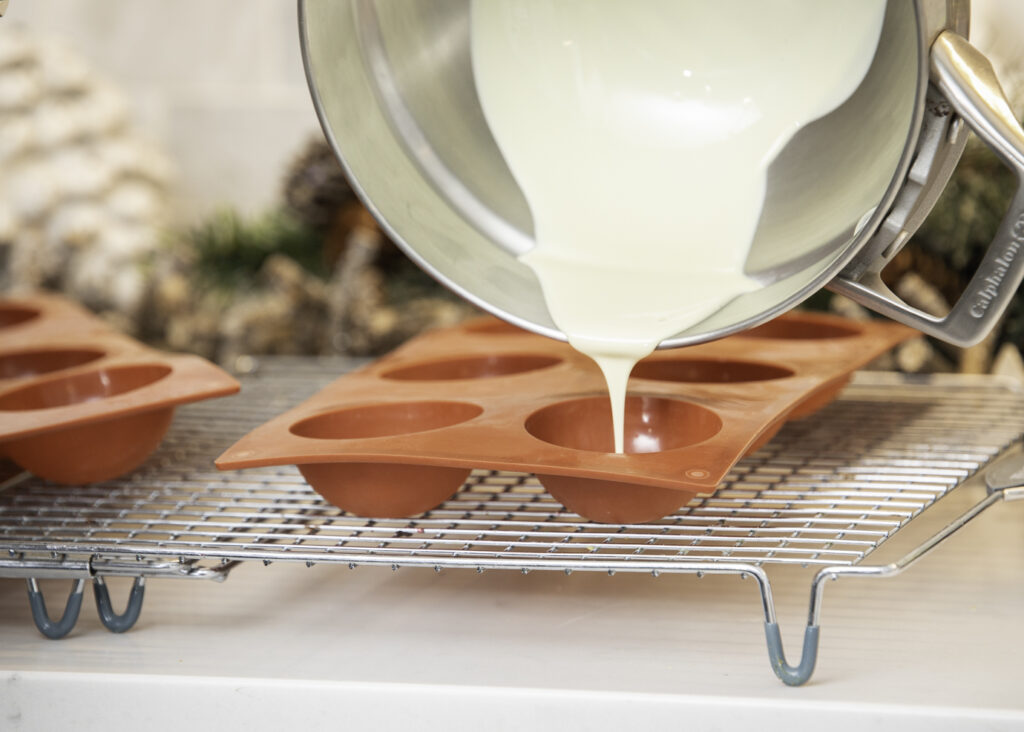
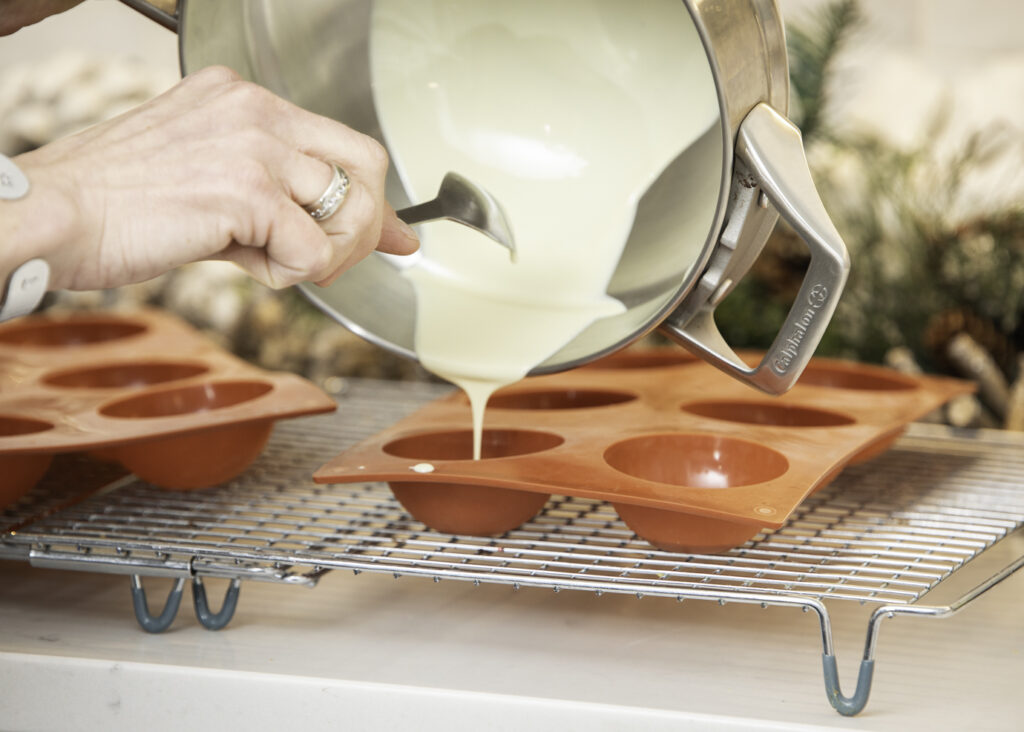
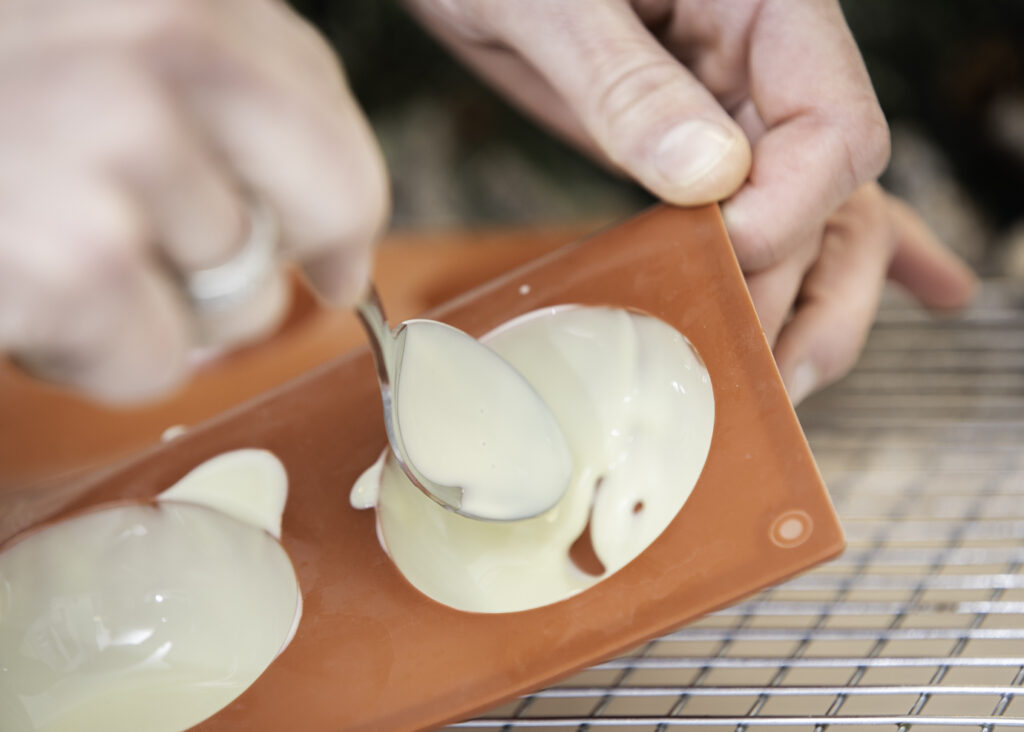
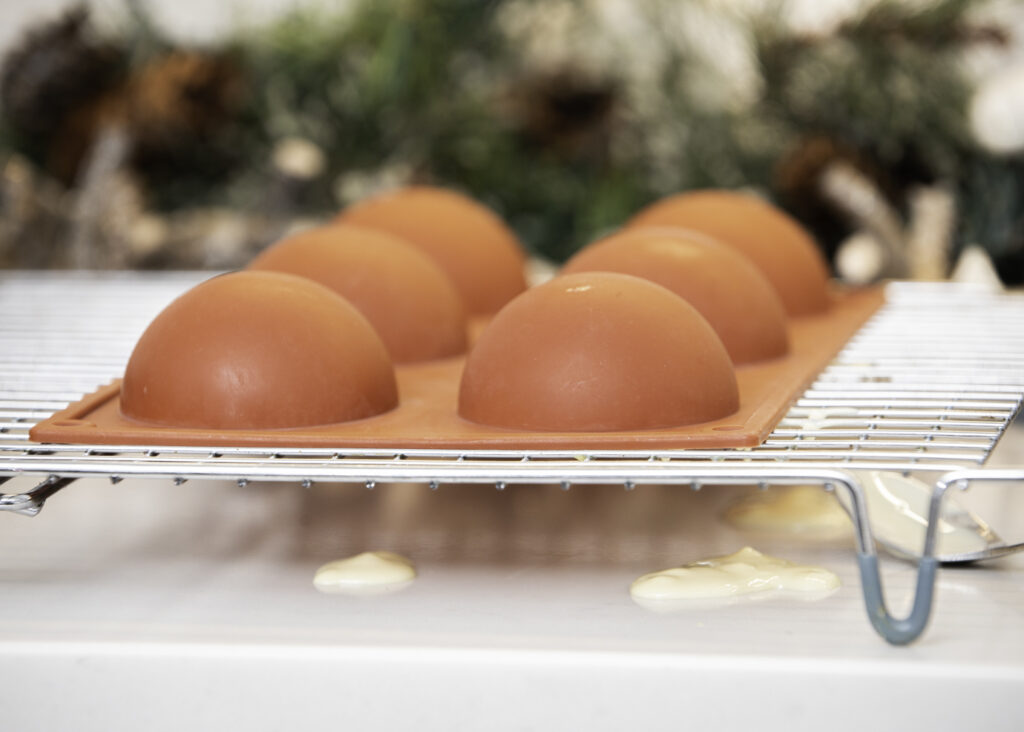
Once the chocolate is tempered, go ahead and begin pouring it into the molds. Using a spoon “pull” and “spread” the chocolate all around the edges of your mold. When you’ve covered all the surfaces within the mould, flip it over for the chocolate to run and cover everything evenly. This will ensure the chocolate doesn’t all settle to the bottom of your mould. (Depending on the size of your mould, you’ll use about 1-2 tbsp. of tempered chocolate. The ones shown in the pictures are a little smaller than the size of a baseball and we used 2 tbsp. of chocolate. You may also want to do 2 layers if your chocolate is thin.)

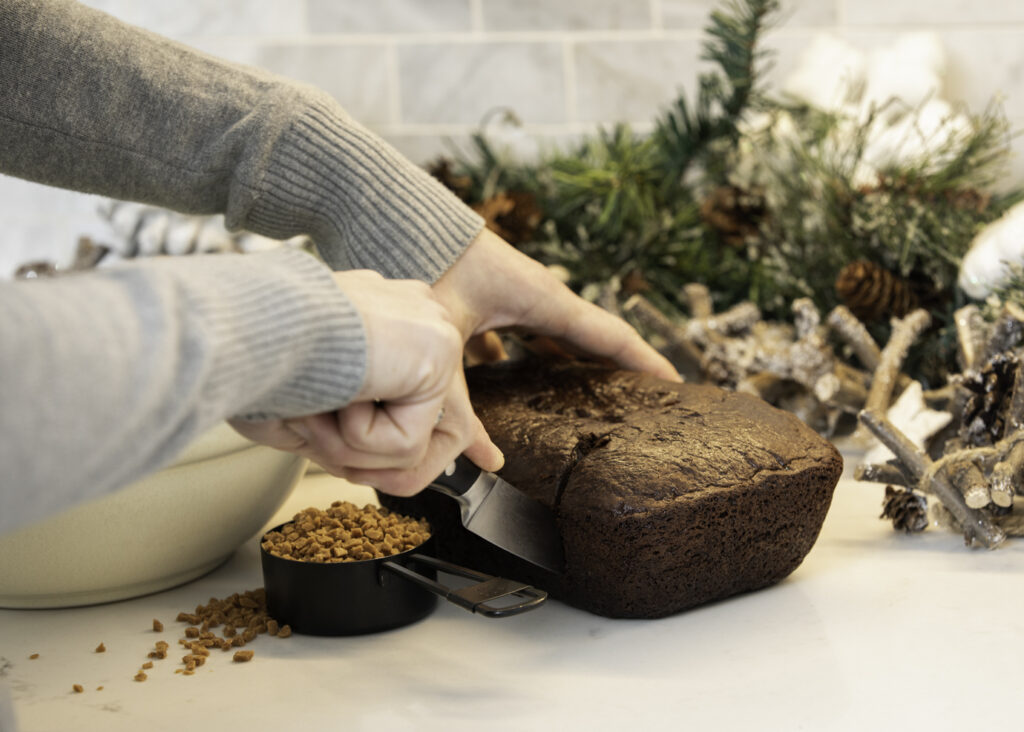
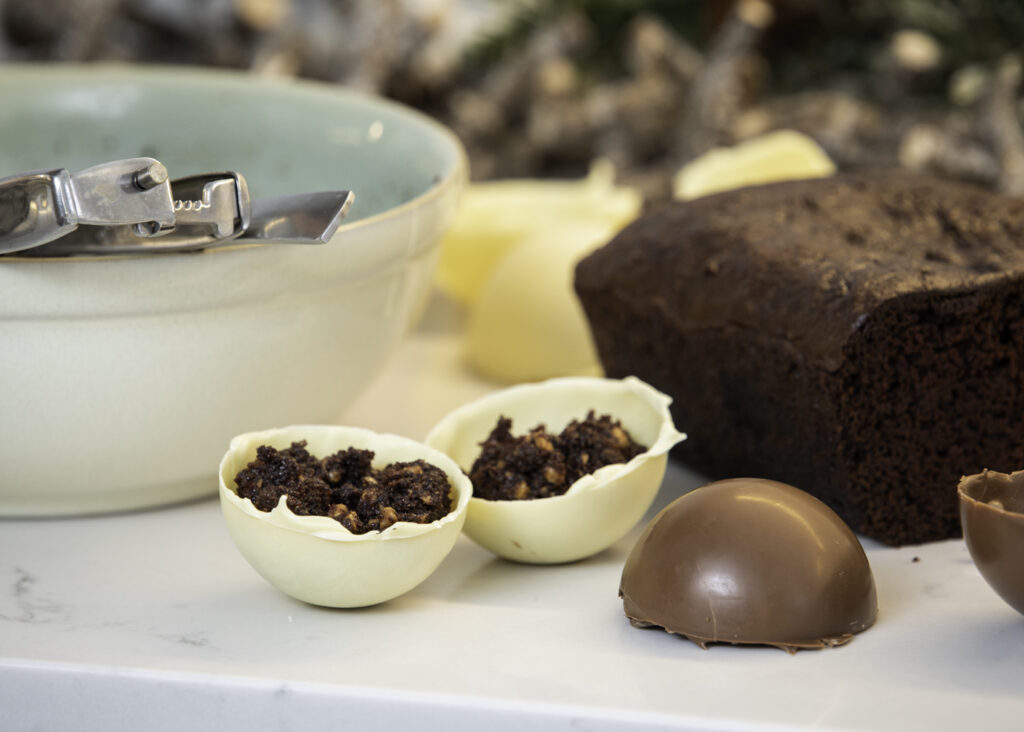
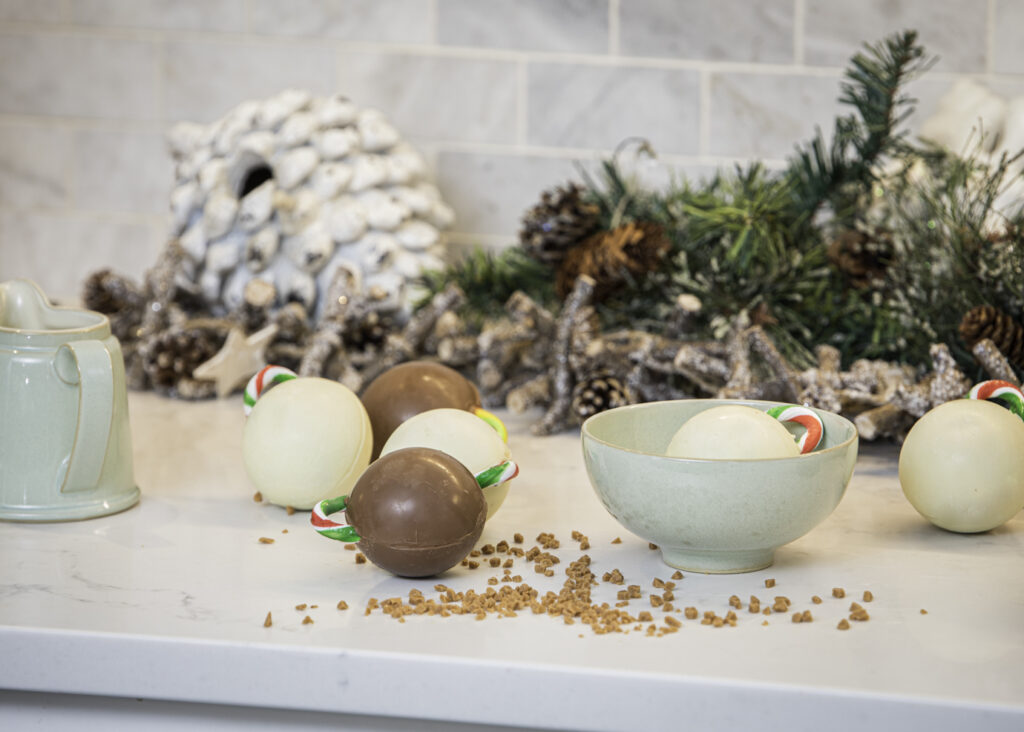
When your cake is baked and cooled, chocolate shells tempered and poured, you’re ready to assemble! This recipe makes about 6 large ornaments and thus calls for about 3/4 of your prepared cake. You’ll have a few bites of cake leftover to enjoy later!
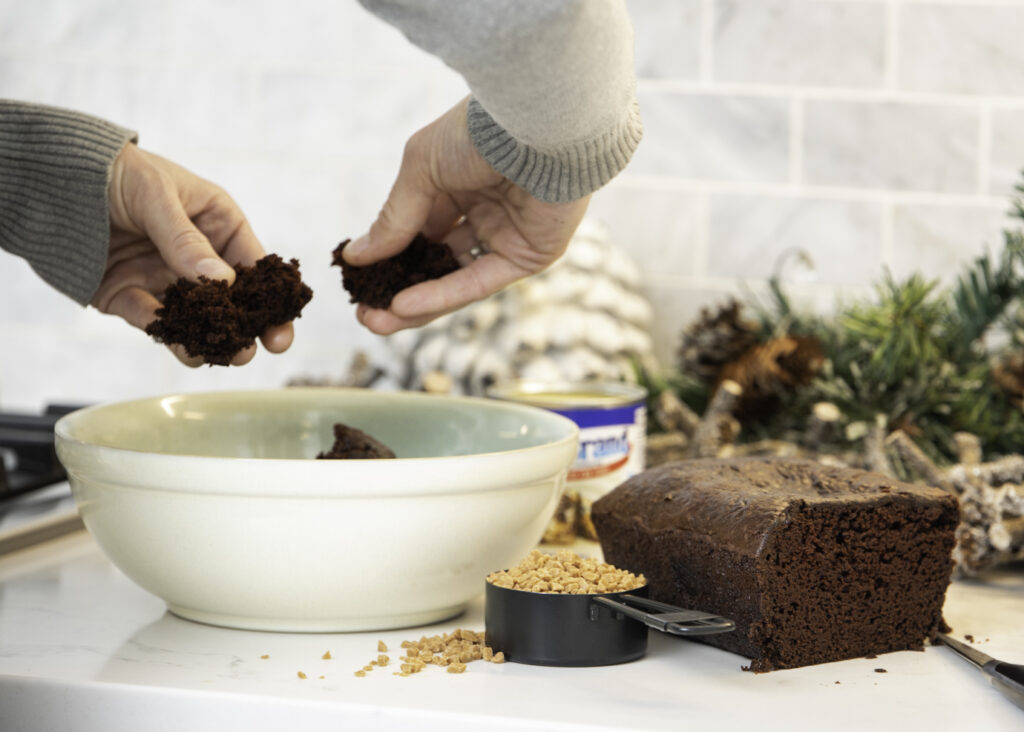
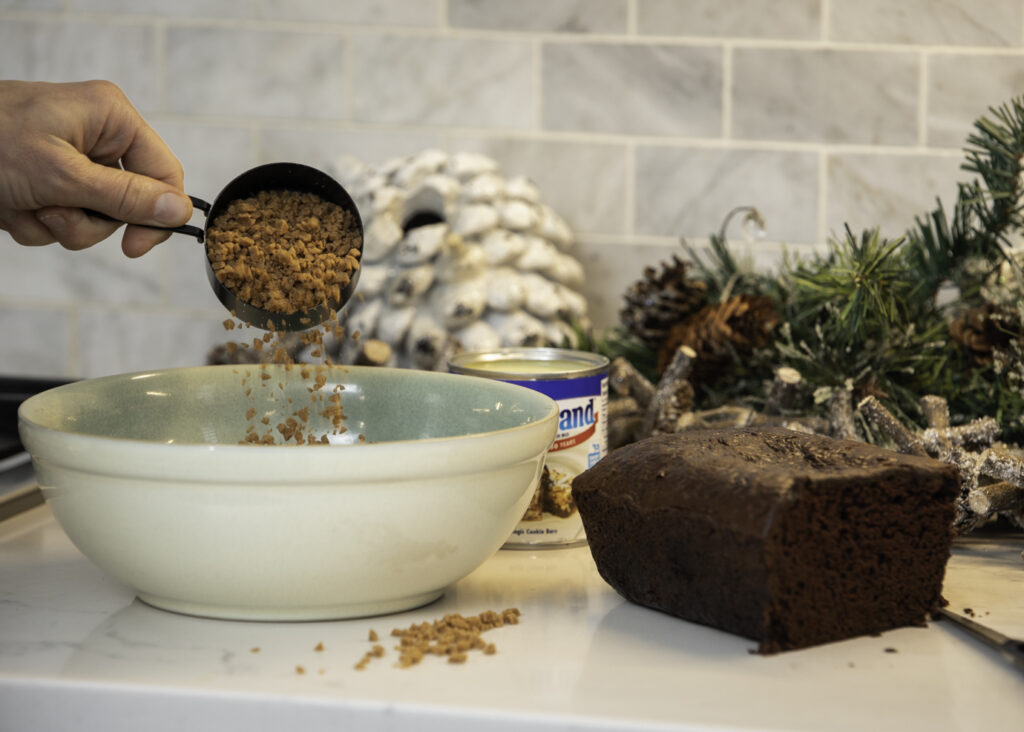
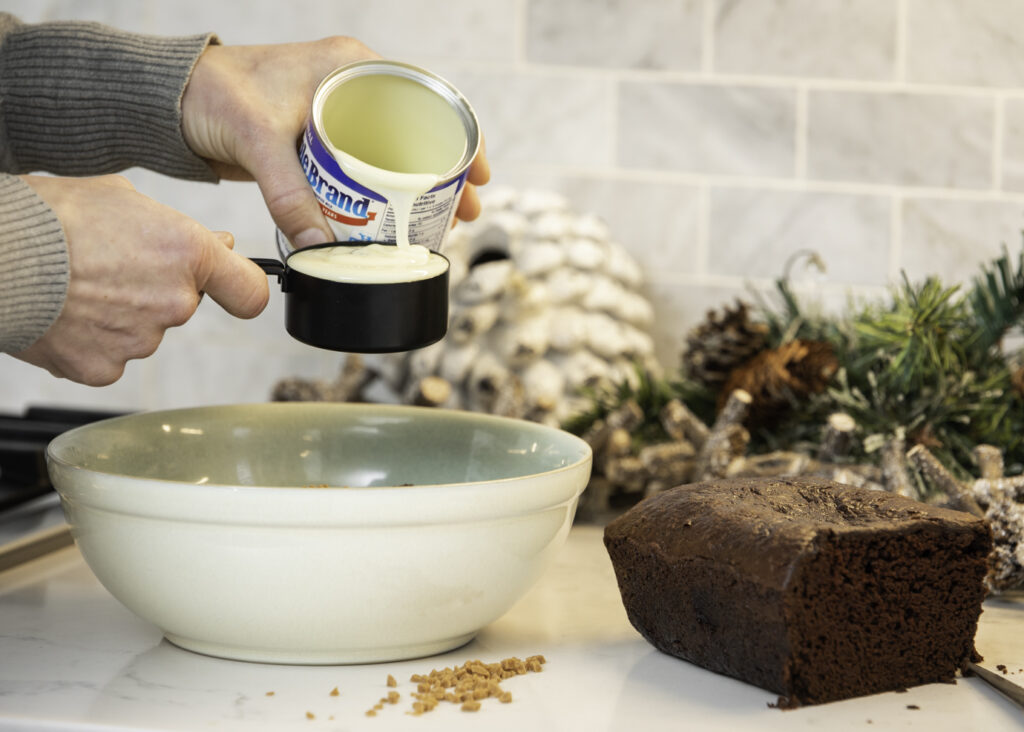
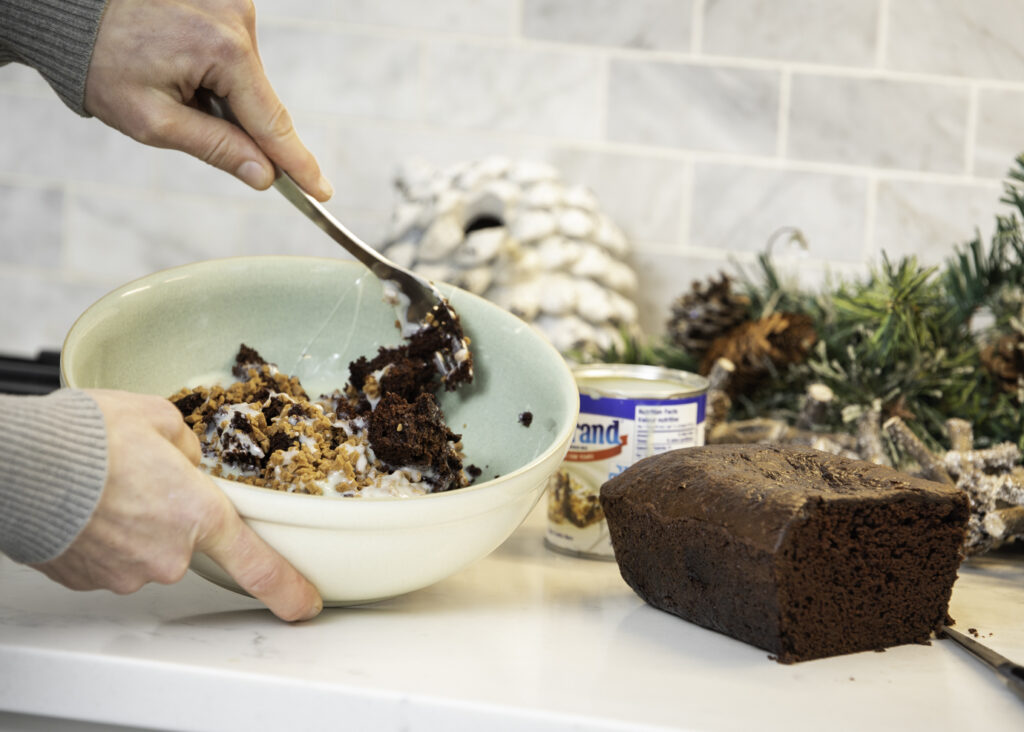
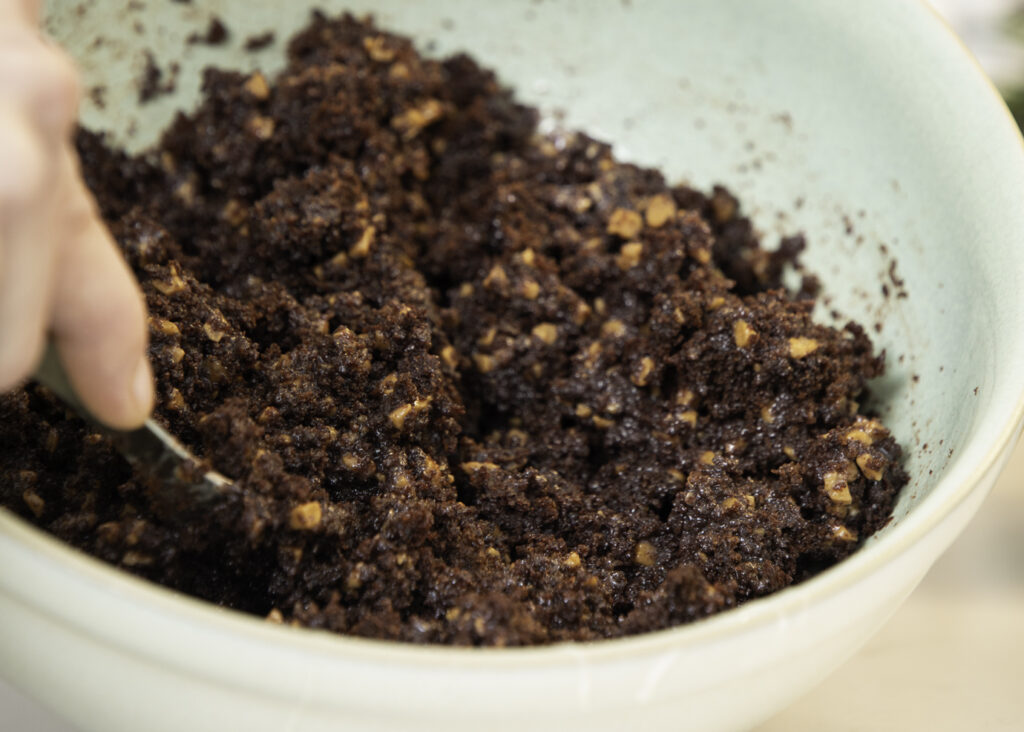
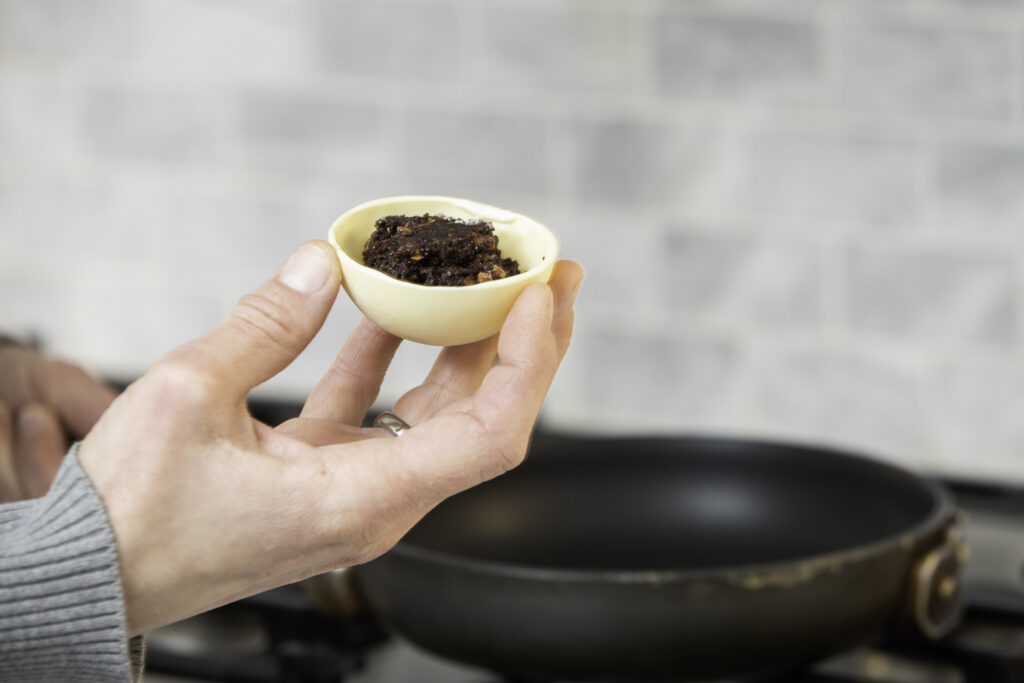
Using a large bowl, go ahead and crumble the cake into large pieces. Add bits of Skor toffee and condensed milk. Stir it altogether and you have created your “bomb” filling.
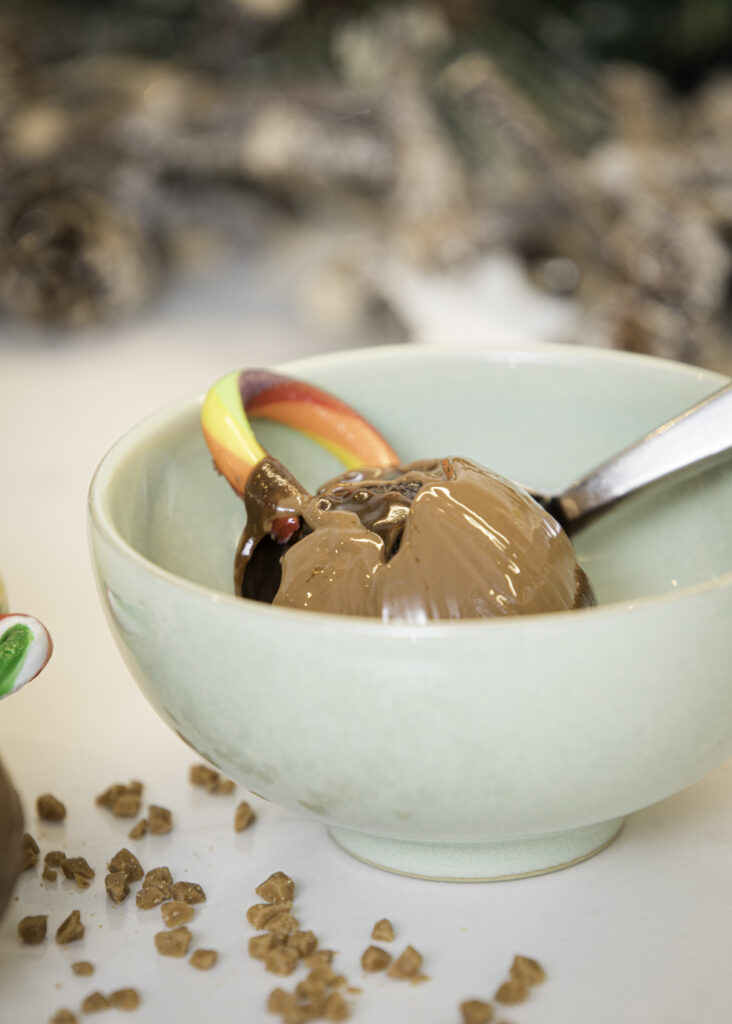
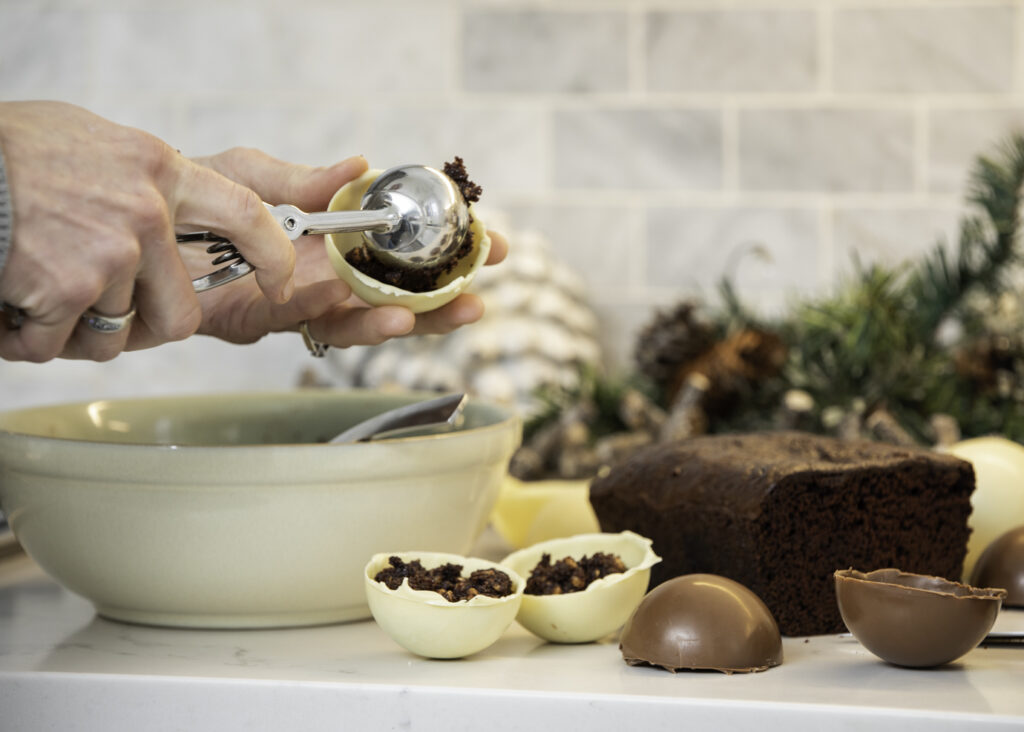
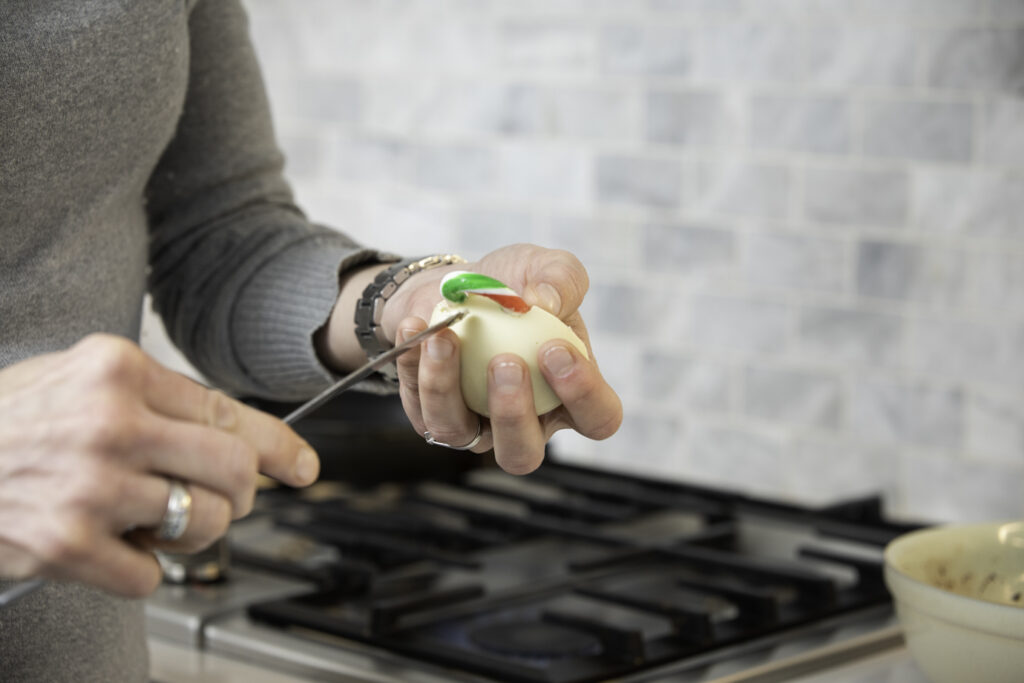
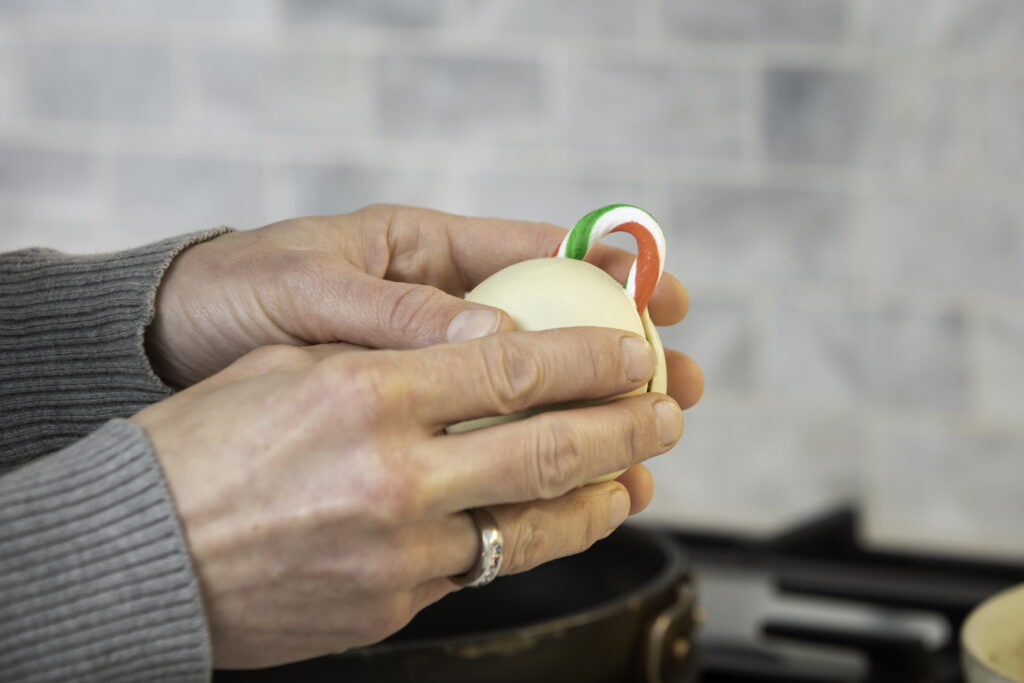
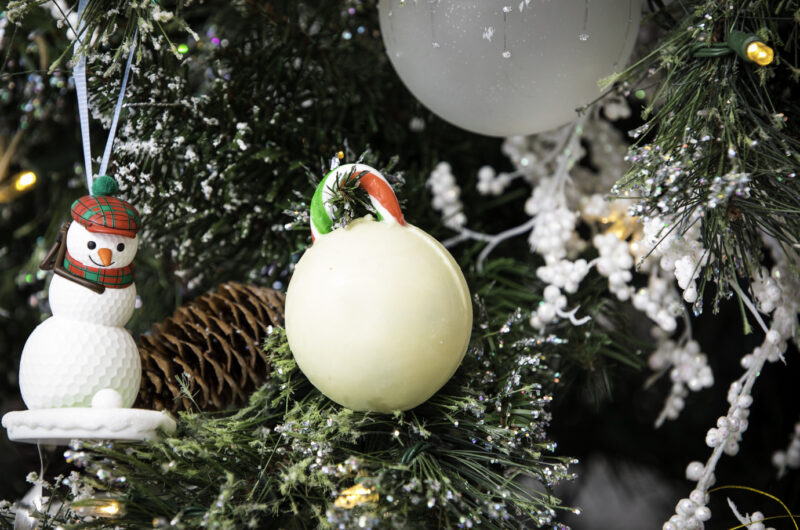
Using a scoop, fill each half of the chocolate shells with cake bomb filling. You can decide at this point if your making an ornament as shown, or simply a “snowball”. If you’re making an ornament, break a candy cane accordingly and melt a couple spots using a warm knife within one side of the shell. Make 2 indents for the candy cane to lay flush with the chocolate edge. This will ensure that when you “glue” both chocolate halves together, they fit tightly.
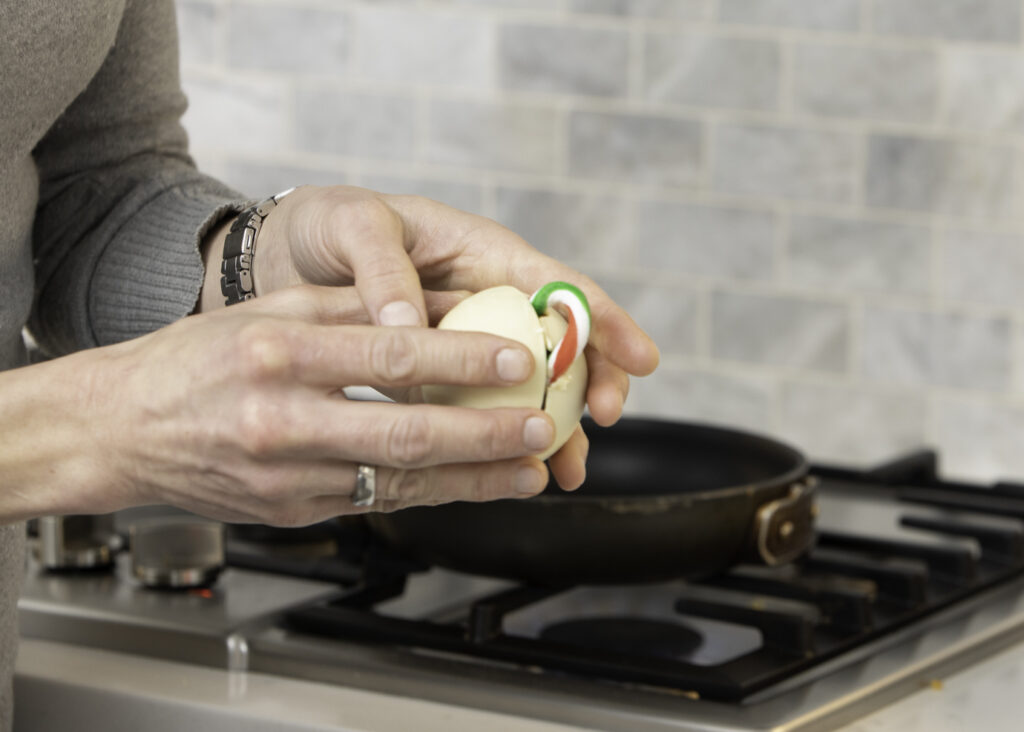
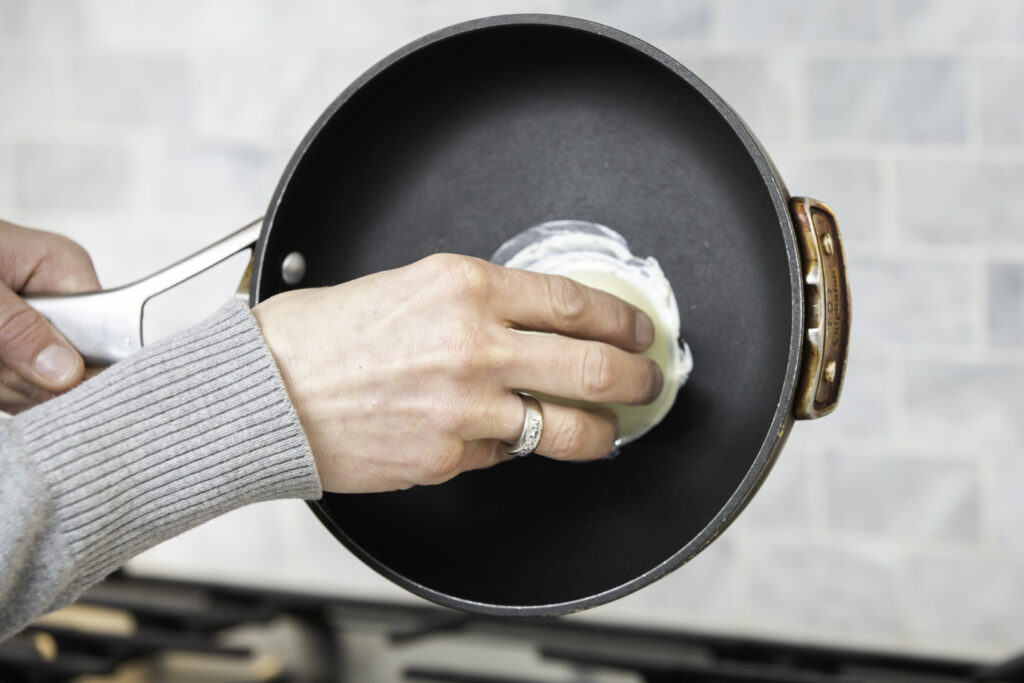
To “glue” both sides of your ornament together, heat up a frying pan to medium heat. Hold it vertical and with your other hand press the filled chocolate half against the pan. This will begin to warm and slightly melt the edges. Press the 2 halves together and within a minute or so you’ll have made your ornament! Let it sit on the counter to fully cool.
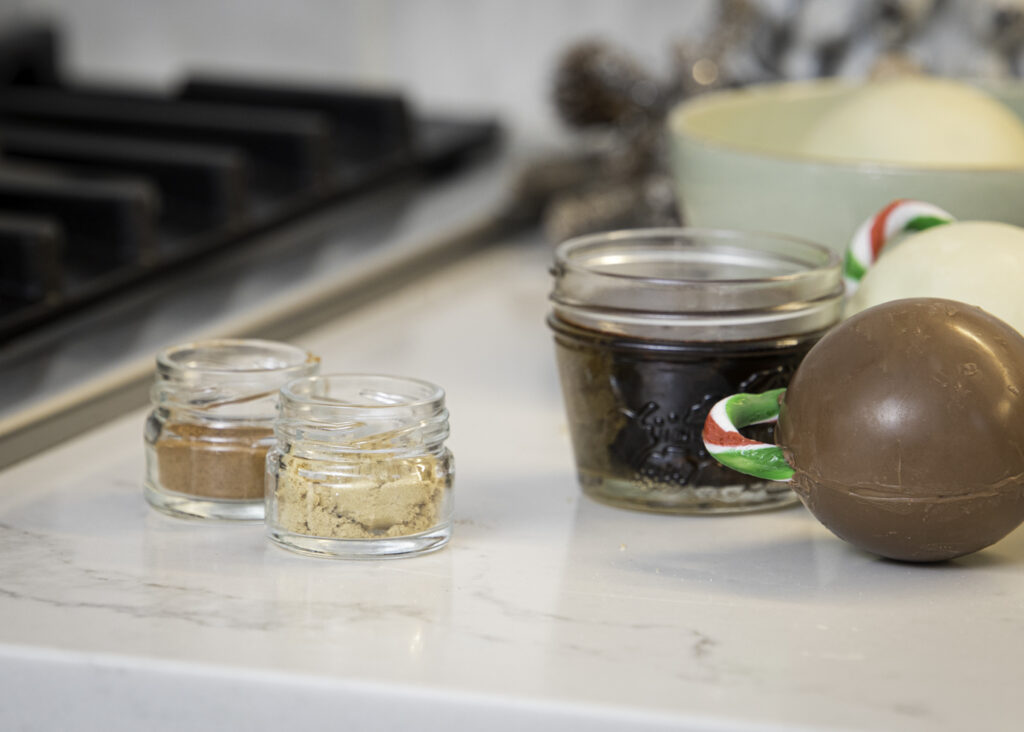
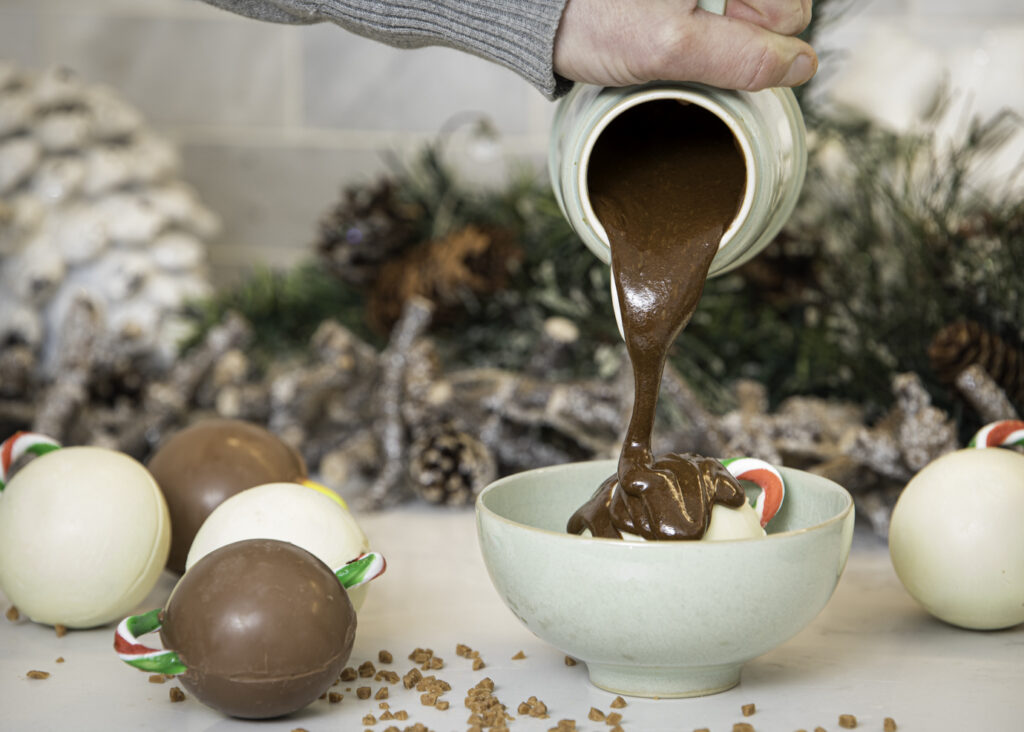
The last step is the spiced gingerbread sauce to pour over your cake bomb. A simple sauce and prepared within minutes, you’ll want to have this hot and ready before serving. Go ahead and make it beforehand, but it’ll need to be reheated again when it’s dessert time!
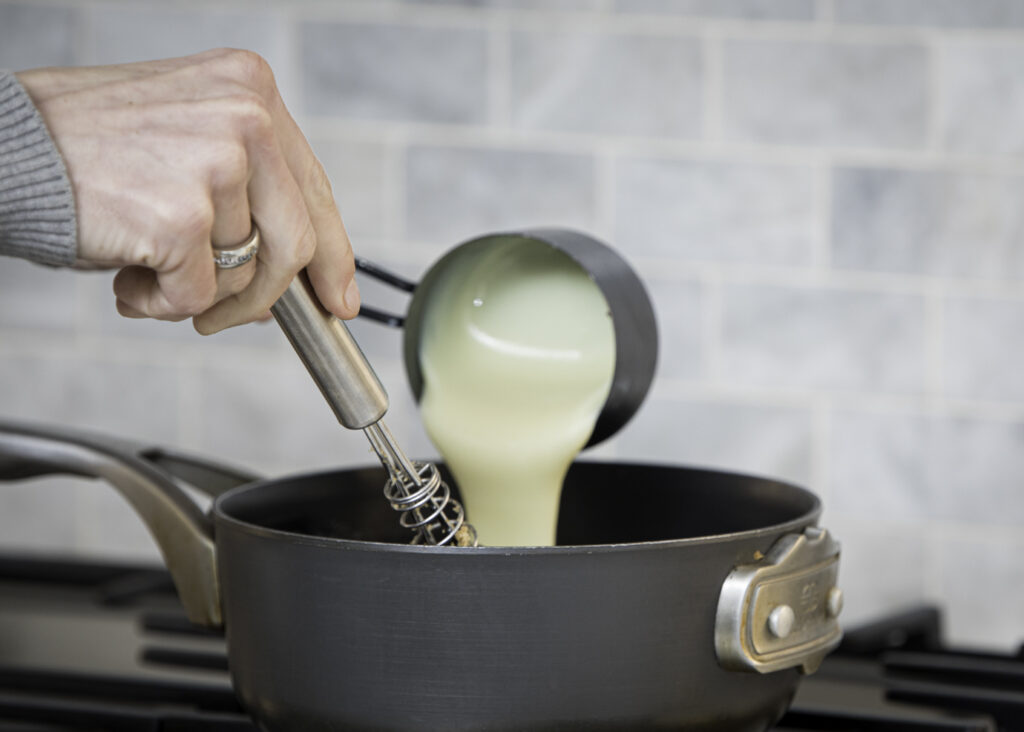
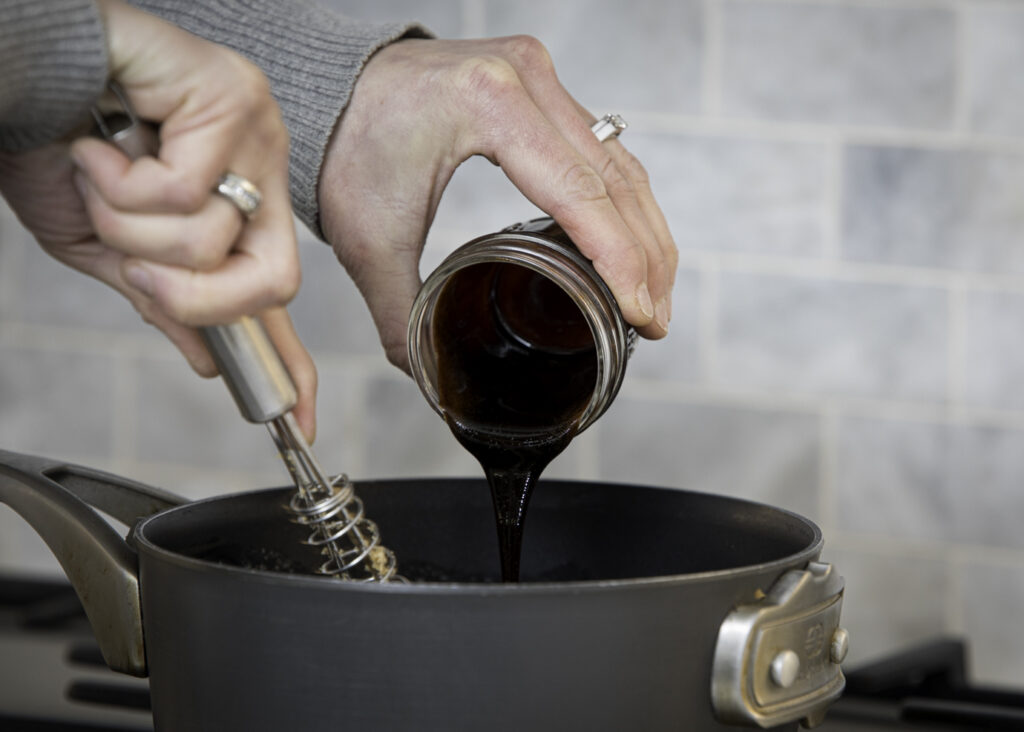
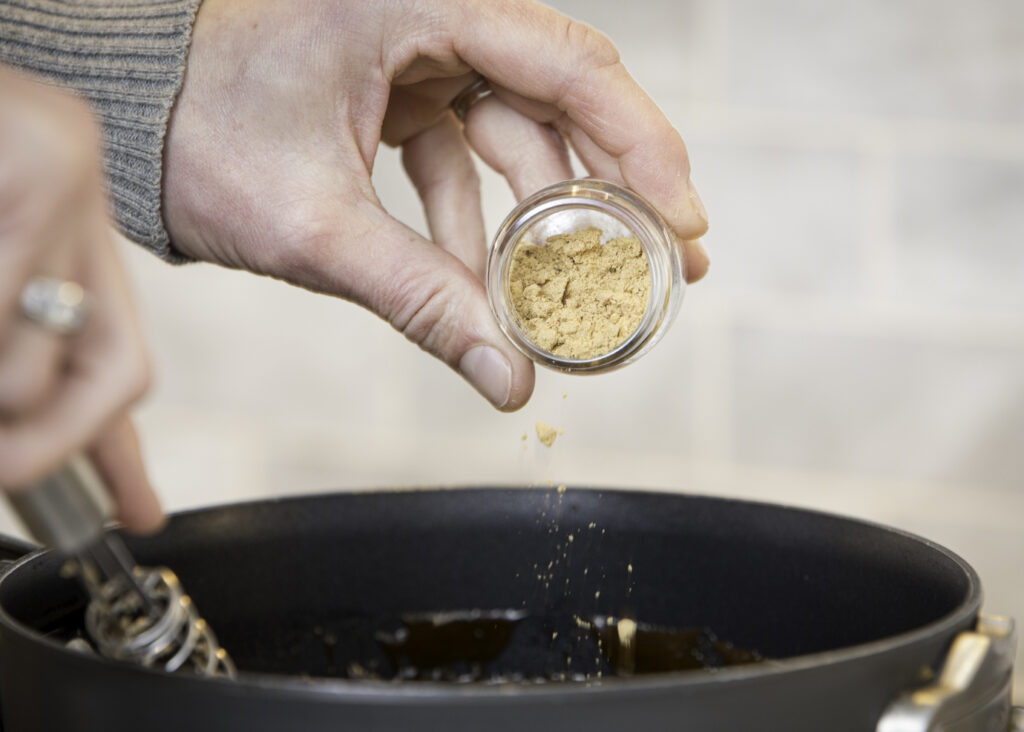
Using a medium sized suacepan, go ahead and combine everything together. Whisk well and bring it to a low boil. Pour sauce over each cake bomb individually and watch the magic of all things sweet melt together!!

Chocolate Ornament Bombs
Course: DessertCuisine: CanadianDifficulty: Difficult6
servings1
hour45
minutesAll things Christmas and sweet. A chocolate shell filled with moist chocolate cake and skor bits, enrobed with a rich, warm gingerbread sauce. These cake bombs will take traditional Christmas pudding to the next level!
Ingredients
- Cake Filling
1 cup white sugar
½ cup cocoa powder
1 egg
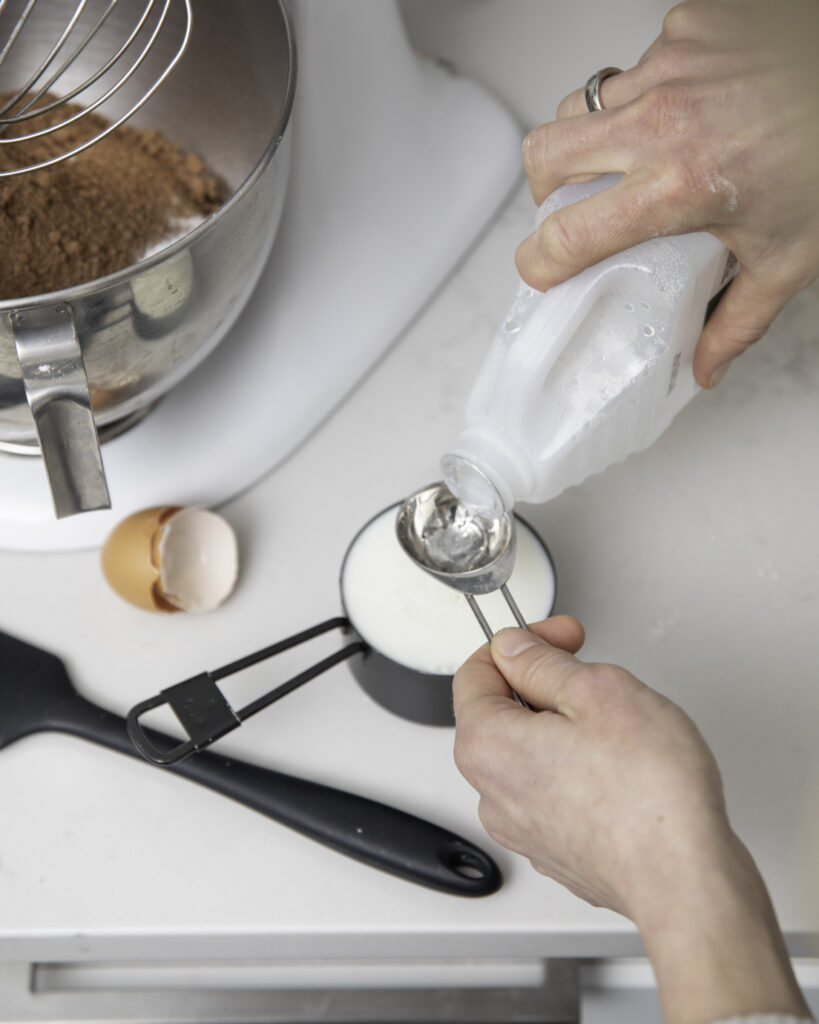
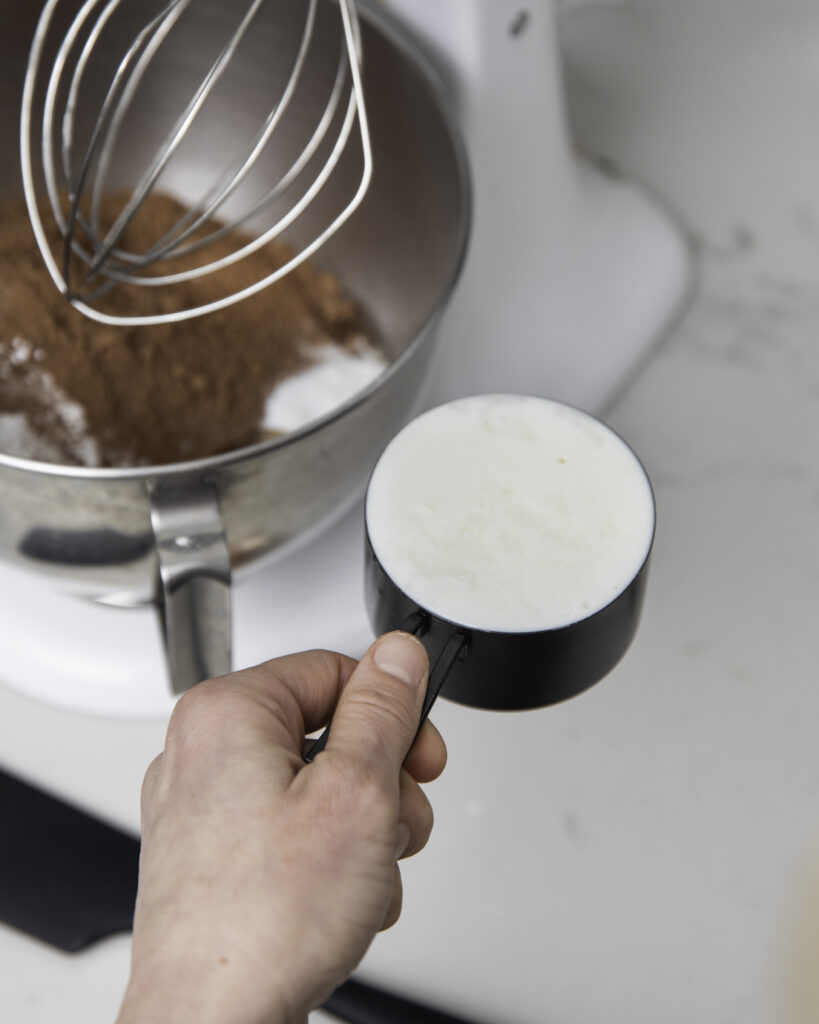
½ cup buttermilk (if you don’t have this on hand: you can substitute by simply adding 1 tbsp vinegar to ½ cup whole milk, stir well and add to cake batter)
½ cup HOT water
¼ cup olive oil
1 ½ tsp baking powder
1 tsp baking soda
1 tsp vanilla
¼ tsp salt
- Cake Filling
Use 3/4 of the baked and cooled cake, crumbled into large pieces
1 cup Skor toffee bits
½ can Sweetened Condensed Milk
- Chocolate Shell
10 oz Cococo Chocolatiers chocolate (Semisweet, Milk or White)
- Gingerbread Sauce
¼ cup butter
1/2 cup brown sugar
1/2 cup sweetened condensed milk
1/4 cup molasses
1 tsp cinnamon
1 tsp ginger
Directions
- Prepare Cake
- Preheat oven to 350°F
- Using an electric mixer, prepare cake by combining everything into large mixing bowl. Stir.
- Pour batter into greased loaf pan.
- Bake for 40-45 min. Insert toothpick into cake, if comes out clean, cake is ready!
- Remove from oven and let fully cool.
- Prepare chocolate shells
- Using a double boiler, temper chocolate. If using semisweet 32° C, milk chocolate to 30° C, white chocolate 29° C.
- Using silicone moulds, pour 1-2 tbsp. into each cup. Using a spoon, spread or pull chocolate to all sides covering the chocolate evenly throughout.
- Invert the entire mould on a cooling rack to let chocolate fully harden and not settle on the bottom of each sphere.
- When fully cooled, remove from mould.
- Prepare cake bomb filling
- When cake cooled, crumble 3/4 in large piece into a large bowl.
- Add condensed milk and Skor bits. Stir to combine.
- Build “ornament”
- Fill each chocolate half with cake bomb filling. Approximately 1-2 tbsp. into each “cup”.
- If making “ornament” break the top off a candy cane. Using a warmed knife, cut indents into one half sphere so that the candy cane sits flush with outer edges.
- Warm a frying pan over medium heat. Holding the pan vertically, set each chocolate half against the pan to soften and slightly melt the edges of each sphere.
- Place heated halves together to glue them together and create an ornament. Hold together for a minute. Let sit on a counter to fully cool.
- Prepare Gingerbread sauce
- Using a medium sized saucepan on low heat, combine all ingredients. Stir well.
- Bring to a slow boil.
- Remove from heat.
- Put it all together
- Serve completed ornament cake bomb in small bowl. Pour 2 tbsp. of heated gingerbread sauce over ornament.
- Enjoy the sweetness of Christmas!! Merry Christmas,
Stacey and Meg.