Ice cream, Ice cream, we all SCREAM for ice cream!!!

This summer has been truly incredible. Definitely one of the warmest, driest summer’s we’ve had in a long time. With many record setting days and temperatures over 30°C; ice cream has been in high demand within our homes. We’re certain you might be experiencing the same!


Whether you scoop your icy creamy goodness at home or venture to the nearest ice cream shop, gluten free ice cream is always a bit of a challenge to navigate. If you’re new to the GF journey or maybe just never realized, the presence of gluten is actually quite common in ice cream – let alone the cone it’s served in.

We decided to remedy this situation and provide you with a recipe for the most incredible, Chocolate Waffle Cones ever!

Did we mention that we’ve partnered once again with our friends at Cococo Chocolatier? We’re so excited to incorporate their creamy, Couverture Baking Chocolate and Dutched Cocoa Powder into this decadent, yet simple summer treat. If chocolate is in order, we know exactly who to turn to for a consistent, rich, and sustainable confection.

If you’re reading this and feeling a bit intimidated, you really shouldn’t! Our goal at CUT Cooking is to always armour you with accessible, attainable recipes. This one is no different. It’s honestly so simple, and so delicious, you might never buy another ice cream cone again!
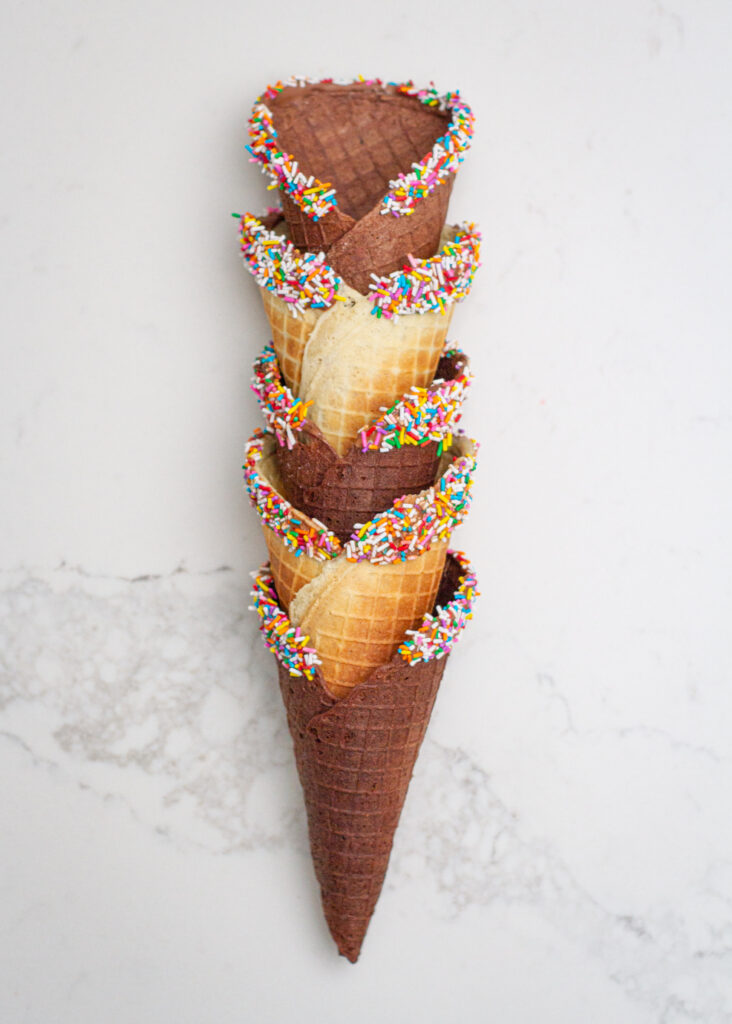
Our recipe is for chocolate waffle cones, however, you can also omit the cocoa powder if desired and make them just as original cones too. Don’t forget the tempered Cococo Chocolate though to rim the edges. It’s just too delicious to ignore! Or maybe you temper even more and dip the full cone! We dare you.

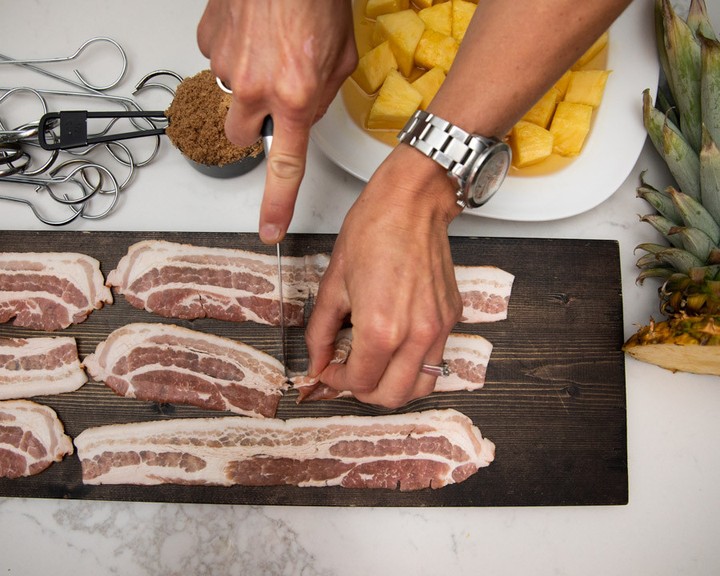
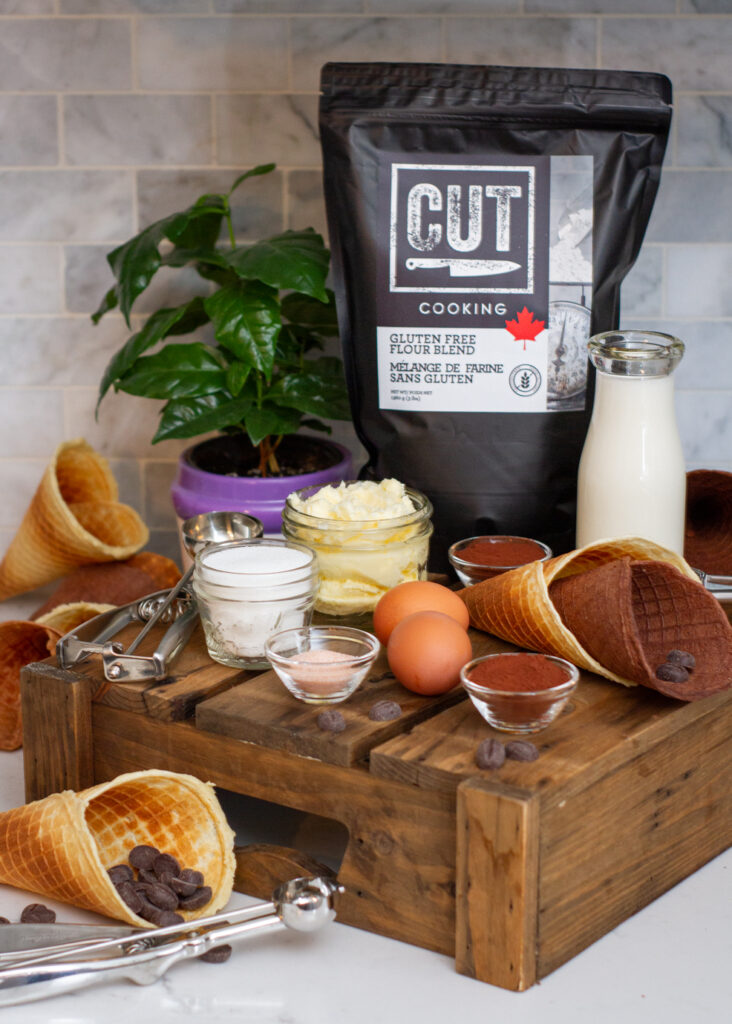
The only investment to get started is a waffle cone maker. Don’t worry! You don’t need the industrial version. Head to your local home/kitchen shop (or Amazon) and scoop one for around $40. It’ll be all you need. Don’t forget to also pick up a bag of CUT Flour, Cococo Couverture Chocolate and Dutched Cocoa Powder. That’s it!
Your summer patio is open, kids are still looking for ice cream. We’re sure with this recipe, you’ll be joining them. Let’s make waffle cones.
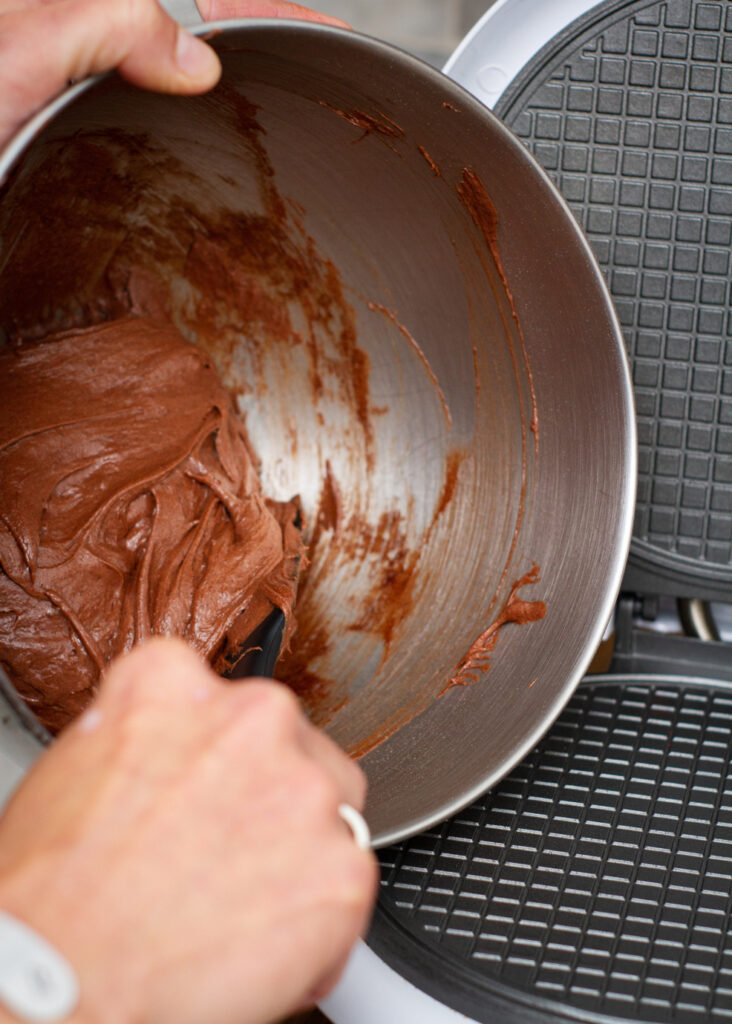
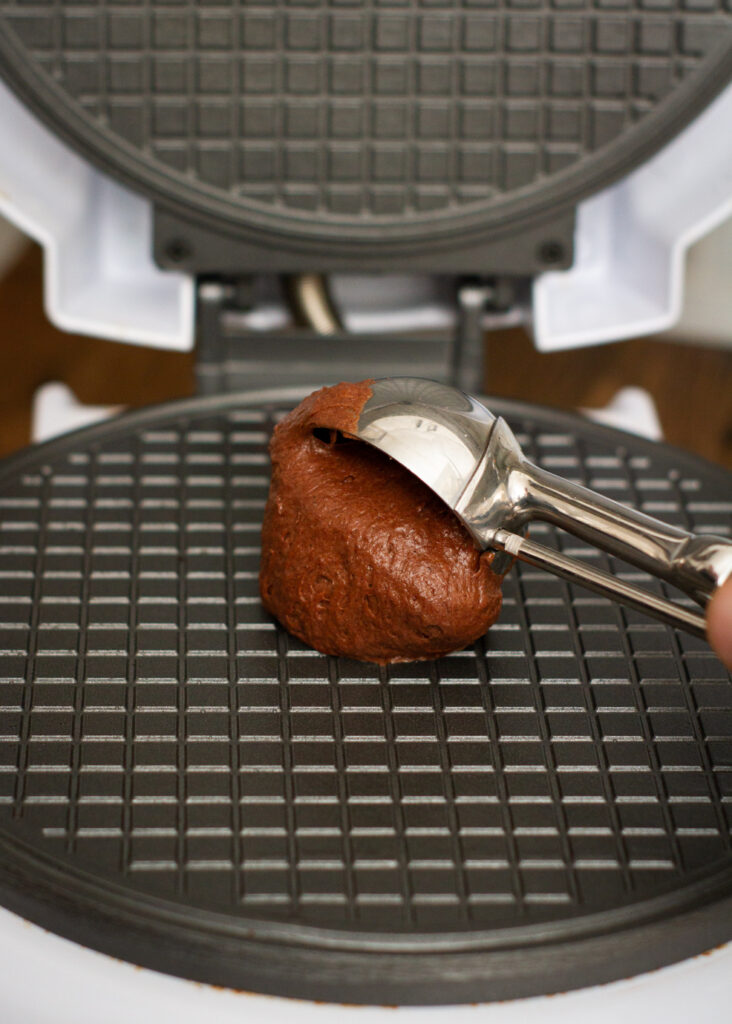
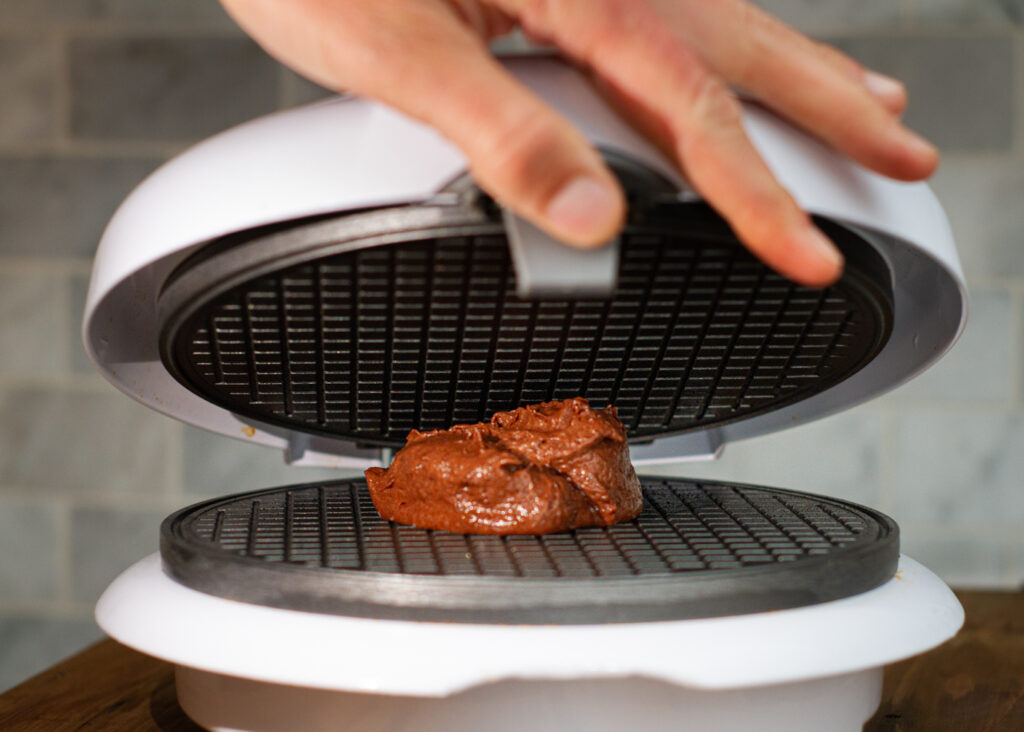
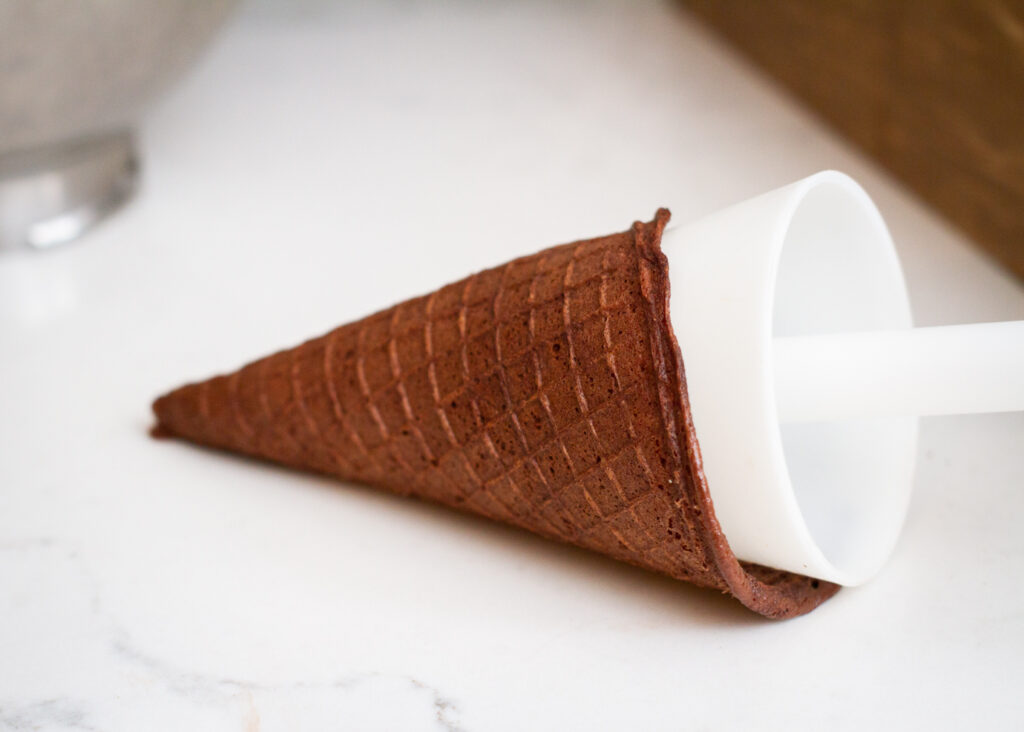
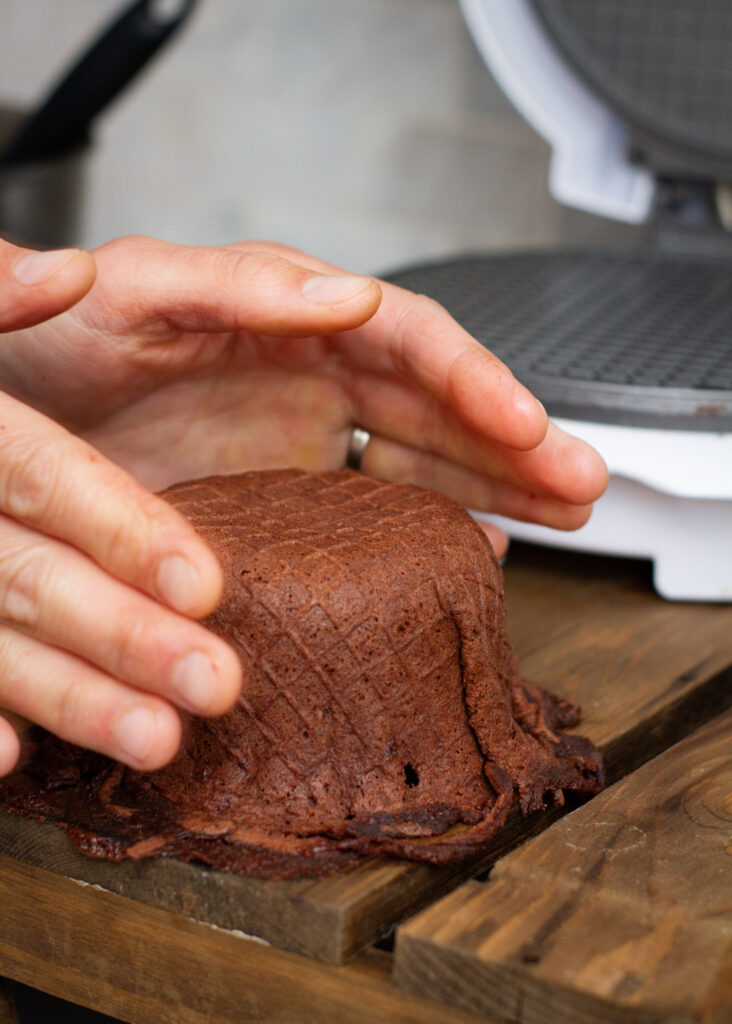
Simply combine all the ingredients with an electric mixer. Once everything is combined, we used a scoop to transfer the batter to the waffle cone maker. Then simply close the lid and within a couple minutes you’ll be ready to roll your cone. We cooked our waffle cones using a medium/high heat. Try making a couple cones first to practice your rolling abilities and to also allow you to check temperature settings.
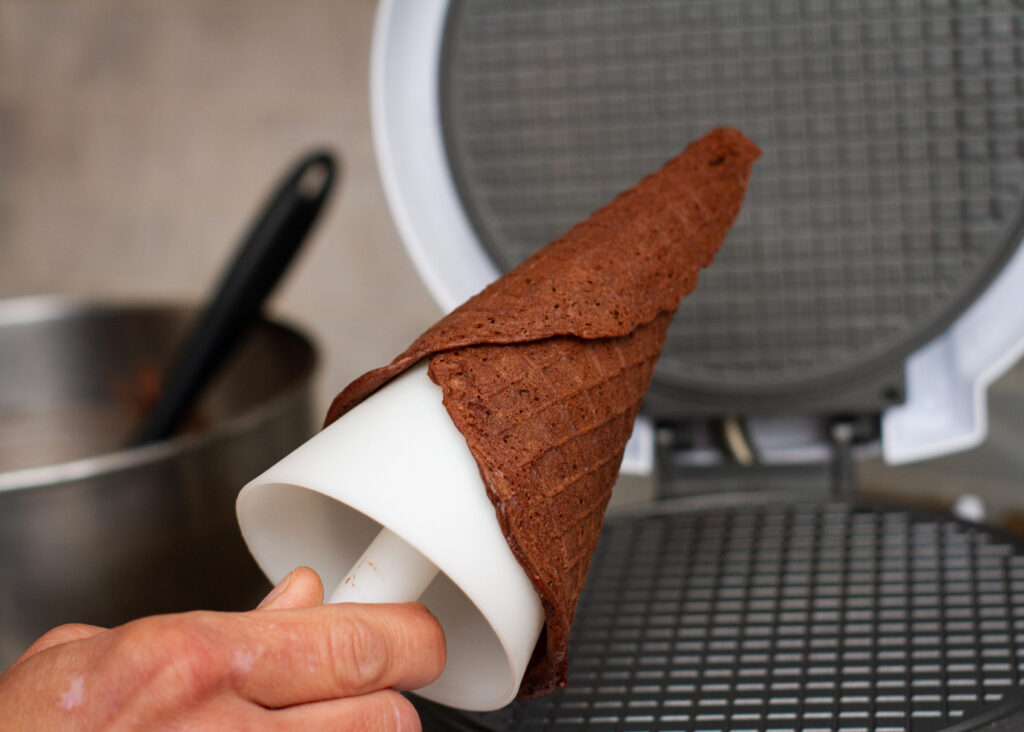
Don’t get frustrated if your first cone doesn’t roll tight or you have a huge hole at the bottom – You’ll get it! You can also use a small dish and press the cooked batter around and create a bowl. Either works and gives you options for serving your ice cream!

If you find that the cones are brittle and falling apart when rolling, the waffle maker might be too hot or the cones cooked too long. If you find they’re not crispy once cooled, turn up the heat. Have a little fun experimenting with something unique in the kitchen! You’ll get it!

Find your favourite flavour of ice cream and begin scooping! Don’t forget to double check labels. Start first to see if any of the ingredients include gluten, wheat, barley or rye. Then also see if a “May Contain” statement includes wheat or gluten containing ingredients. Most ice cream makers will now clearly mark if their ice cream is gluten free. If you’re at a shop, don’t hesitate to ask to read the label on the tub and scoop from a new bucket with a clean scoop. Summer is too short.

Although with this new option, we’re pretty sure that your own kitchen will become the new neighbourhood favourite ice cream parlour!


Chocolate Waffle Cones
Course: Dessert, TreatCuisine: CanadianDifficulty: Easy12
servings5
minutes20
minutesA decadent, gourmet treat that incorporates the tradition of a waffle cone, and then infuses it with a rich chocolate note. Start scooping, backyard summer parties will never be the same.
Ingredients
2/3 cup CUT Flour
2 large eggs
1/2 cup sugar
1/4 cup melted butter
1/4 cup whipping cream
2 tbsp Dutched Cocoa Powder
1/2 tsp salt
- Optional:
4 oz. Cococo Chocolate for tempering and dipping the waffle cones edges…or we dare you – dip the entire cone! Temper more chocolate and have some fun.
Directions
- Heat waffle cone maker.
- Combine all ingredients in electric mixer except the optional Cococo Chocolate for tempering.
**You can also decide to make traditional waffle cones by simply not adding the cocoa powder. - Mix well.
- Add approximately 2 tbsp of batter to waffle cone maker and cook to manufacturers instructions. Approximately 2 minutes on medium/high heat.
- Immediately remove the cooked waffle cone and roll over cone mold. Let sit for a couple minutes to cool while you begin the cooking process of a new cone all over.
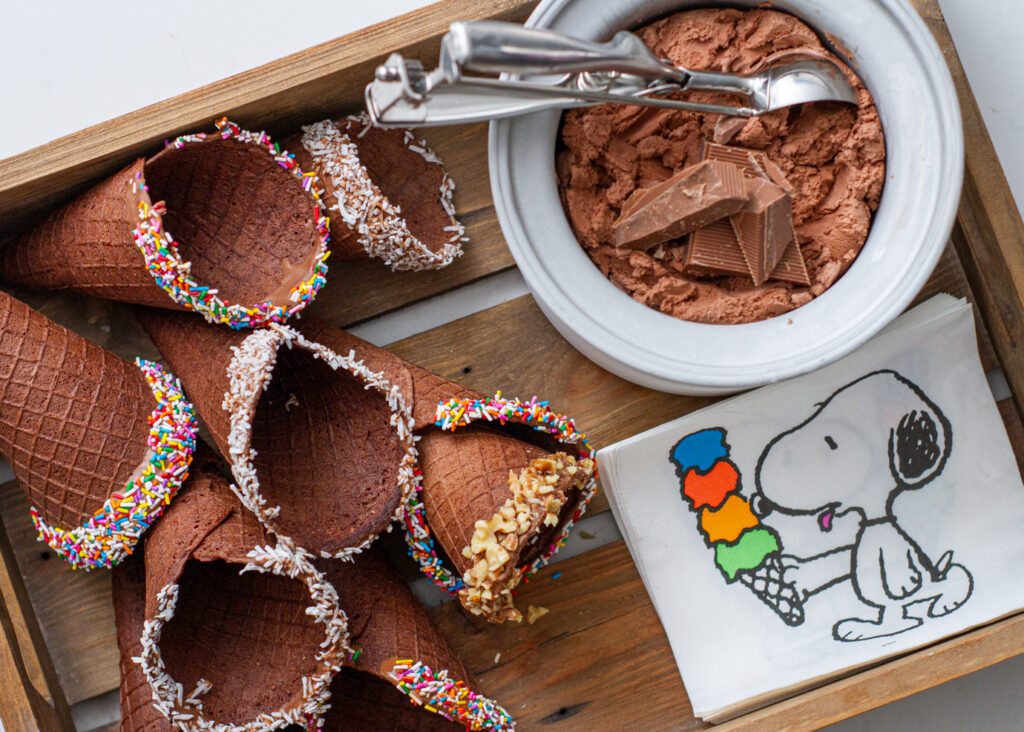
- Begin tempering Cococo Chocolate for dipping the edges of the formed waffle cones. If you’re going to top the chocolate, let the chocolate sit for approximately 30 seconds once dipped. We used coconut, nuts, sprinkles and “M&M’s” but the sky is the limit with what you could roll your cones in.
- Get scooping ice cream, get licking!
Stacey and Meg