What is it about these sweet, pillowy confections that any age loves? Why is it that the thought of a marshmallow to brings comfort or memories of fun? It’s as though the marshmallow is a medicinal sugary treat. A goody used in both adults and children to bring joy and solace to our souls. Did you know this isn’t far from the truth?! Yes, these squishy, sugary bites we char over fires and add to cereals; are inspired by an ancient herbal confection that used to be made from the root of a marshmallow plant.
That’s right! There is truly a marshmallow plant. Althaea Officinalis, is a perennial flowering herb that grows in wet, marshy areas. It’s sap-like substance has a history in herbal medicine that was used to treat wounds, reduce inflammation, cure toothaches and sooth sore throats throughout many different cultures. Ha! So maybe a little different uses than the sugar we now consume. However, we have this incredible plant to thank for the marshmallows we love to float in our mugs of hot chocolate today!

With this knowledge and the fact that our families both adore marshmallows of any form, we set out to learn to make marshmallows. We had so much fun trialing these, the ideas have never stopped. Needless to say, we became quite good at making these gourmet marshmallows and are excited to share this recipe with you!
Don’t worry, the directions may seem a little overwhelming but we promise you can do this. We are ambitious ladies, but always authentic and accessible with what we present to you! Here we go.

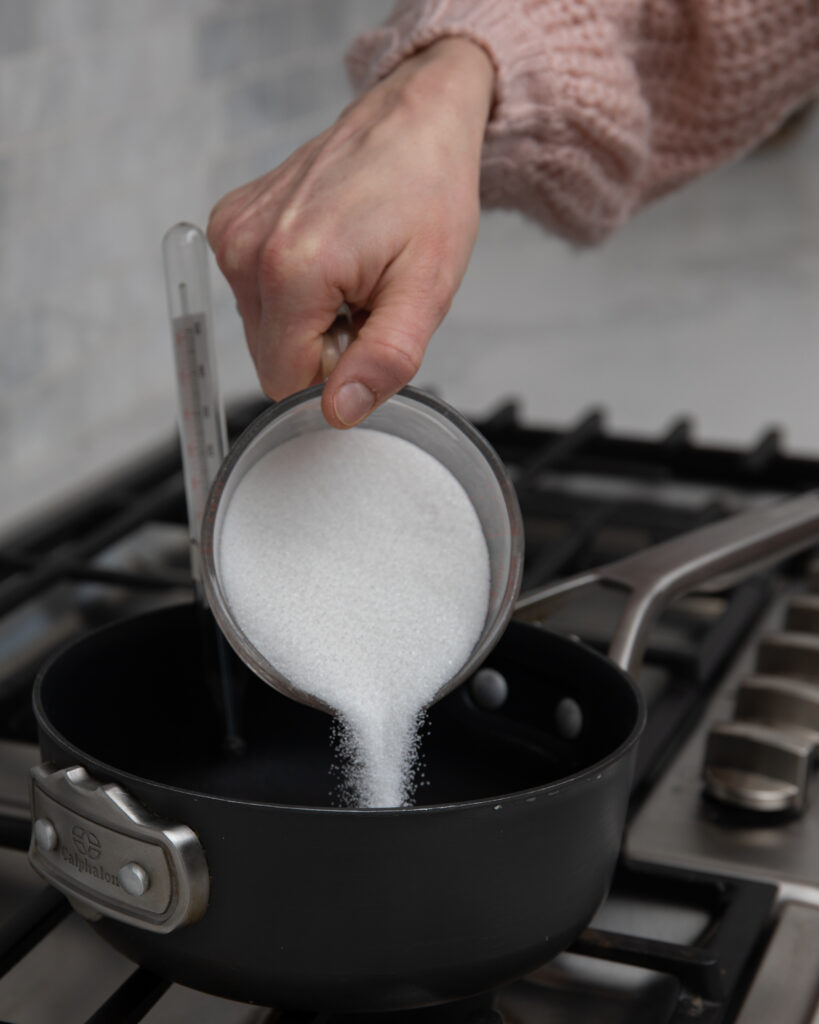
Literally 4 ingredients as a base recipe you won’t need much. The only thing you may need to invest in is a candy thermometer. This is not a huge expense (approximately $15) and usually is not hard to find. Look at your local grocery store next time, or definitely the closest Walmart or of course our favorite….Amazon. Starting without the heat on, simply combine the stovetop ingredients and make sure they’re mixed well.
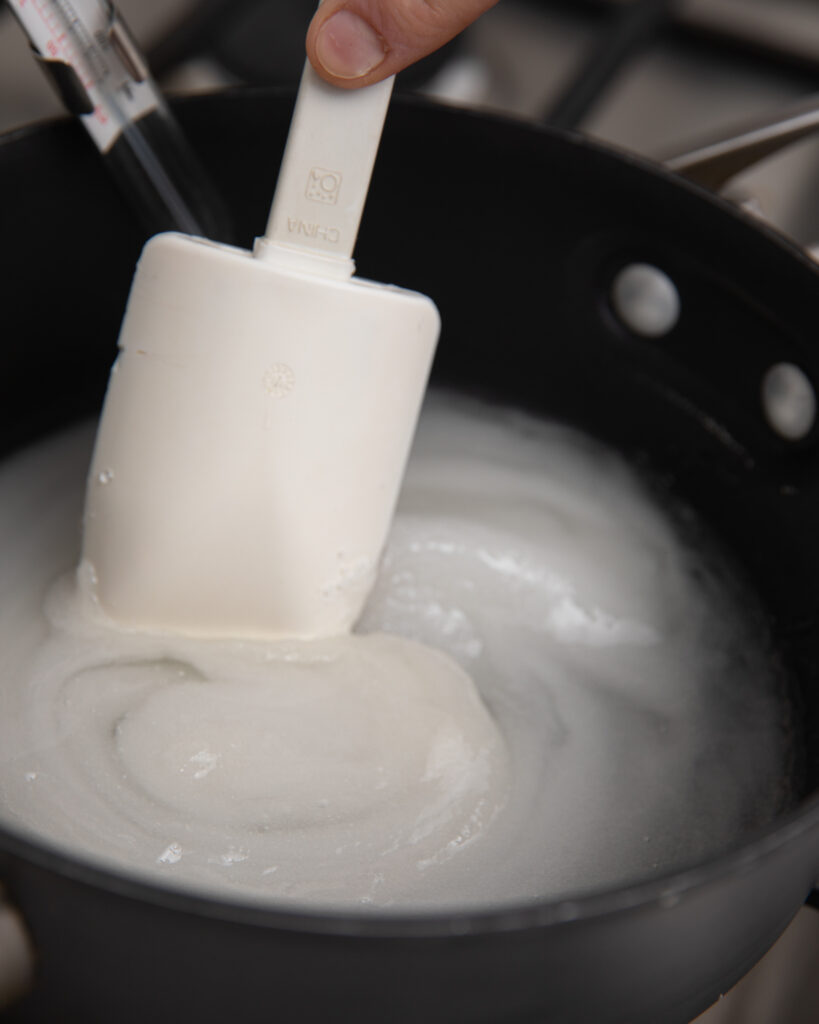
Alright, add a medium heat and gently swirl the pot. Once it begins to heat, clip the candy thermometer on the side of the pot and leave it! DO NOT stir anything or touch the pot. Ensure that the thermometer is off the bottom of the pot and then simply wait to read 245°F.
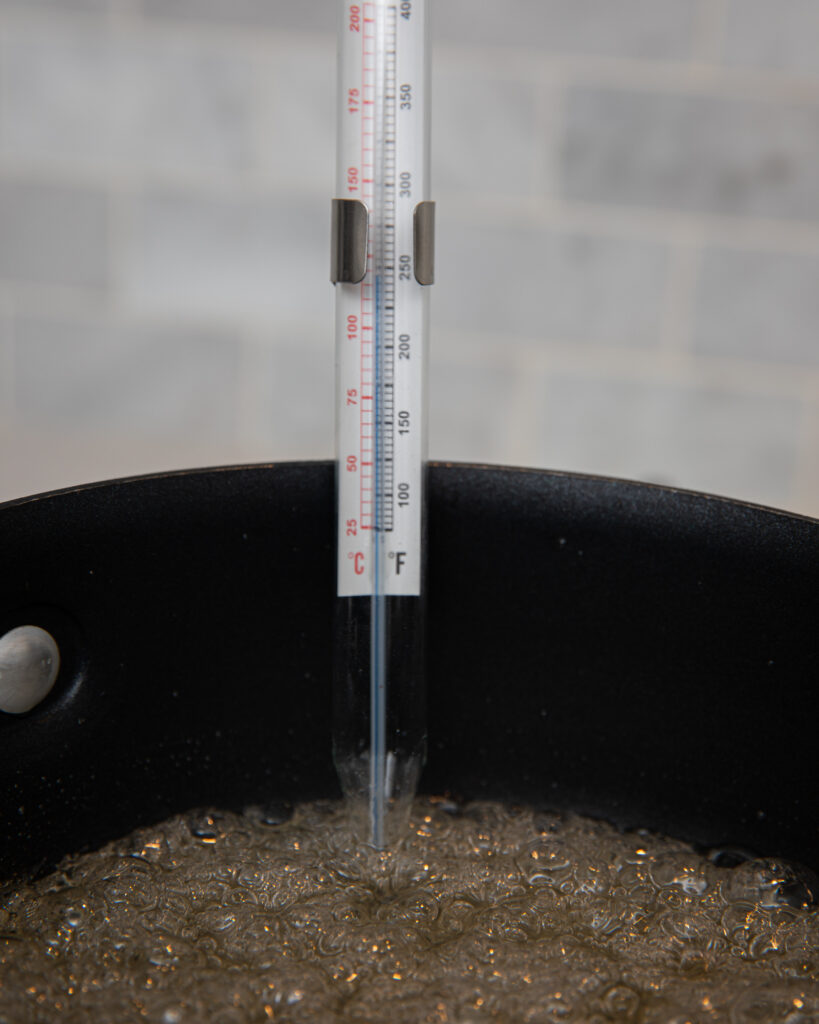
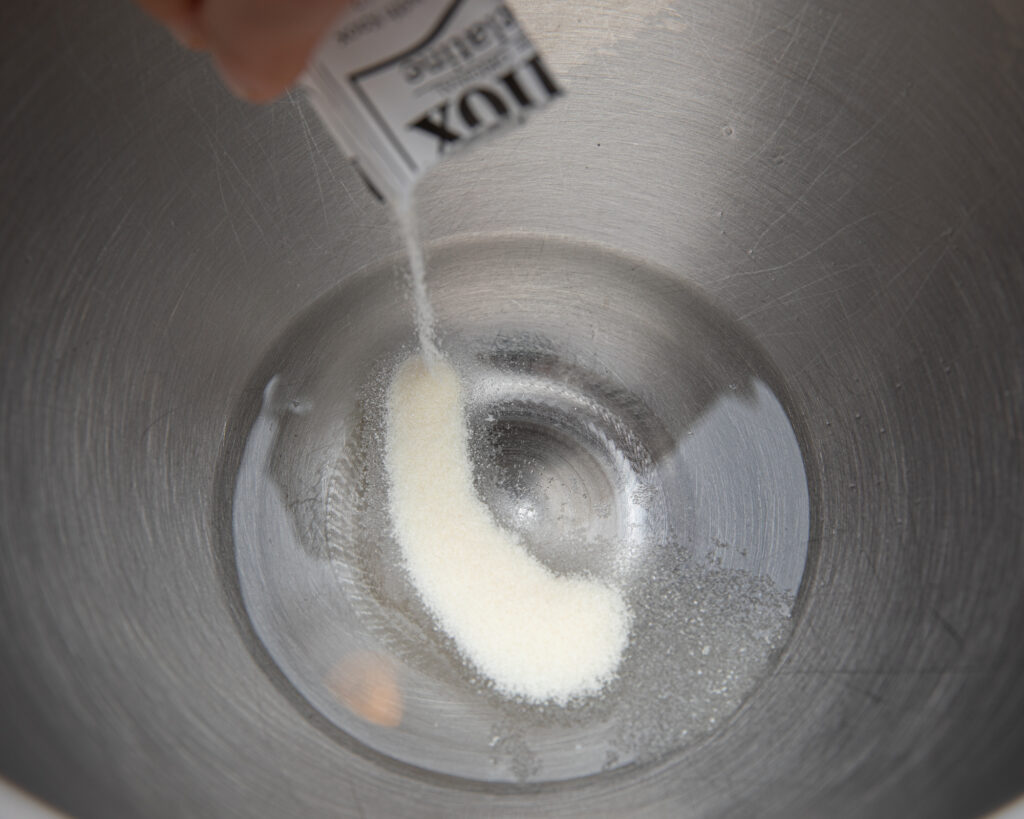
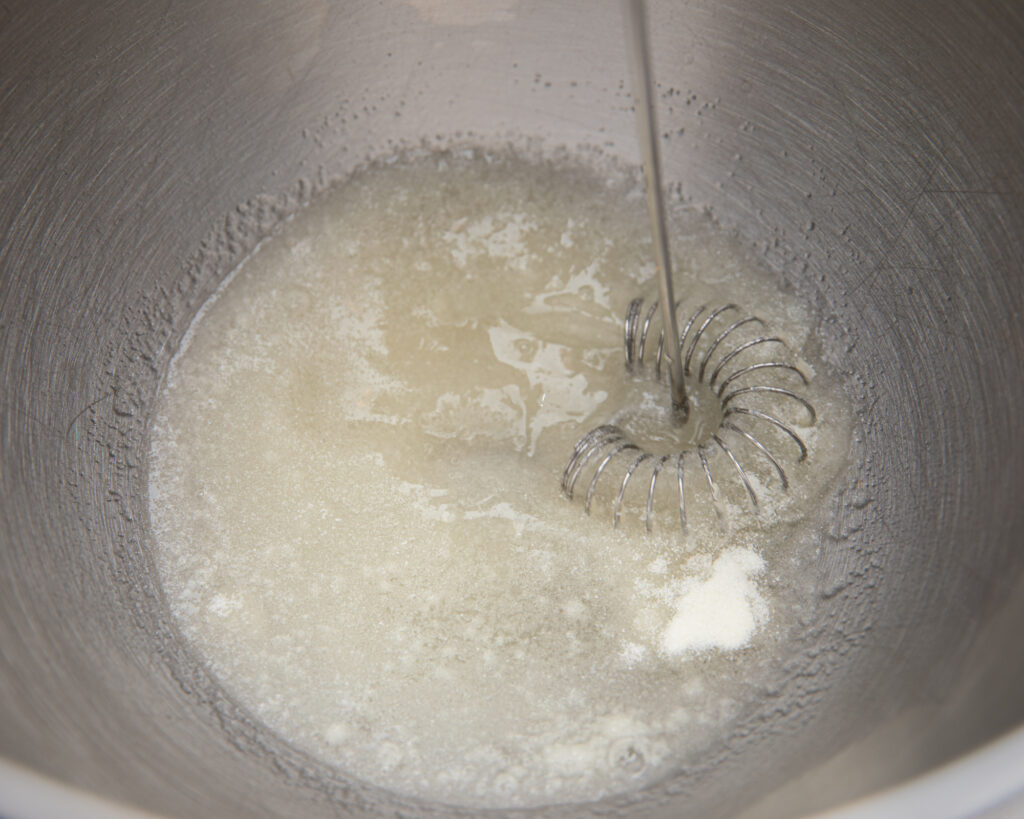
While this is happening you can combine the mixing bowl ingredients but be careful to not get distracted! As soon as the stovetop sugar ingredients reaches the 245°F, remove from the heat. Turn your mixer on low and let the magic begin.
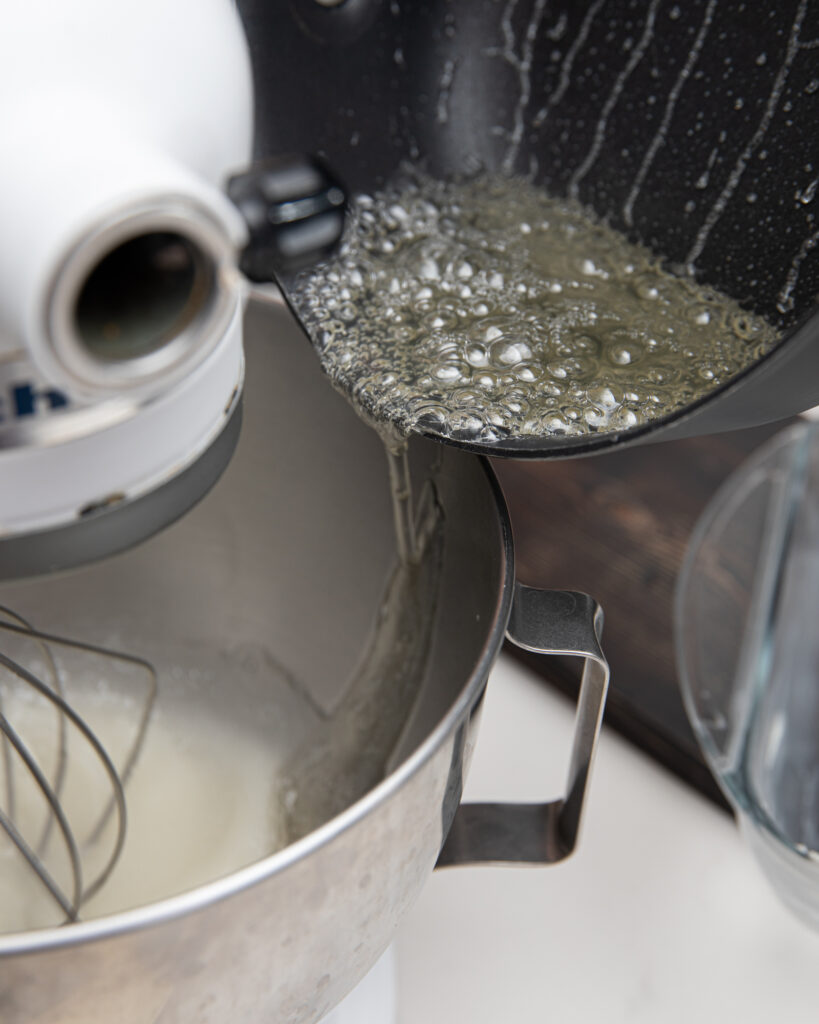
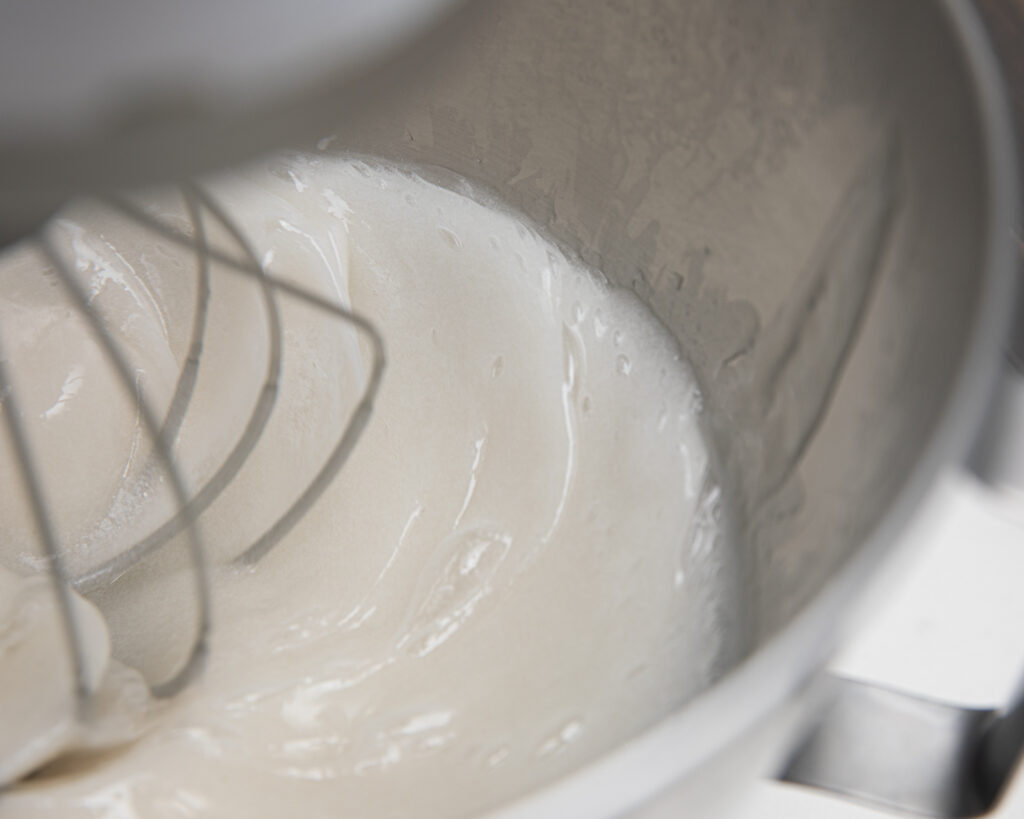
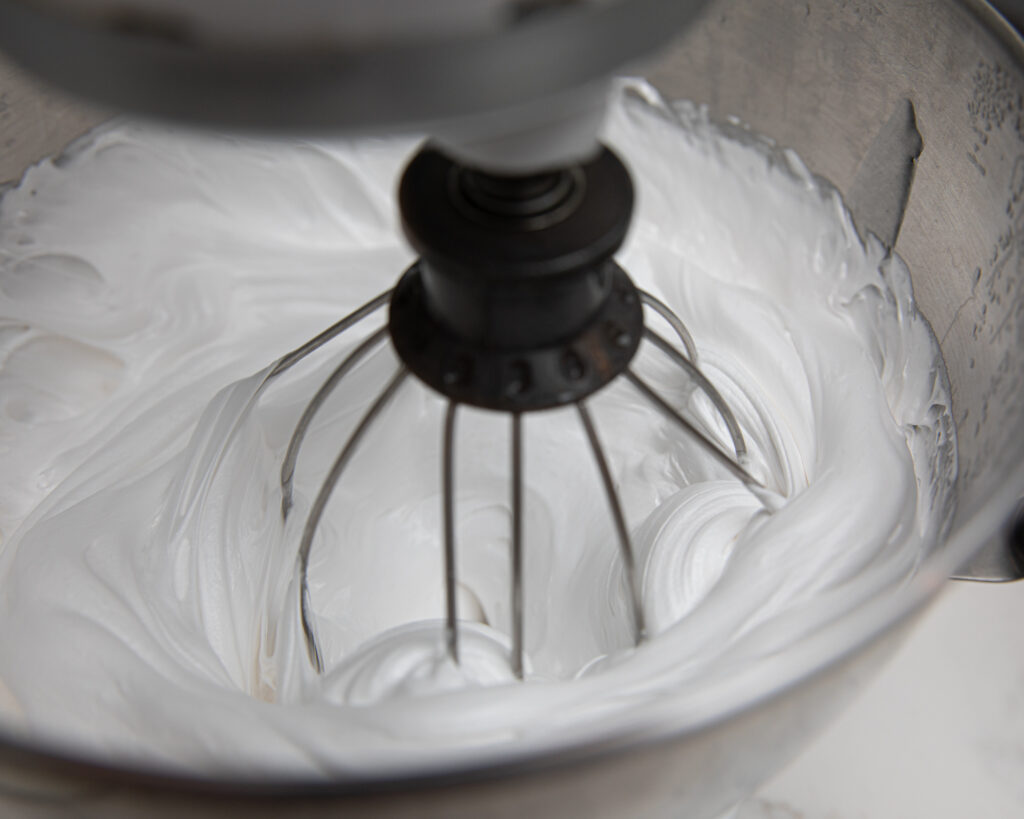
While the mixer is on low, pour the hot sugar mixture down the side of your mixer in a steady stream. Once you’re finished, you can turn the mixer to a medium speed and watch the process of making a marshmallow unfold! Mix on medium for approximately 4 minutes.
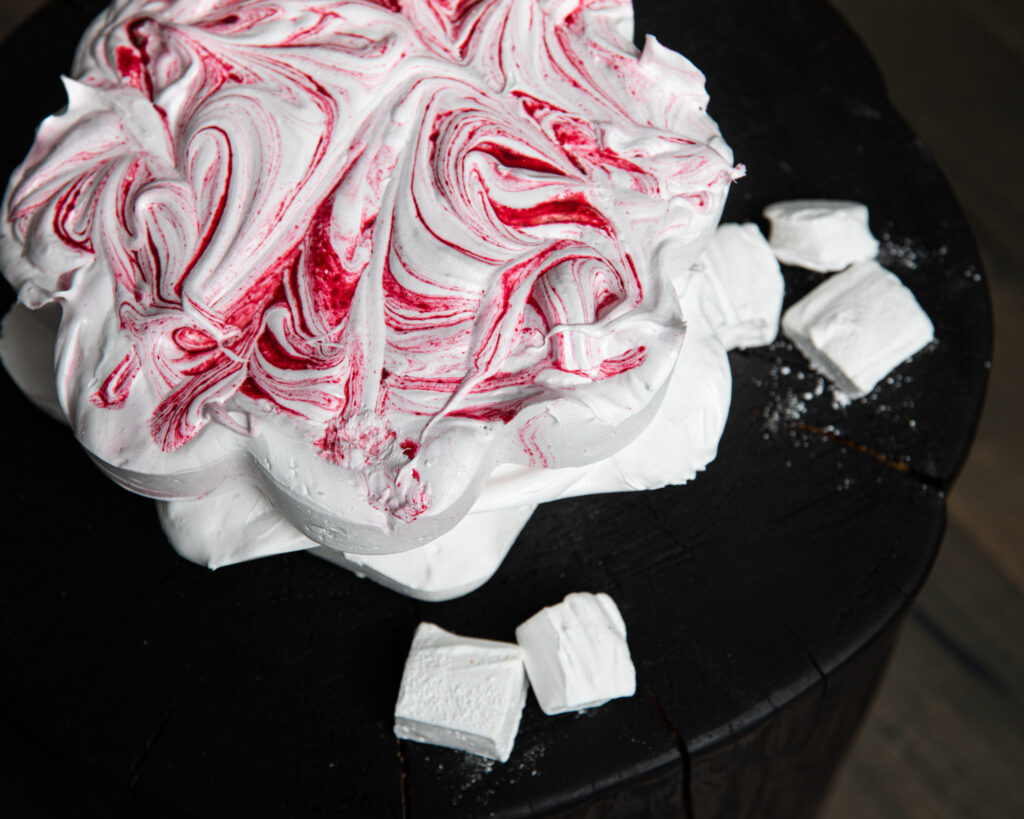
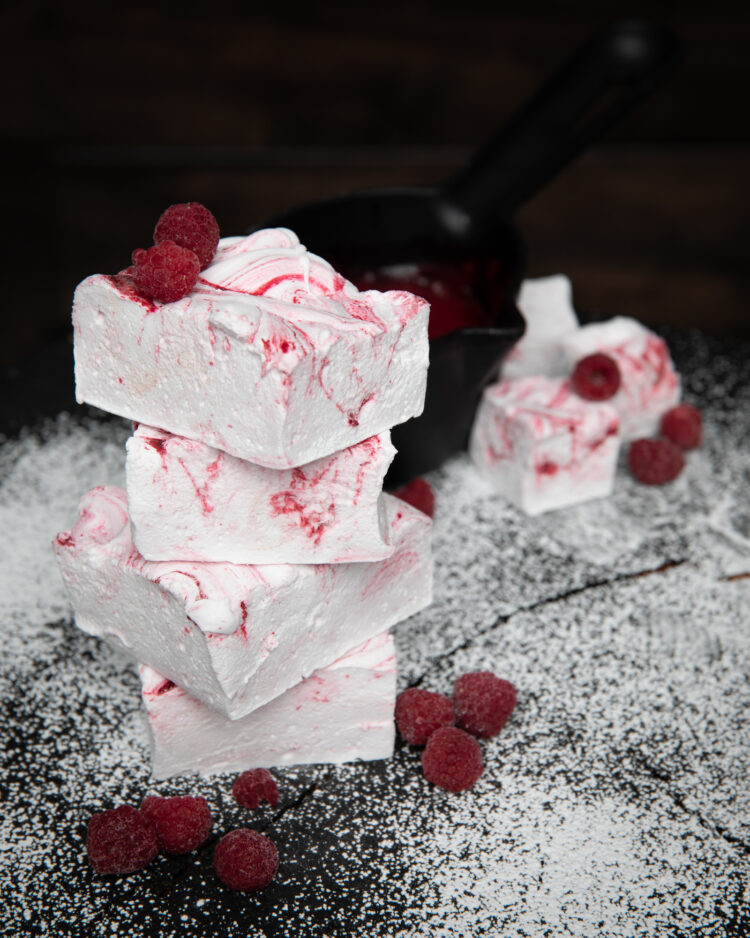
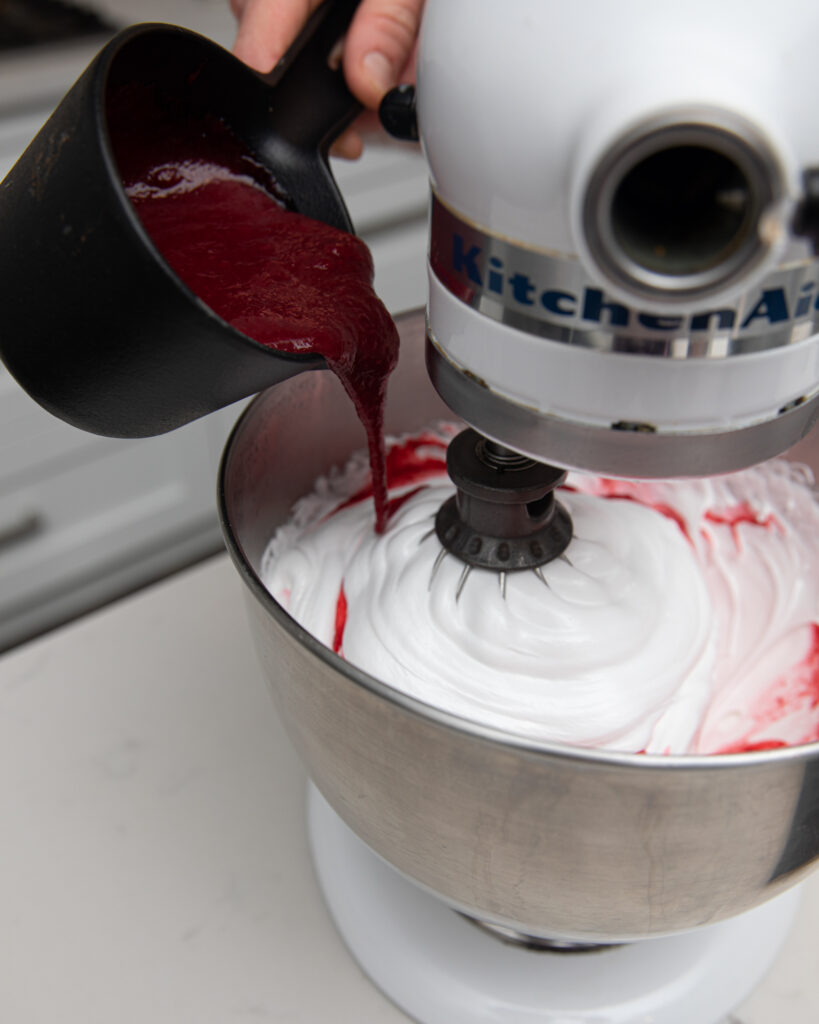
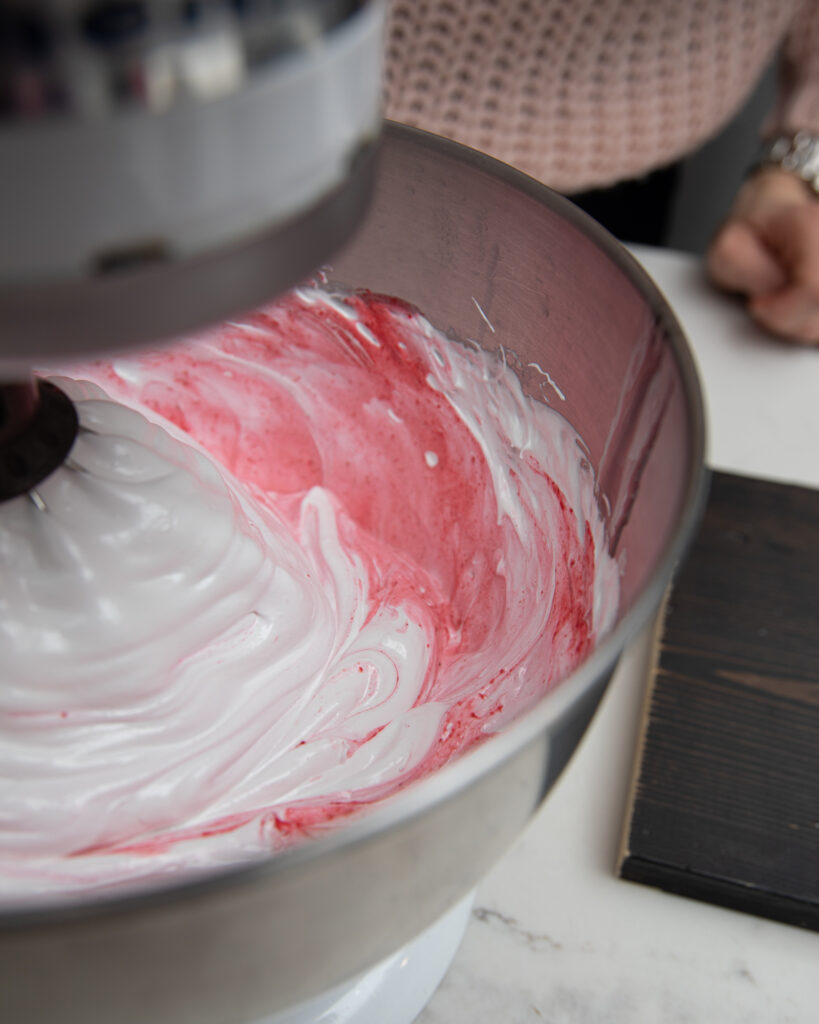
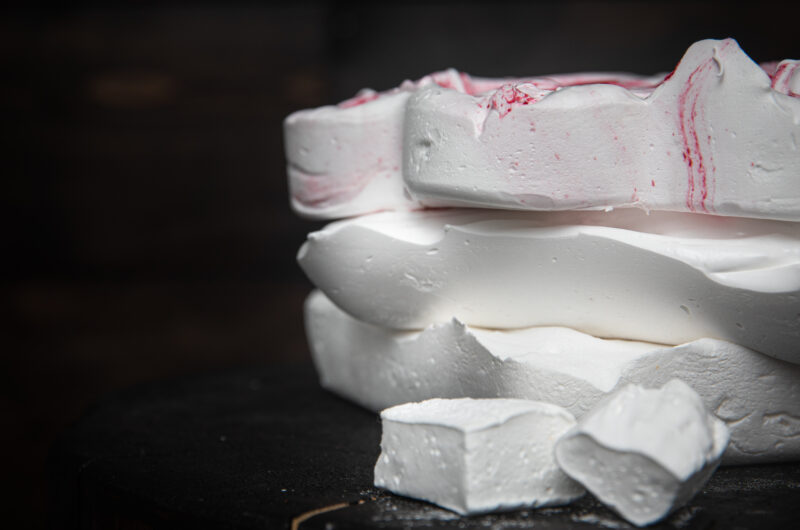
If you’re wanting to add any extra flavouring or extract, food colorings etc, now is the time after the initial 4 minutes. We mixed a raspberry coulis sauce in the one shown below and will continue to show pictures of both regular marshmallows and the raspberry for you to follow.
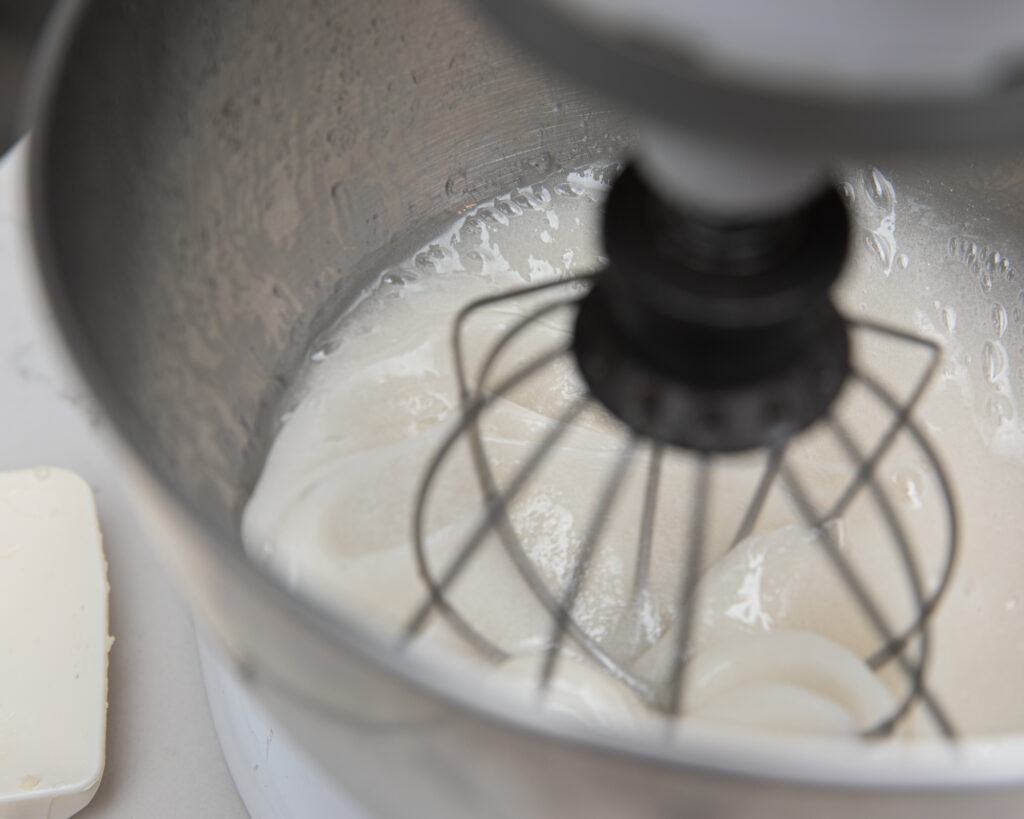
After your optional flavouring, extract, or coloring has been added, beat on high for another 4 minutes.
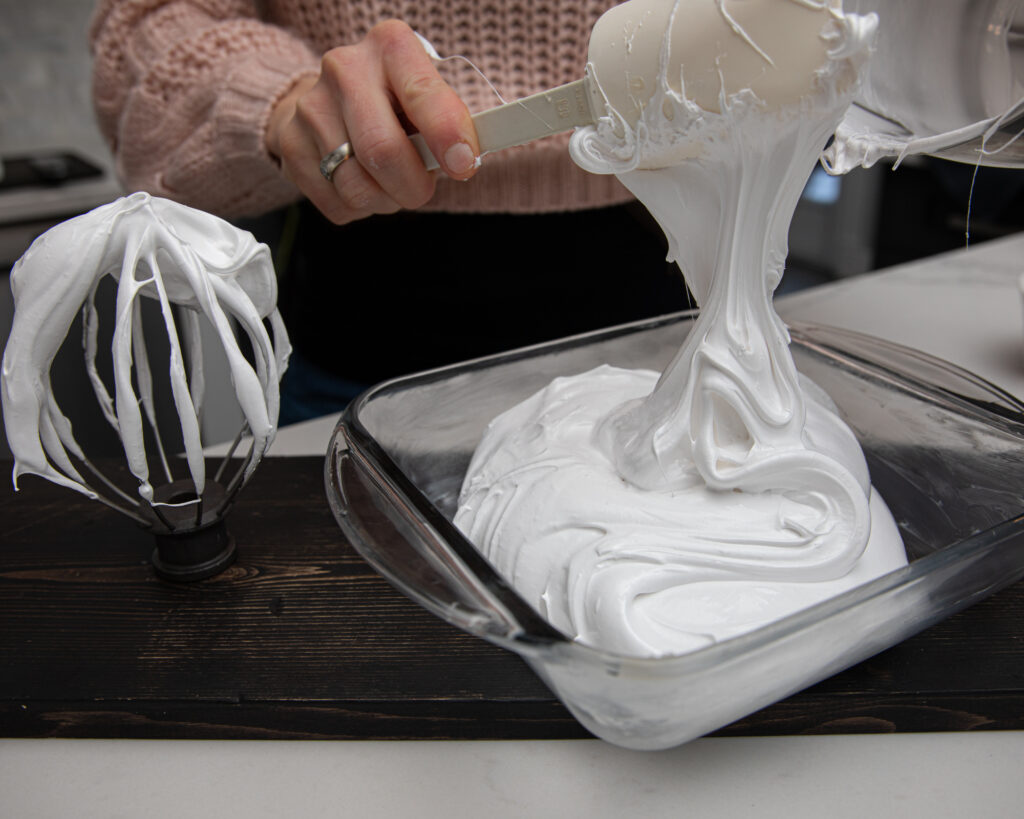
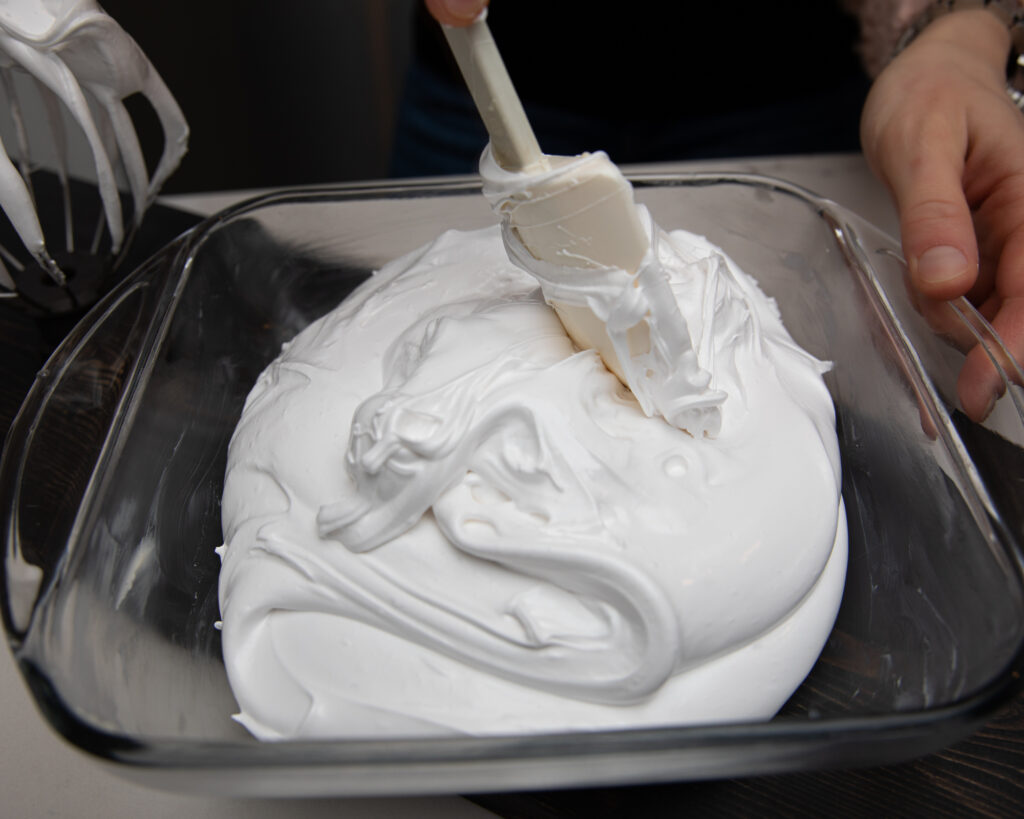
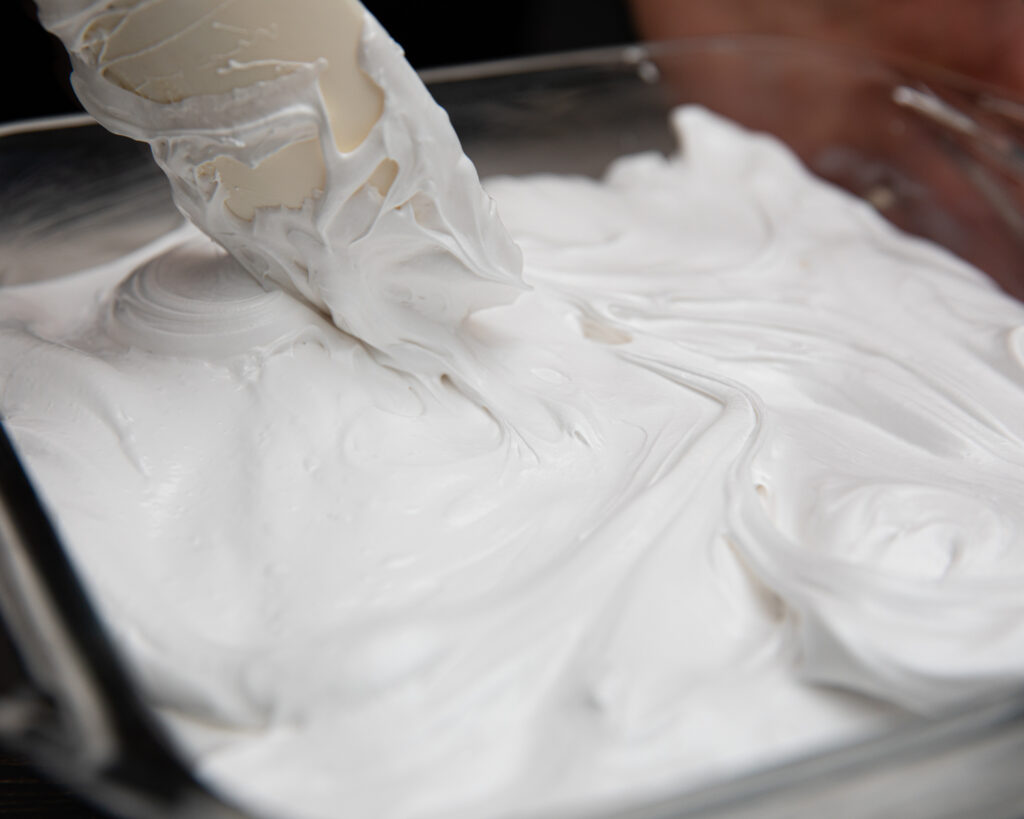
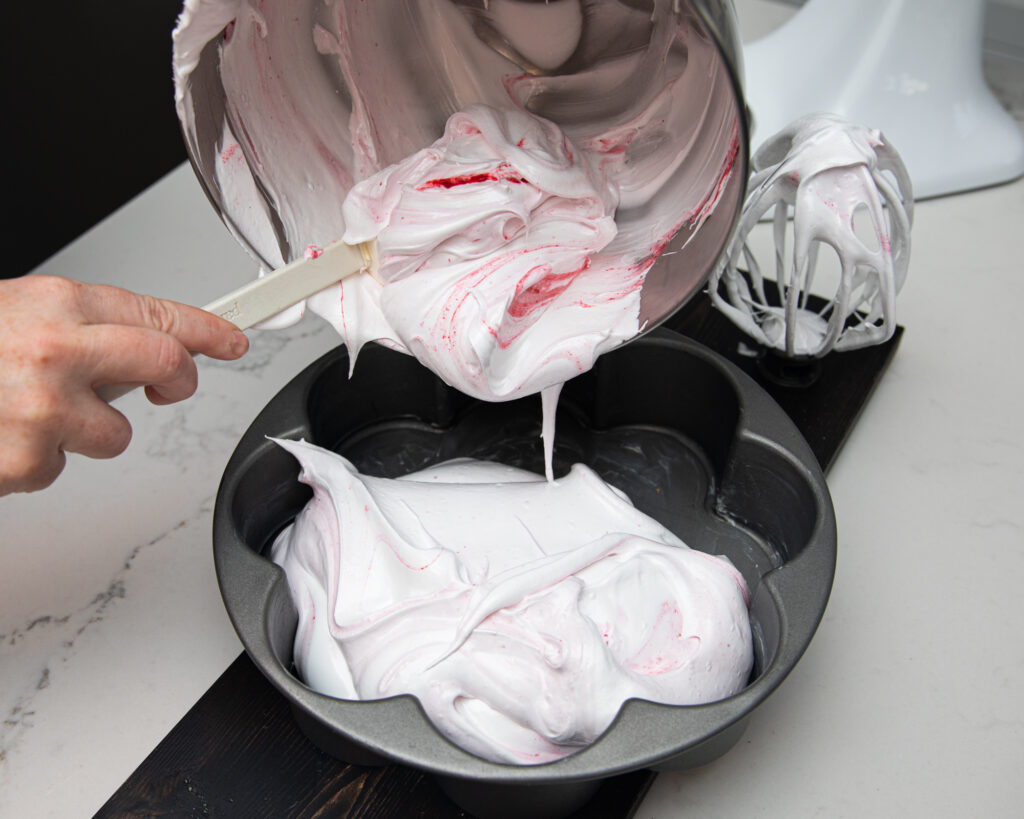
While the whipping is happening, prep an 8′ X 8″ pan and spatula by greasing them with real butter. When the marshmallow mixture has whipped for the whole total of 8 minutes, remove immediately from mixing bowl into prepared pan and spread into the corners.
We wanted a more swirled look to the raspberry marshmallow and so as soon as we dumped it into the pan; dollop the raspberry coulis sauce in a few spots. Then run a greased knife through the marshmallow to achieve the swirly look.
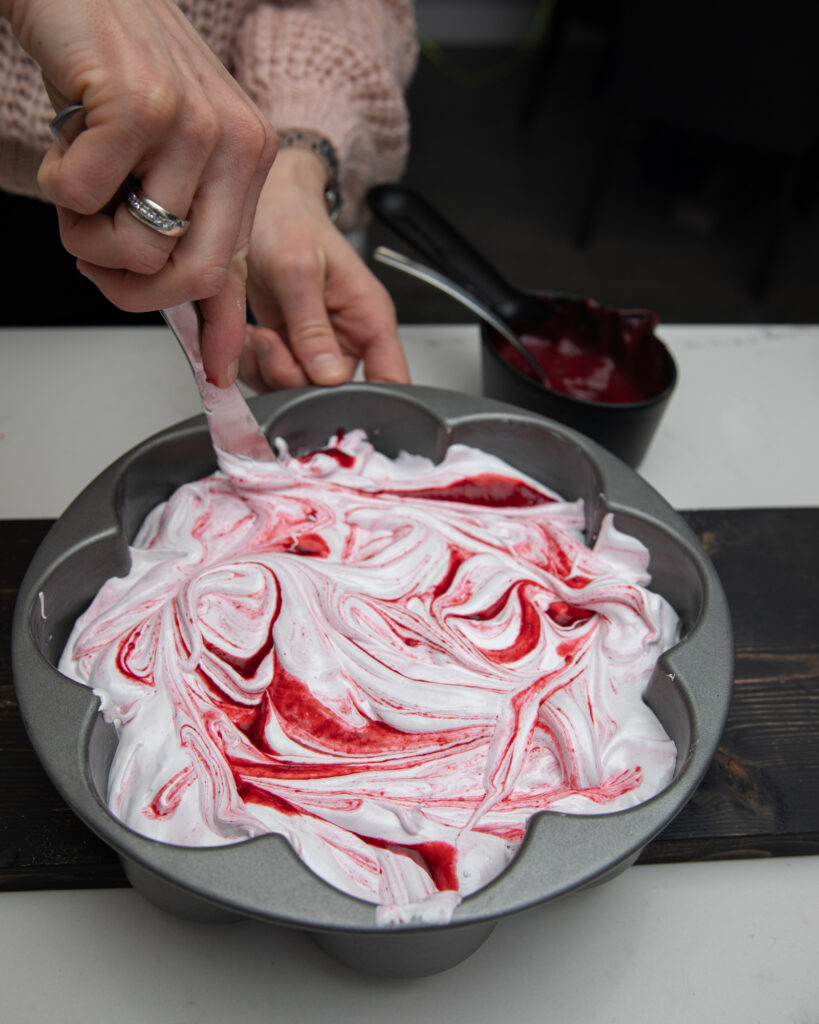
You must work quickly in any of these cases. Marshmallows set up very quickly initially although they take 6 hours to fully set.
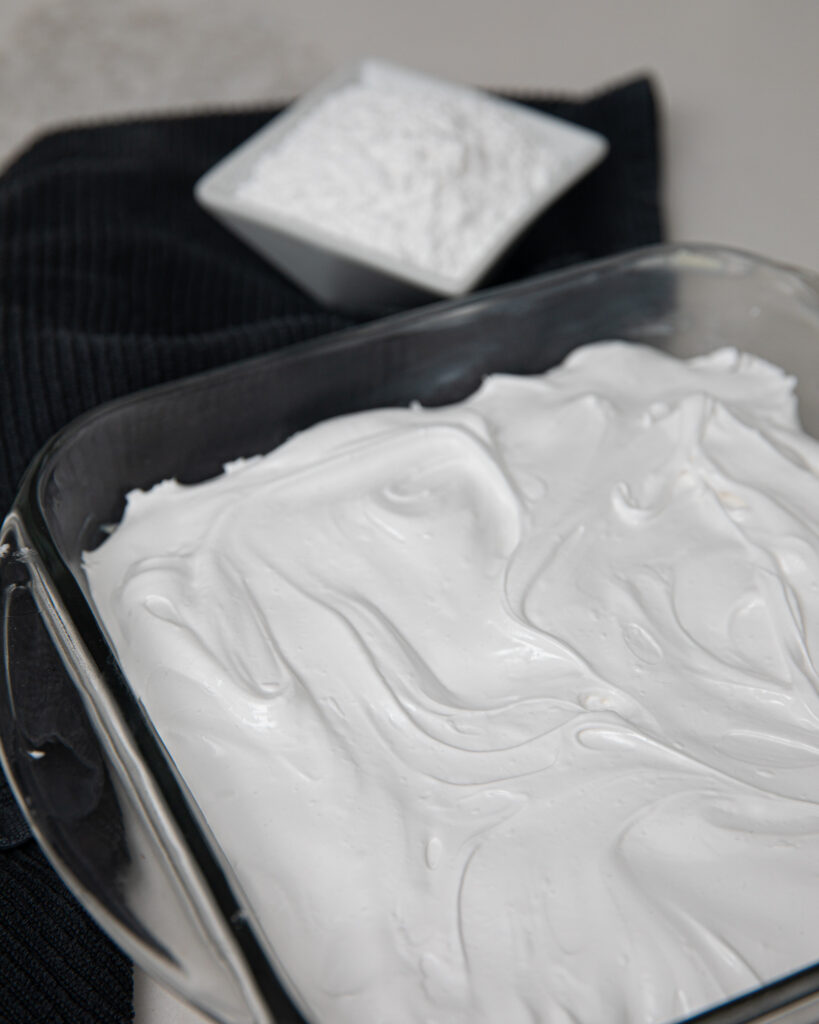
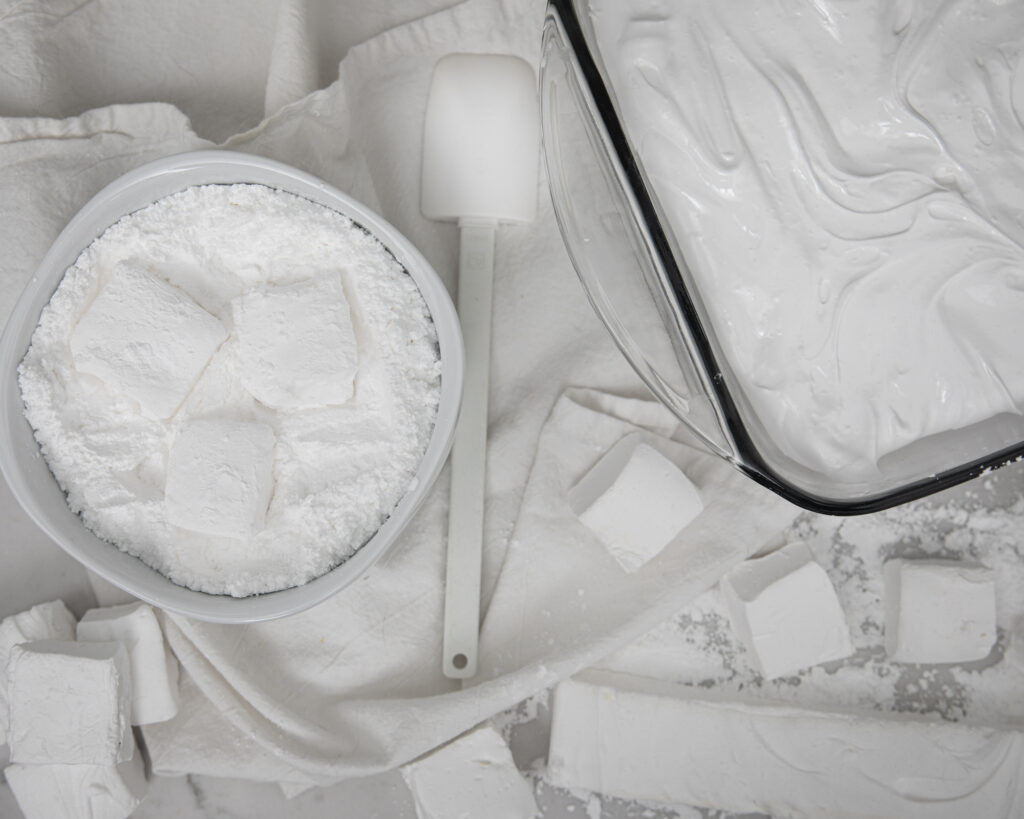
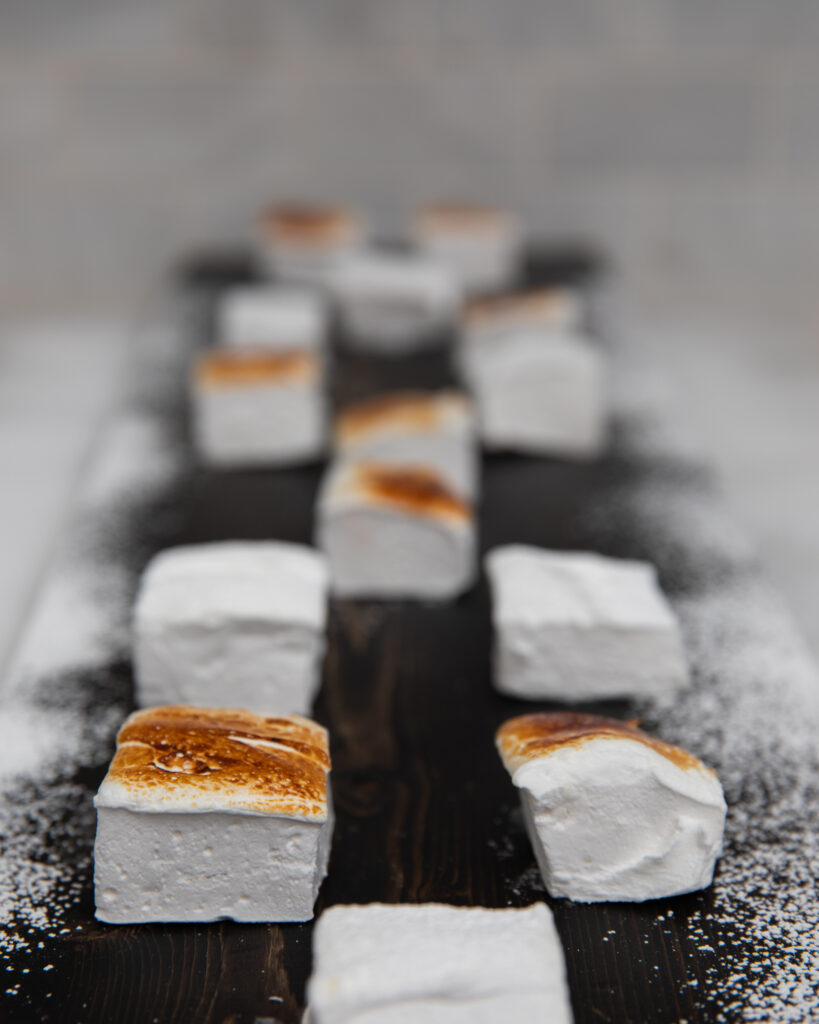
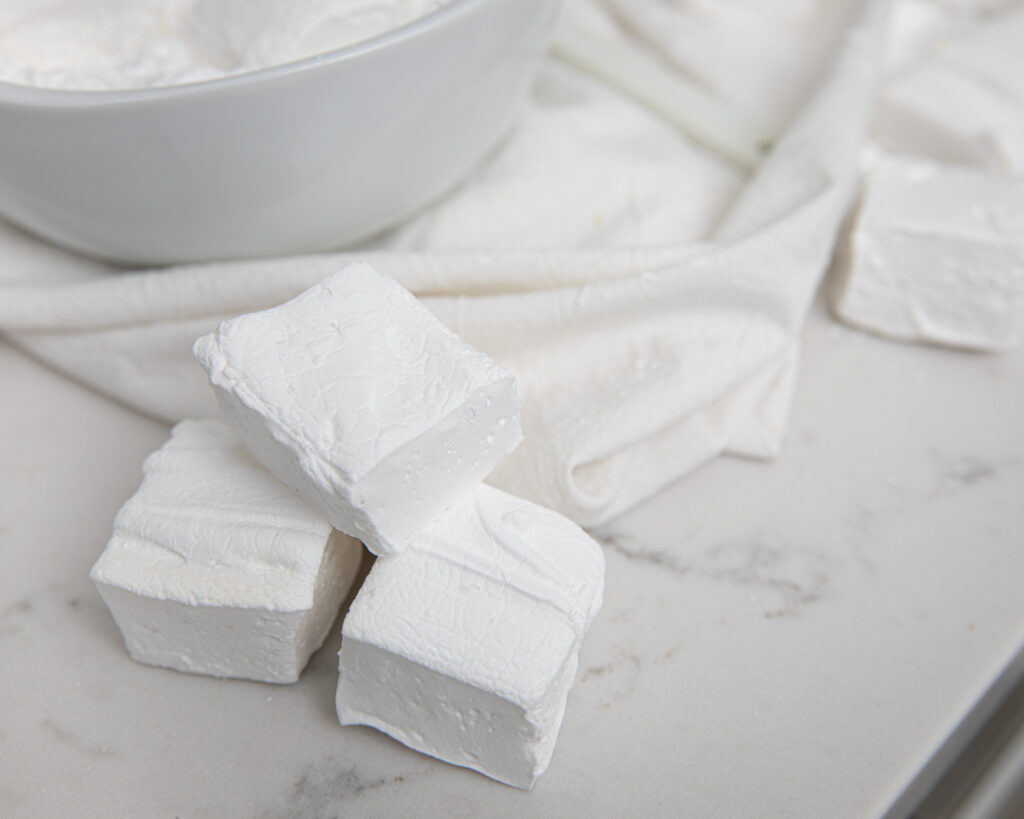
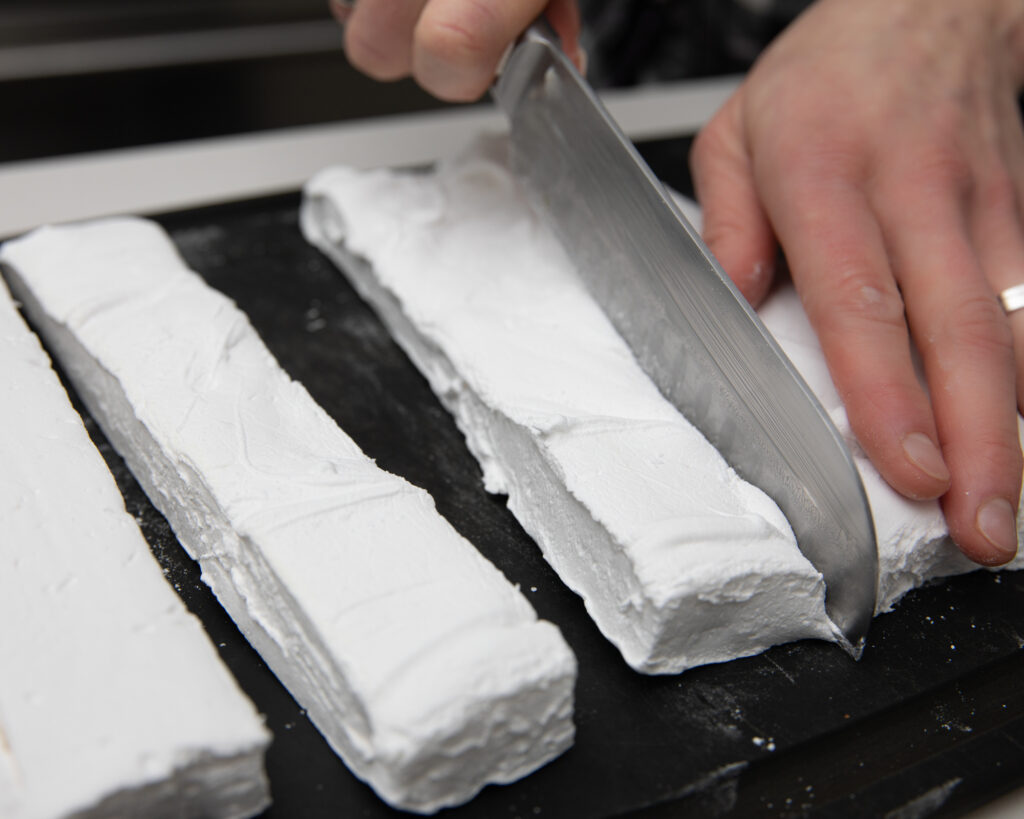
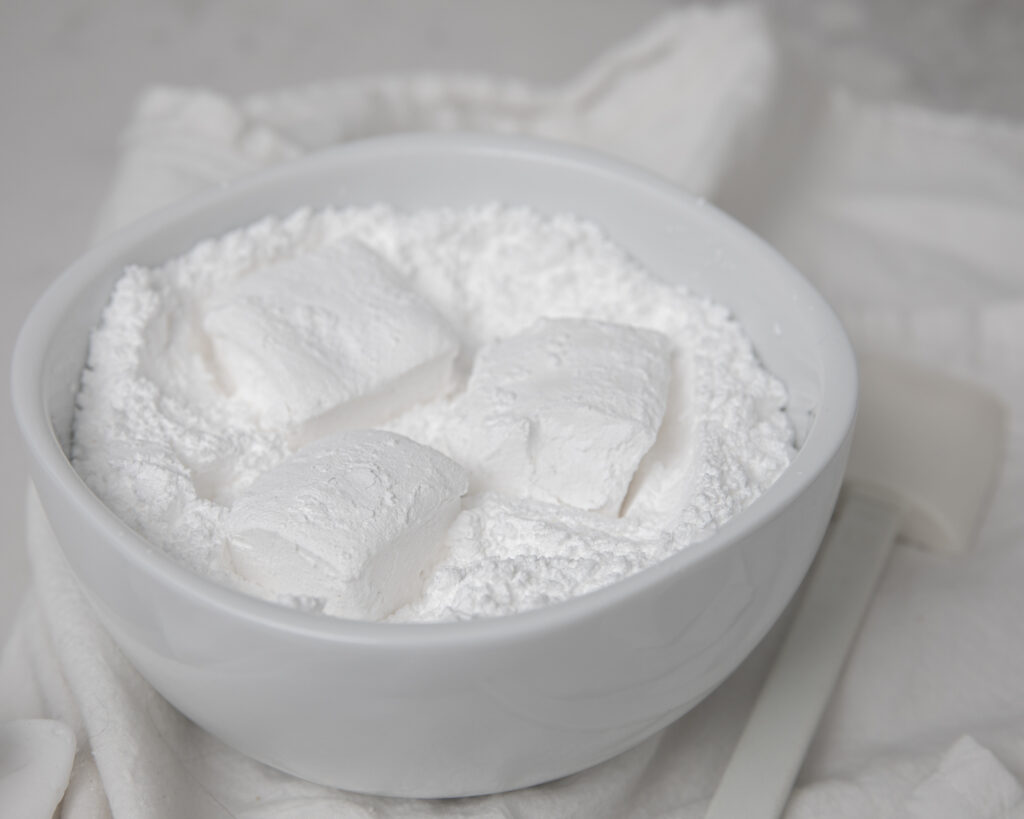
Once they are fully set, you can use a buttered sharp knife to cut the marshmallows into squares or whatever shaped you may desire. If you find they are tending to stick together, lightly dust them in icing sugar.
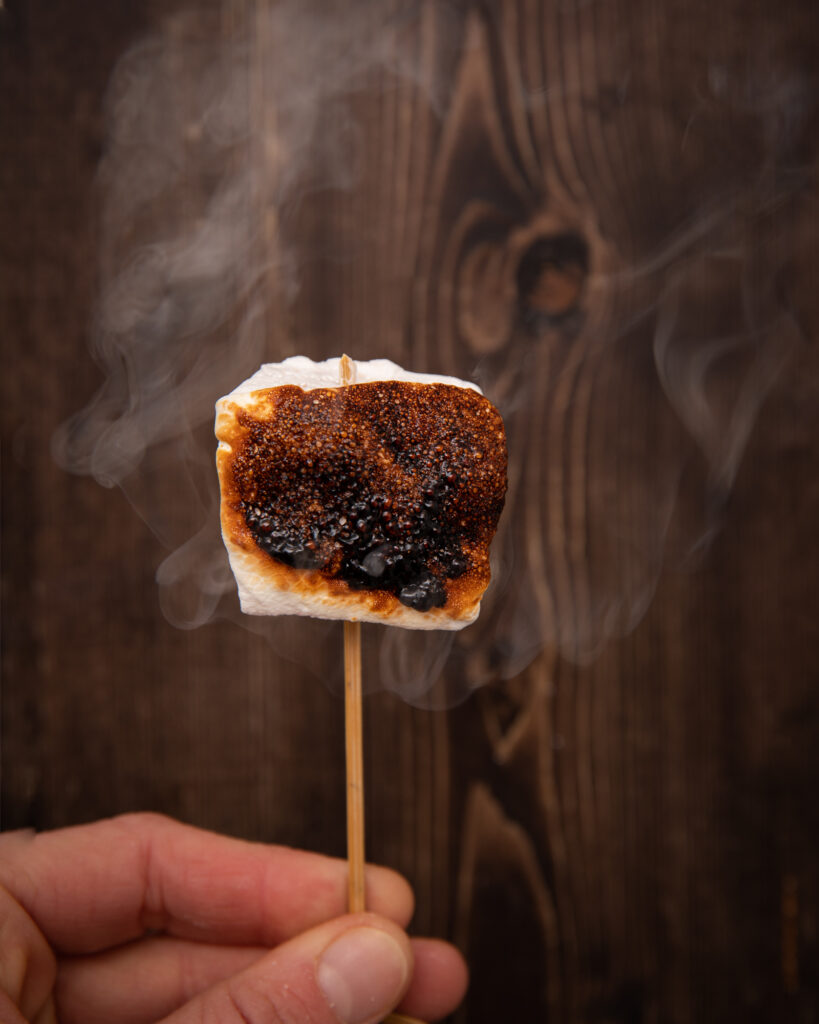
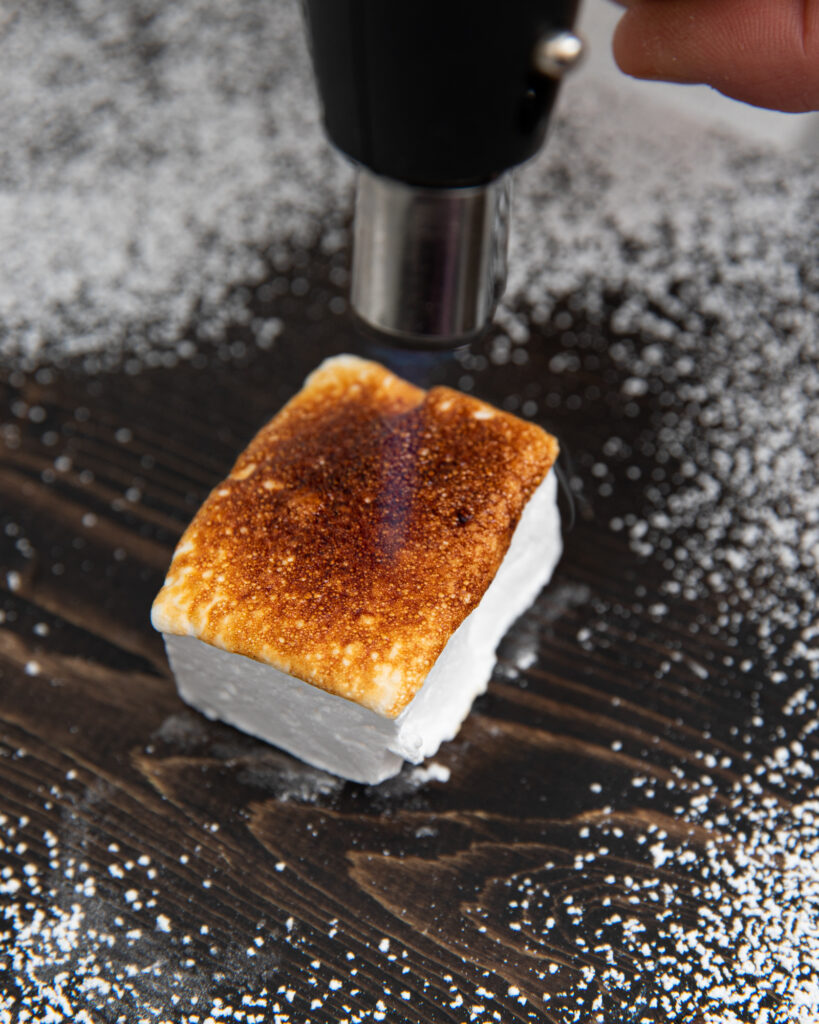
Toast them with a torch…
Roll them in toasted coconut…

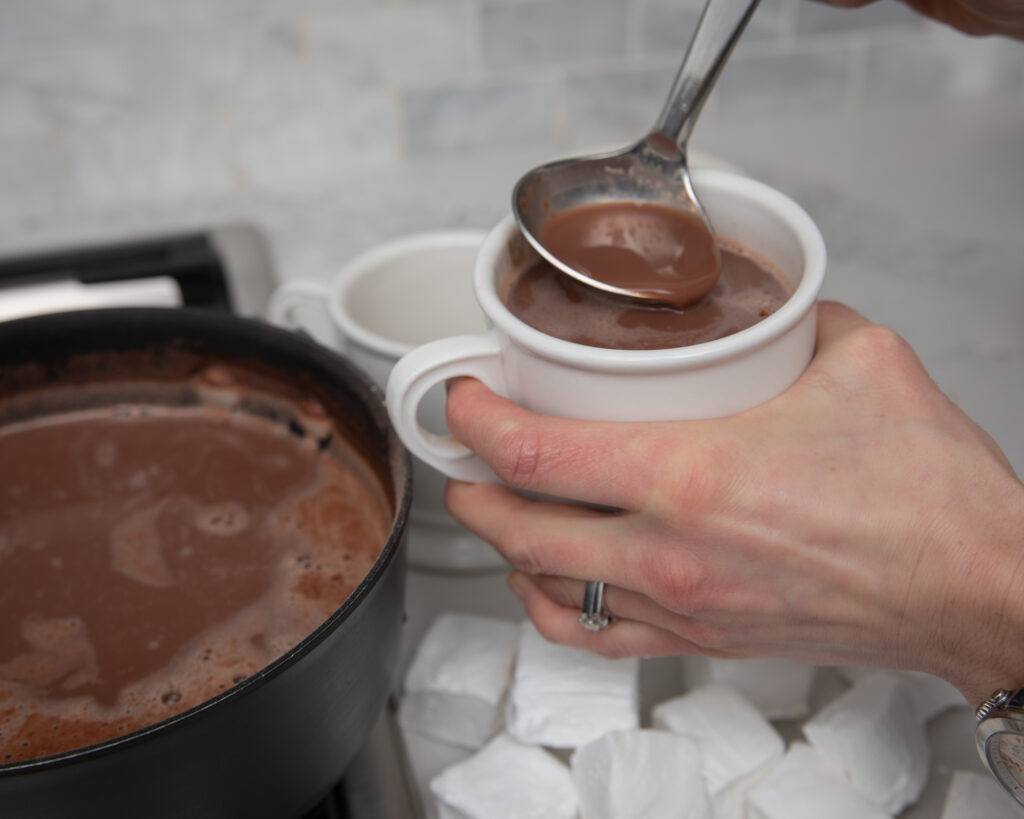
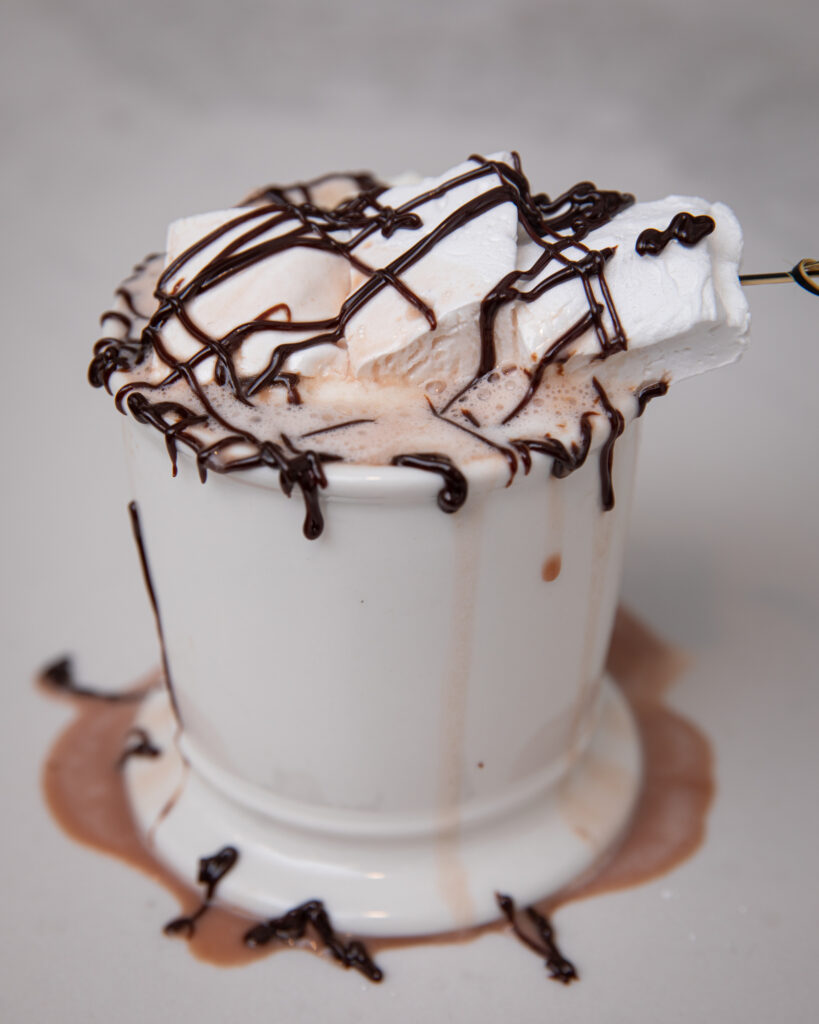
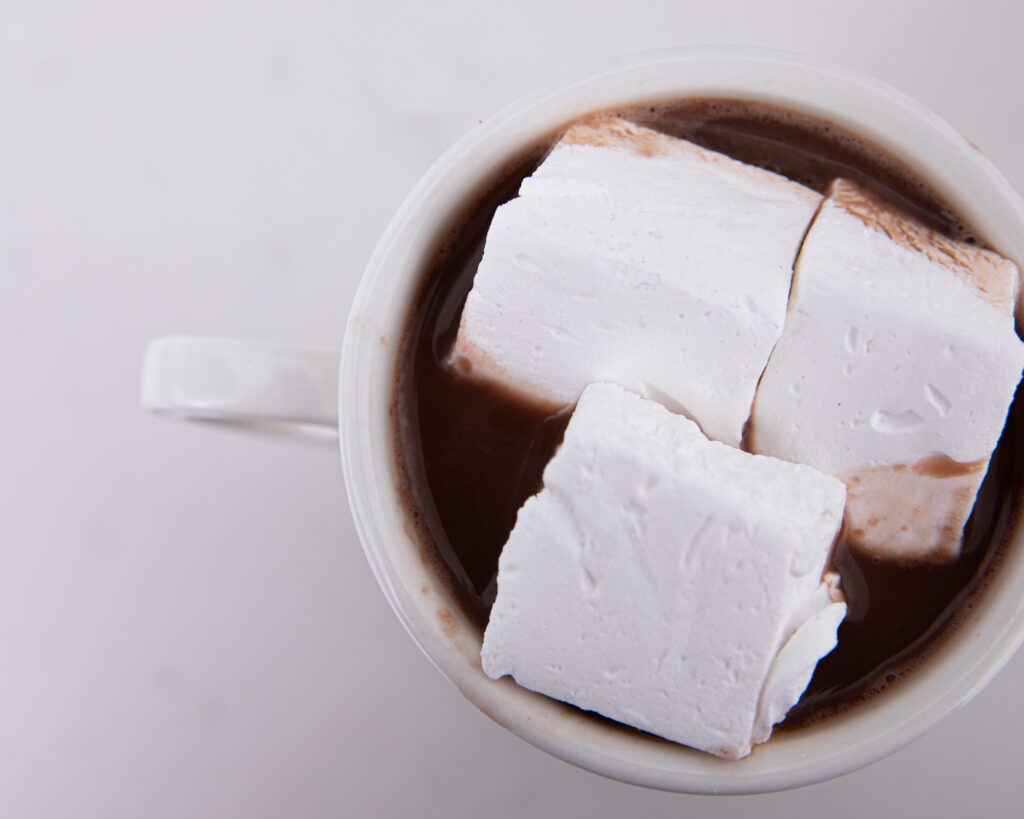
Add them to your hot chocolate…
Or eat them plain…
The ideas are endless. We promise these marshmallows are just the start to making many gourmet dessert ideas. Have fun and be adventurous!
Marshmallows
Course: DessertDifficulty: Moderate4
dozen30
minutes40
minutesThese sweet and pillowy marshmallows will satisfy any sweet tooth. A child’s treat to the dessert of a gourmet palate, this sugary treat is definitely medicinal as it reaches your spirit.
Ingredients
- Stovetop Ingredients
1 3/4 cup white sugar
1/3 cup light corn syrup
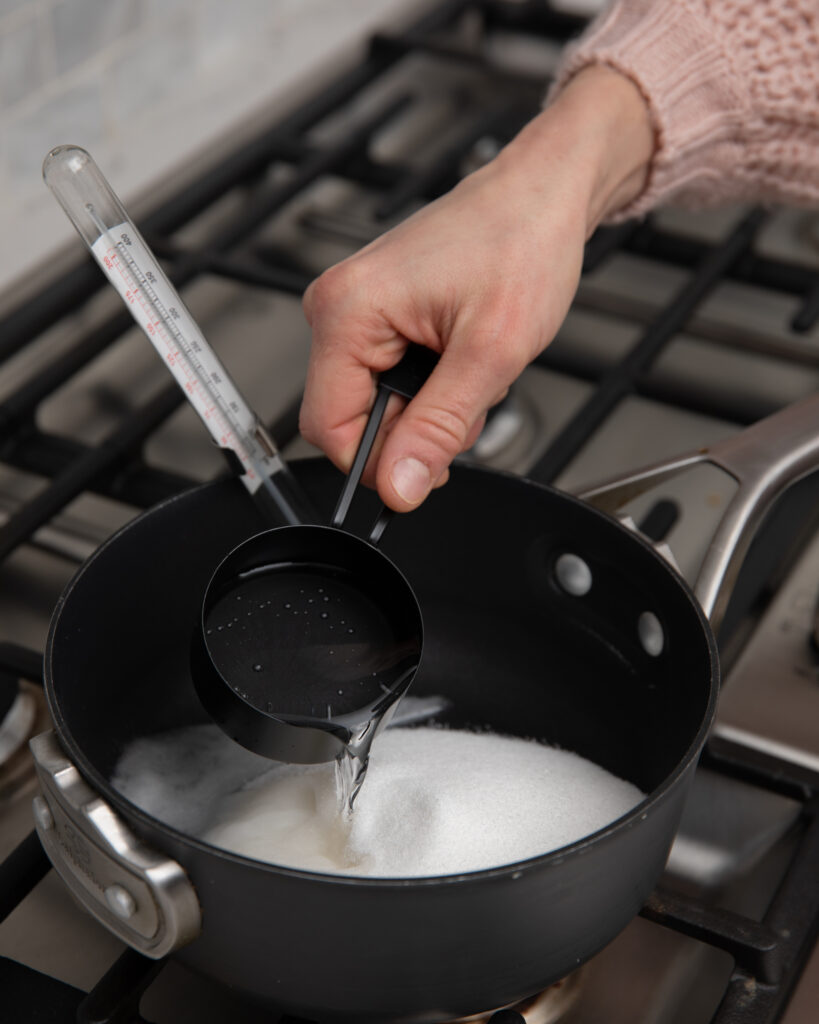
1/2 cup water
- Mixing Bowl Ingredients
1/2 cup water
3 packets of knox gelatin ( 7 tsp)
salt to taste (Optional)
1 tsp vanilla (Optional), or other extracts
food coloring (Optional)
- Extra Ingredients
butter for greasing pans, knives and spatulas
icing sugar for coating
Directions
- Without the heat turned on, combine stovetop ingredients in pot. Stir well to moisten sugar.
- Turn heat to medium, gently swirl the pot occasionally to distribute heat. Be careful not to get liquid sugar mixture on the sides of the pot.
- Once mixture begins to heat up, clip your candy thermometer onto the side of the pot and leave it completely alone wile it boils. NO stirring!!
- Make sure the thermometer is NOT touching the bottom of the pot. Boil the sugar mixture, UNTOUCHED, until candy thermometer reads 245°F.
- While the sugar mixture is starting to boil, prep the mixer ingredients and let sit.
- When your sugar stovetop ingredients reach 245°F, remove from the stove and turn mixer on low.
- In a steady stream, pour the hot sugar down the side of the mixer while it’s on low speed.
- Once all of the sugar mixture is poured, turn the mixer speed to medium. Mix for 4 minutes.
- If you’re going to add flavour or colour do it at the end of the first 4 minutes. Then turn the mixer to high speed for the last 4 minutes. A total mixing time of 8 minutes.
- While the marshmallows are whipping, prep an 8″ X 8″ pan, and spatula with real butter.
- Once the total 8 minutes is finished, transfer immediately into the greased pan and spread into the corners.
- Let sit for 6 hours on countertop. Do NOT refridgerate.
- Once set and firm, use a buttered sharp knife to cut marshmallow into squares or whatever shape desired.
- Dust with icing sugar so they don’t stick together and store at room temperature in an air tight container. These marshmallows also freeze well if you’re making ahead of time.
- Medinical for sure. Ha! Stacey and Meg
Create whatever flavours or color combinations you can dream up! Have fun with these, we sure did…