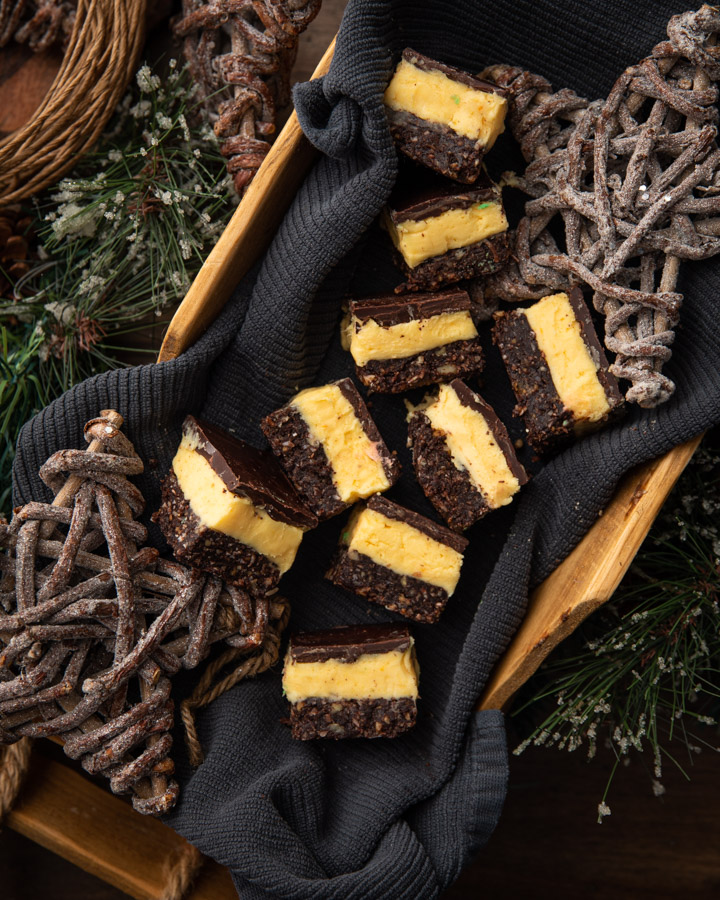
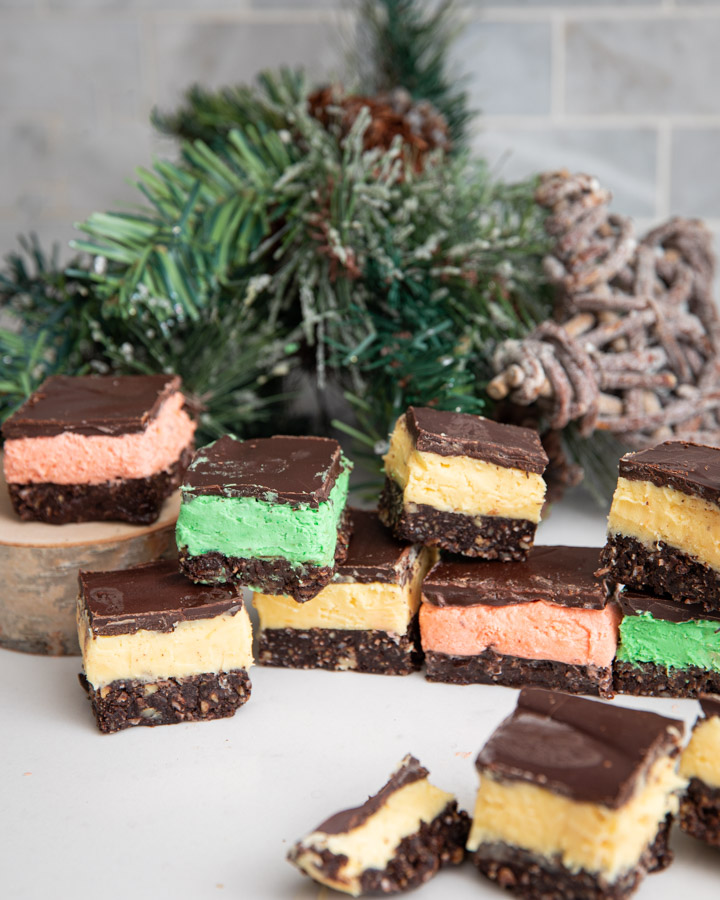
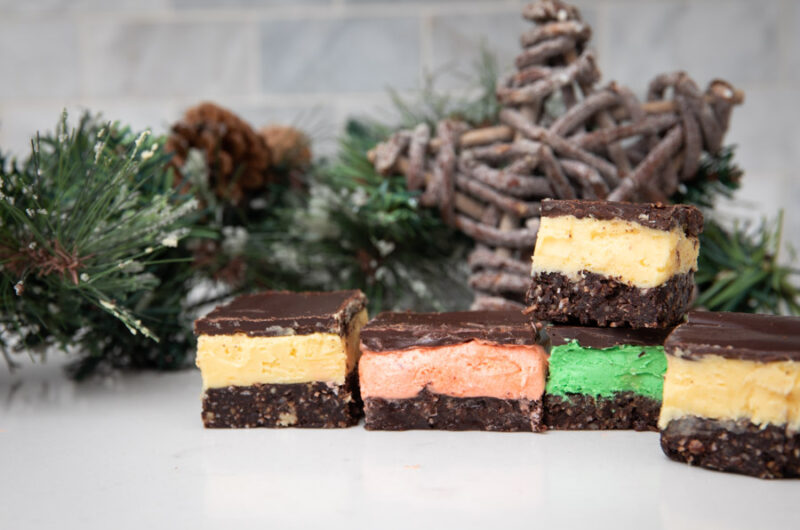
If you’ve never had a Nanimo Bar you haven’t lived! Lol, seriously. These traditional holiday squares are creamy, chocolatey and amazing. They look incredible served on a Christmas baking platter, and are definitely a favourite of our families.

This treat builds from a chocolate graham base to a smooth and creamy layer, and then capped off with melted chocolate. A rich and incredible dessert to celebrate the holidays!
Running busy families and celebrating Christmas strictly at home this year, being accessible is something that’s VERY important to us. We are excited to tell you that this recipe can be made entirely in your own kitchen!
With ingredients found at your local grocery store, you may find yourself having to make a couple batches. They’re so yummy. We warn you now; they’ll disappear fast;)
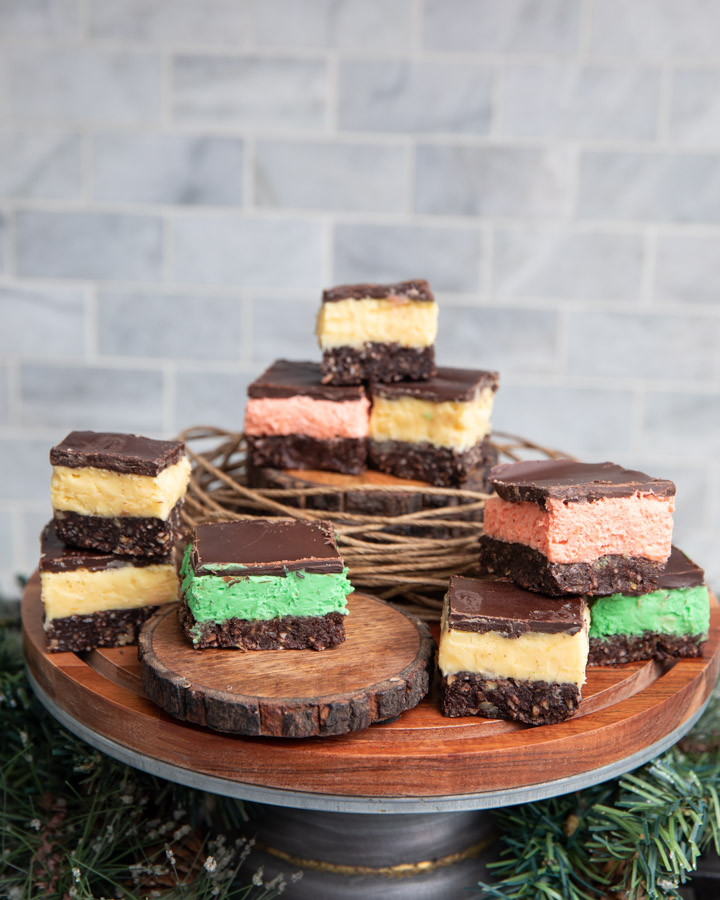
We love creamy traditional Nanaimo Bars; but we thought it would be fun to incorporate the other colours and tastes of the season! Below are recipes to make Nanaimo bars, Mint Nanimo bars and Cherry Nanaimo bars! Let’s get started.
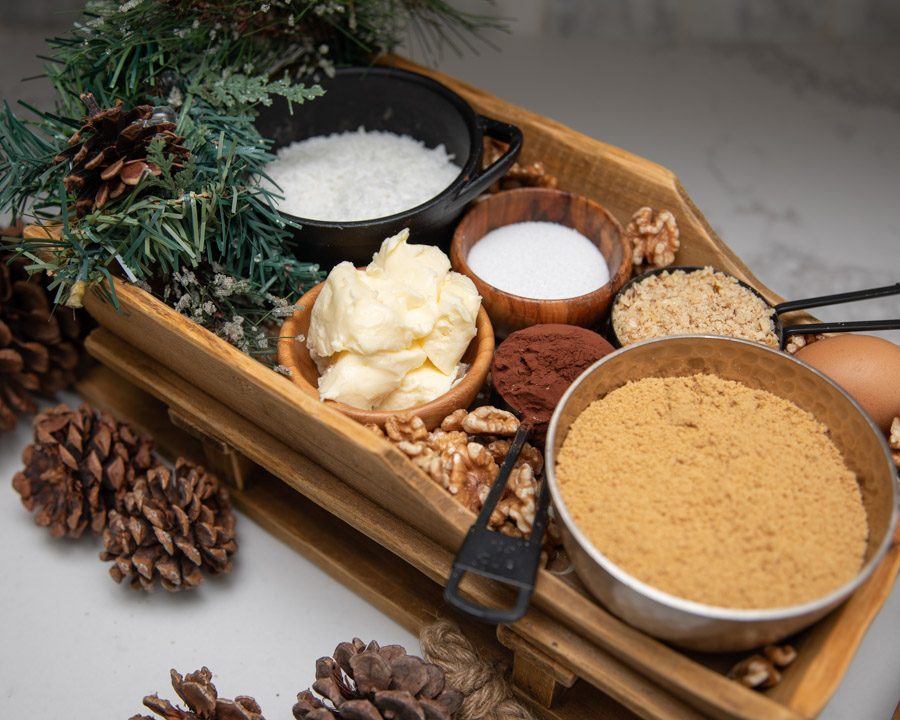
Pull your ingredients together and decide which flavour you’re going to make first!
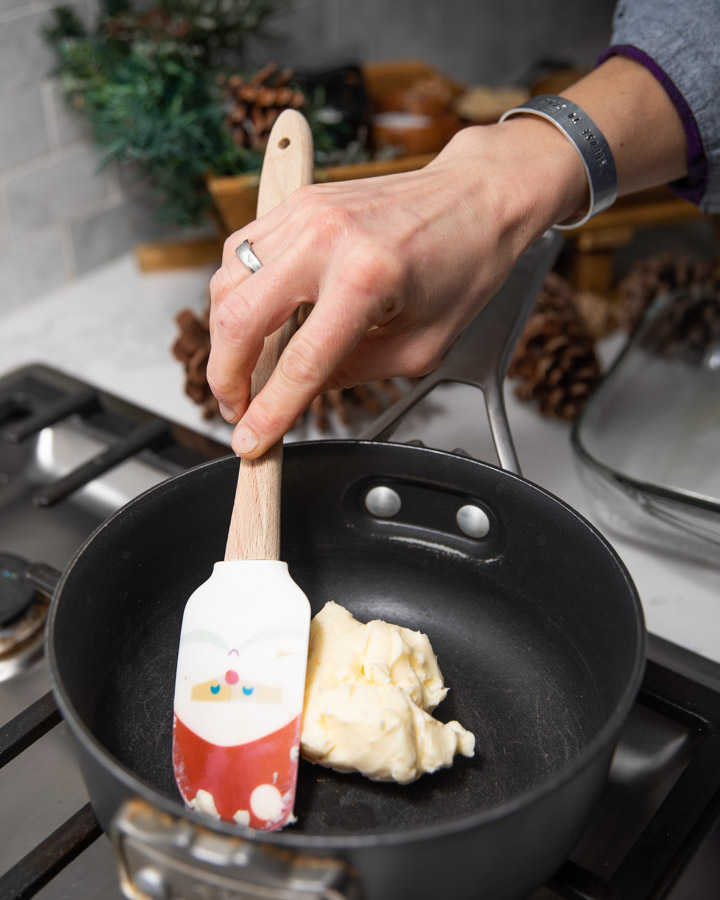
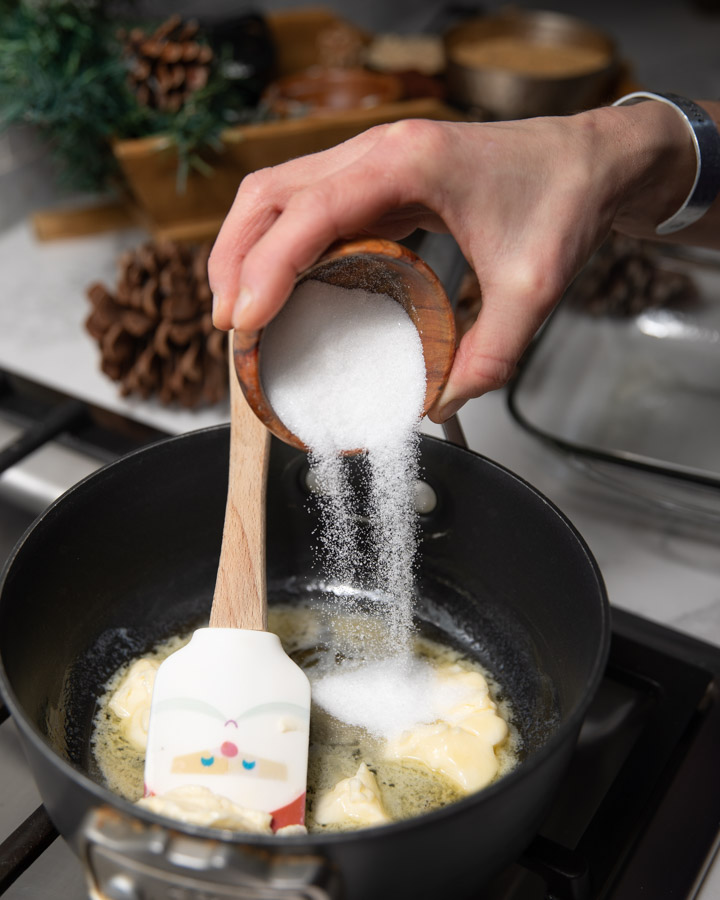
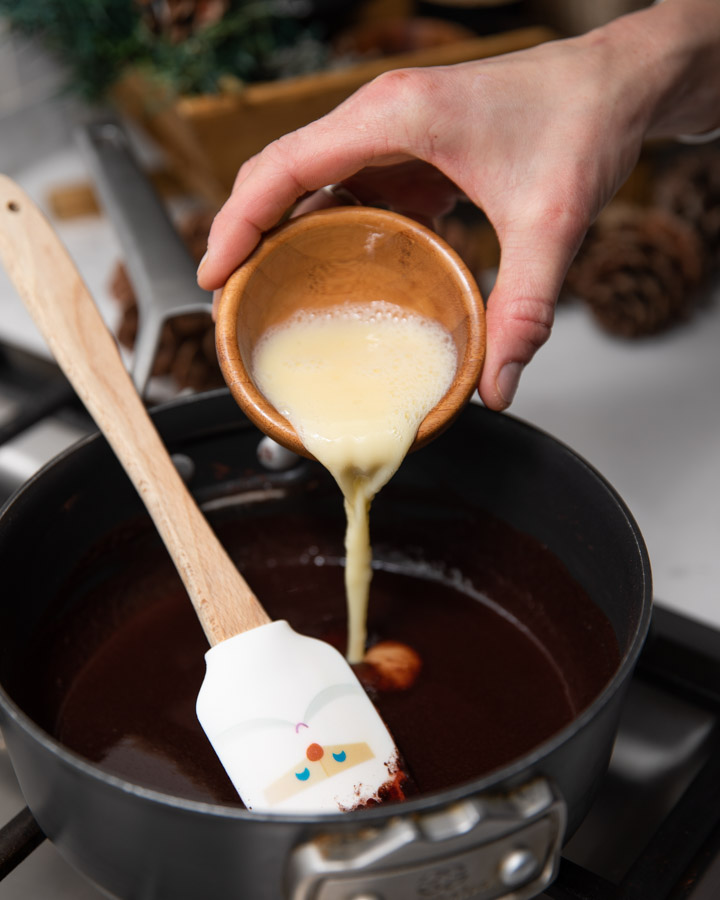
Starting with the base, melt butter, sugar, and cocoa on medium-low heat. If you’re cooking on a hot gas stovetop, be careful not to burn your butter! This will cause the butter and cocoa to separate and go chunky. LOW heat. Lol, we might have learned this the hard way.

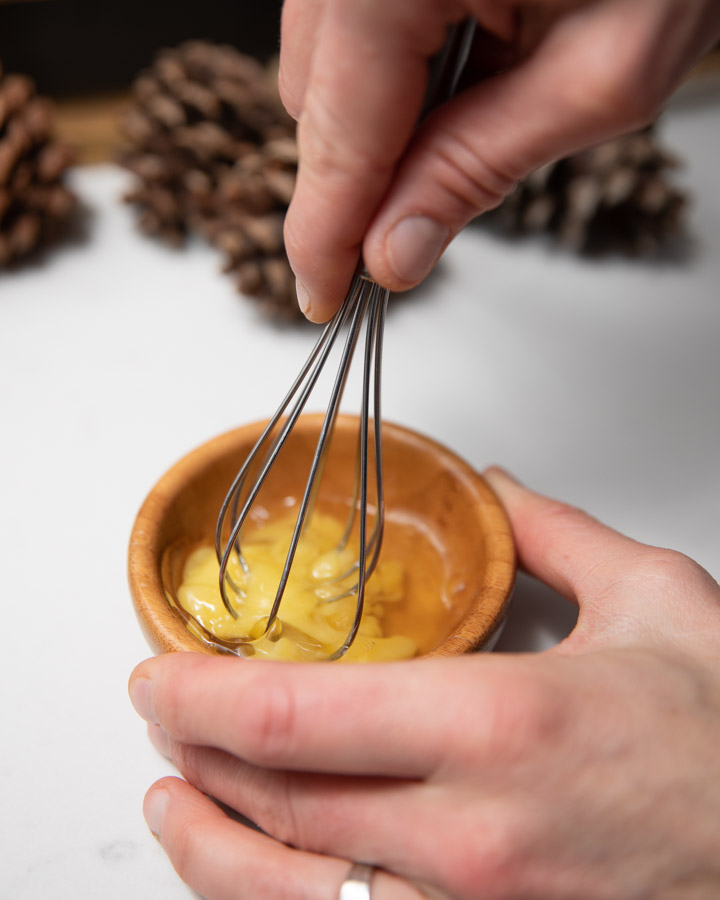
Another trick in making this base is to beat your egg well before adding it to the chocolate mixture. Otherwise, you may have egg that starts to cook and form bits in your base!
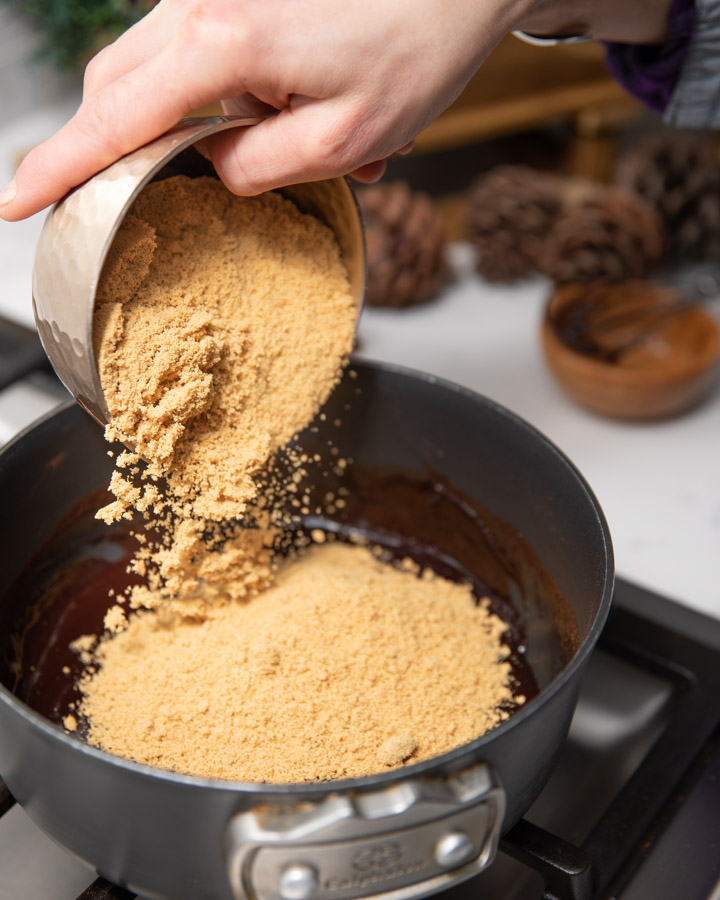
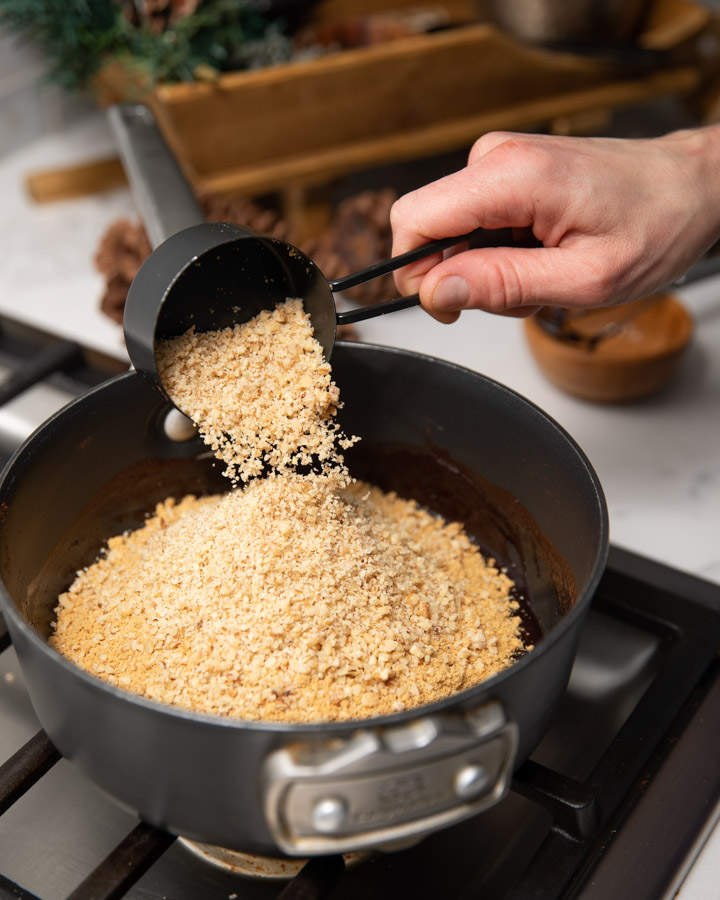
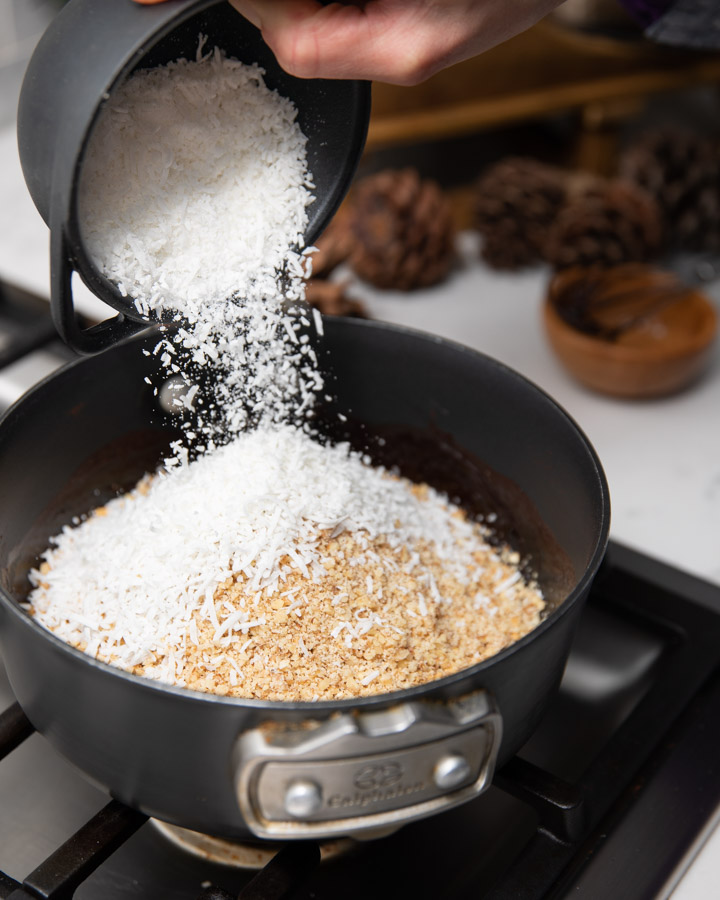
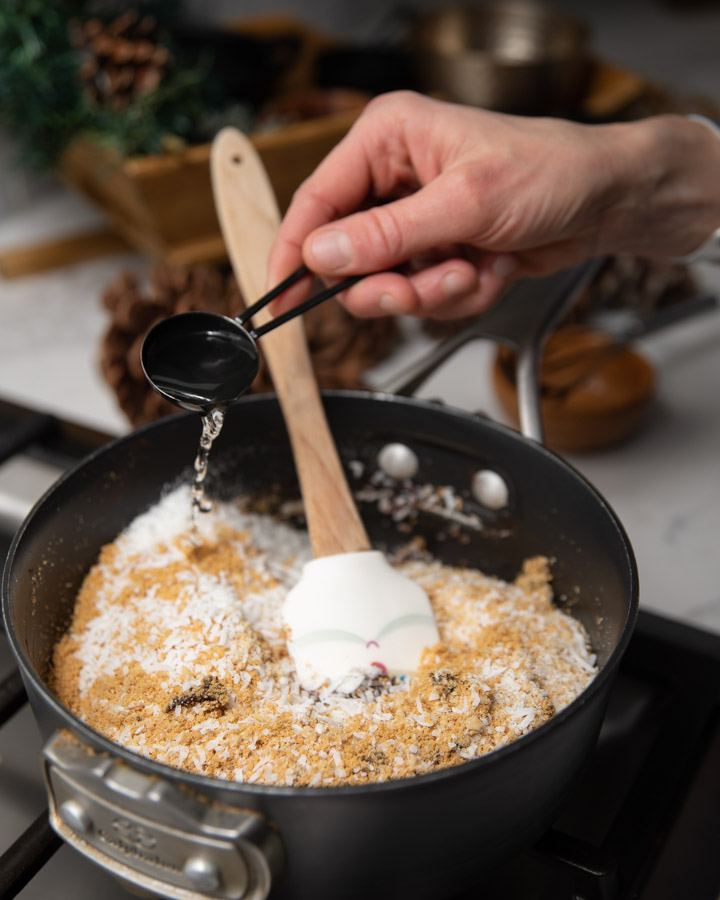
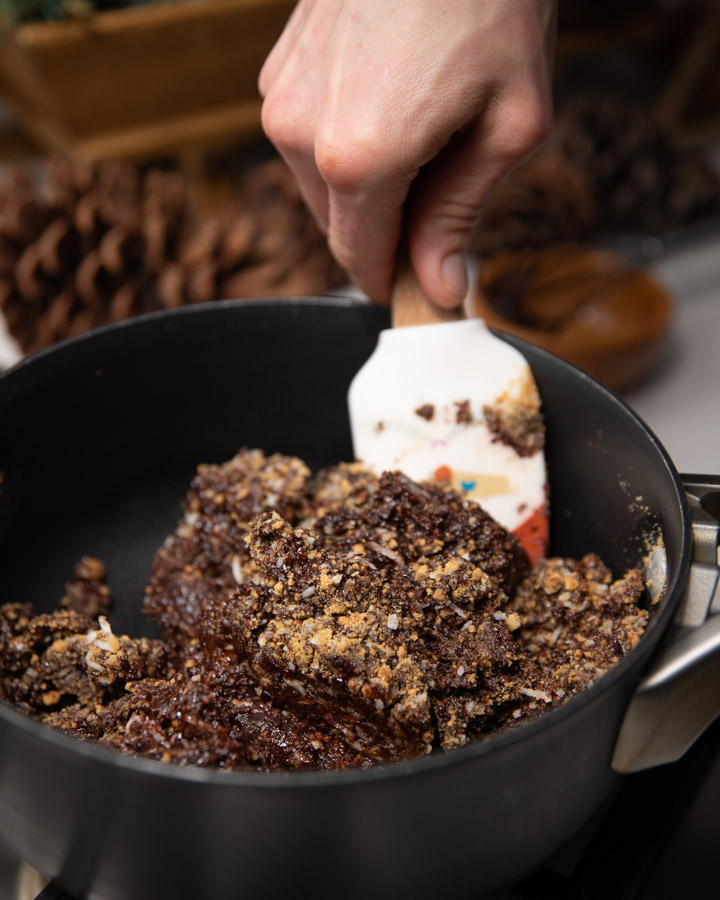
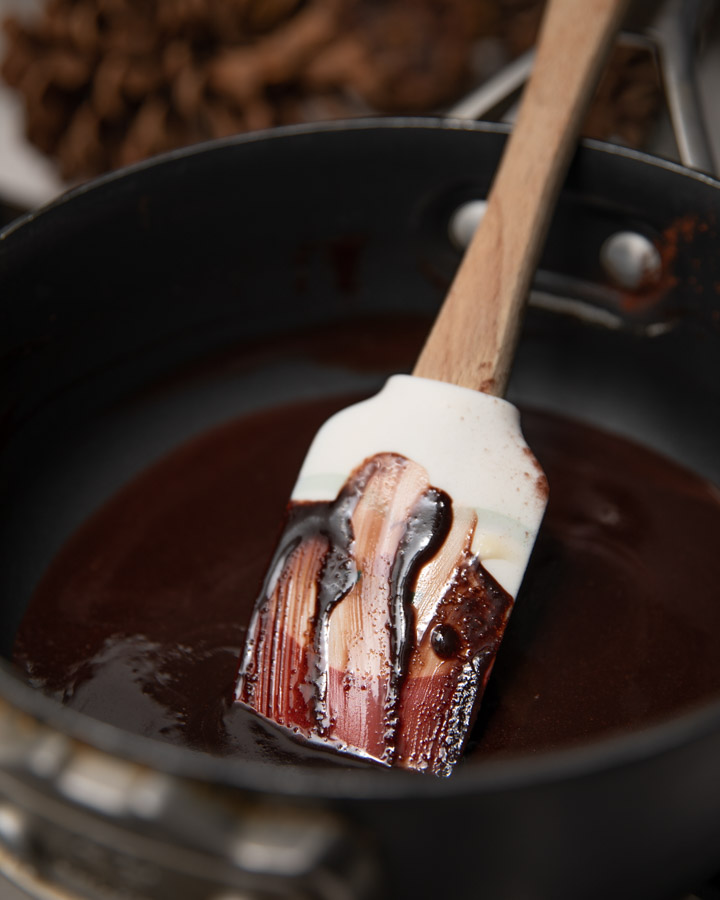
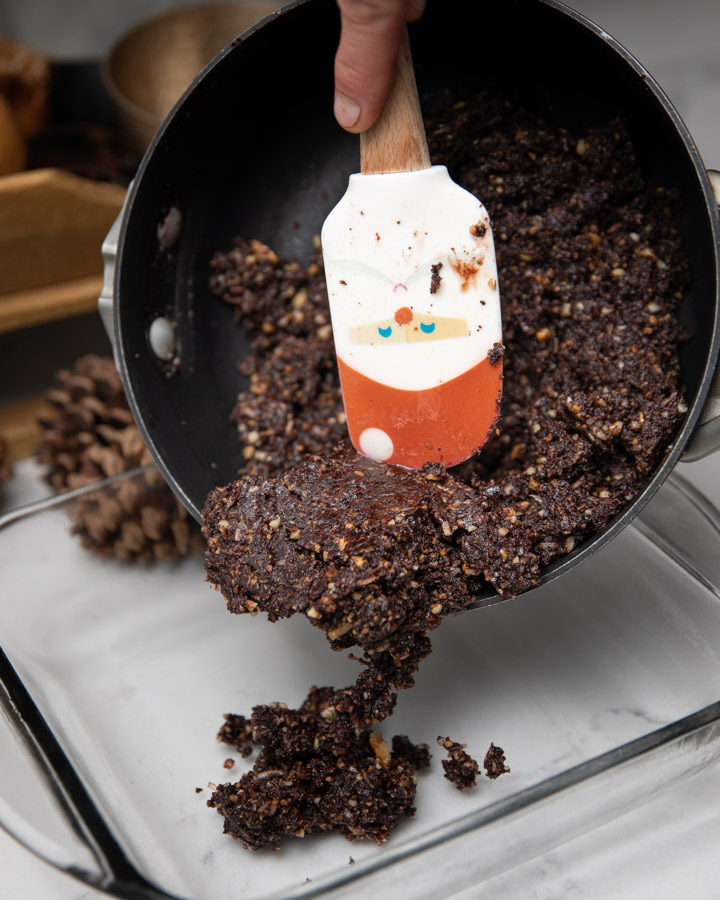
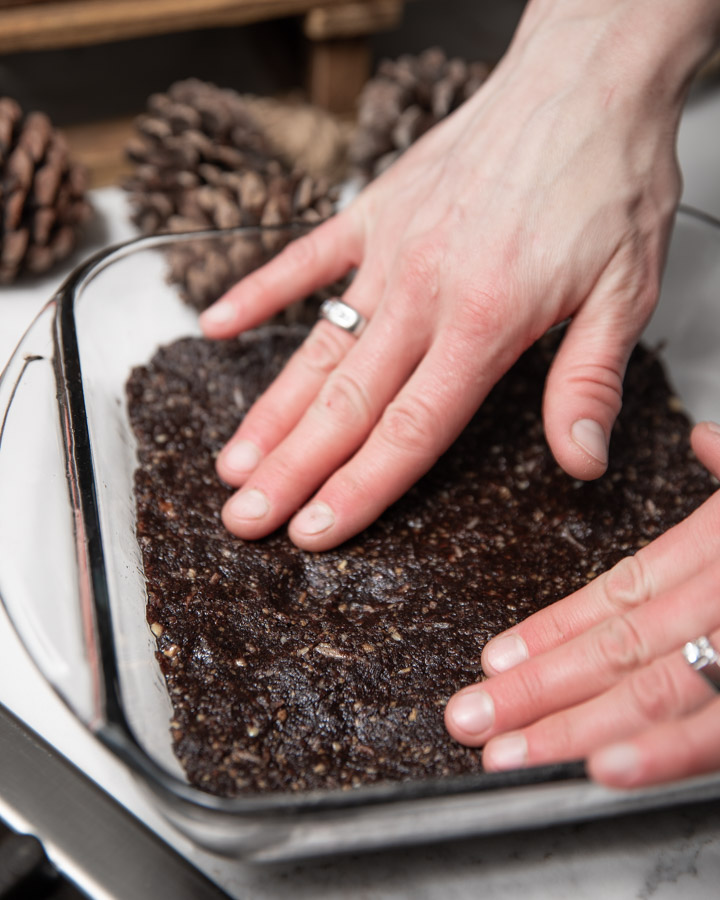
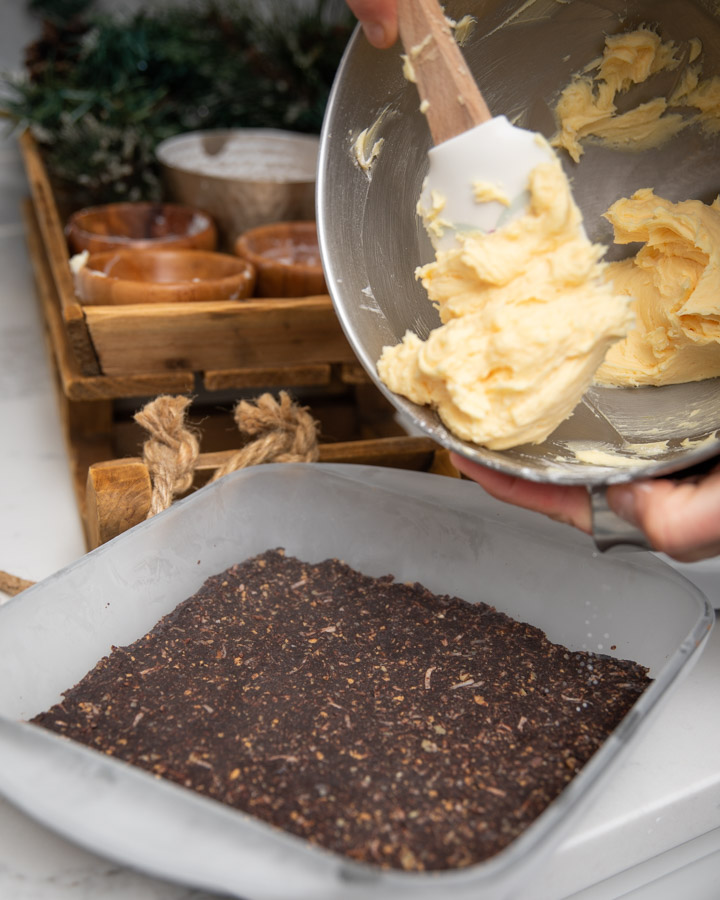
Once the beaten egg is added, go ahead and add the rest of your ‘base’ ingredients. Remove your pot from the heat and stir everything well! Then grease the bottom of an 8 x 8 pan and press down the base.
The middle creamy layer: decide which flavour of Nanaimo bars you’d like to make. Go ahead and be daring, try something new! Or if you LOVE the traditional…we can’t blame you for sticking with an ‘old faithful’. It doesn’t matter what option you choose. They’re all delicious!

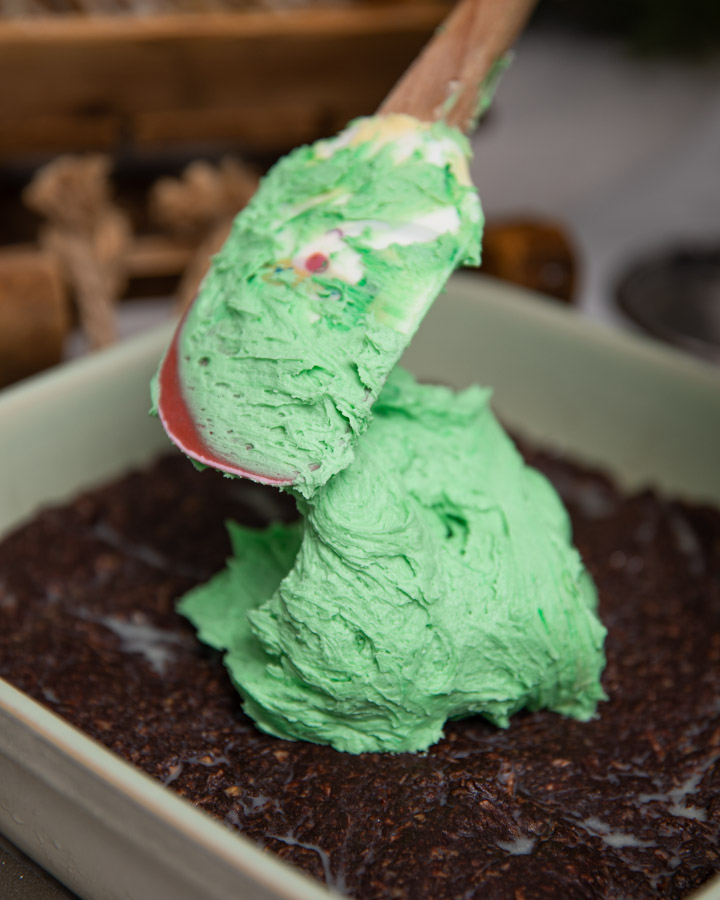
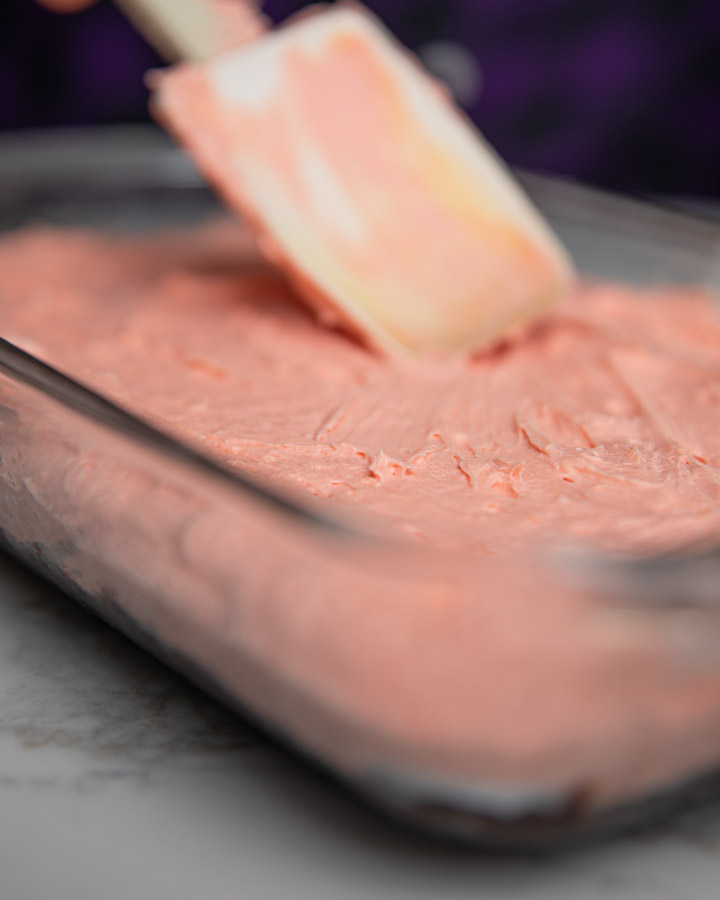
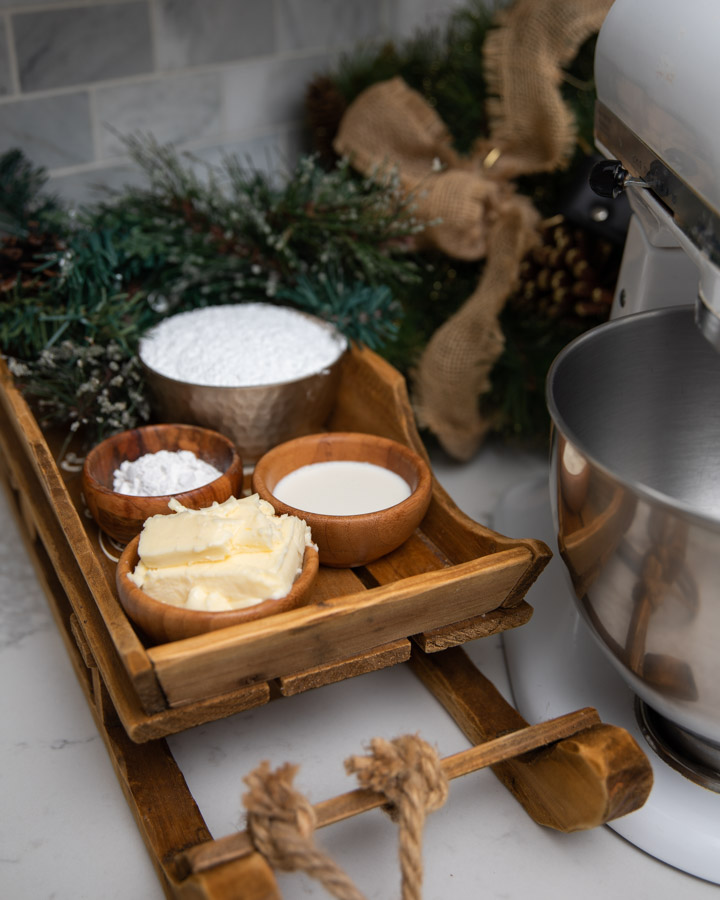
Pull our your electric mixer and simply mix all the middle layer ingredients. Ensure that everything is very well combined! If you’re deviating from the traditional, this is where you would add the optional ingredients to either make the Mint or Cherry versions.
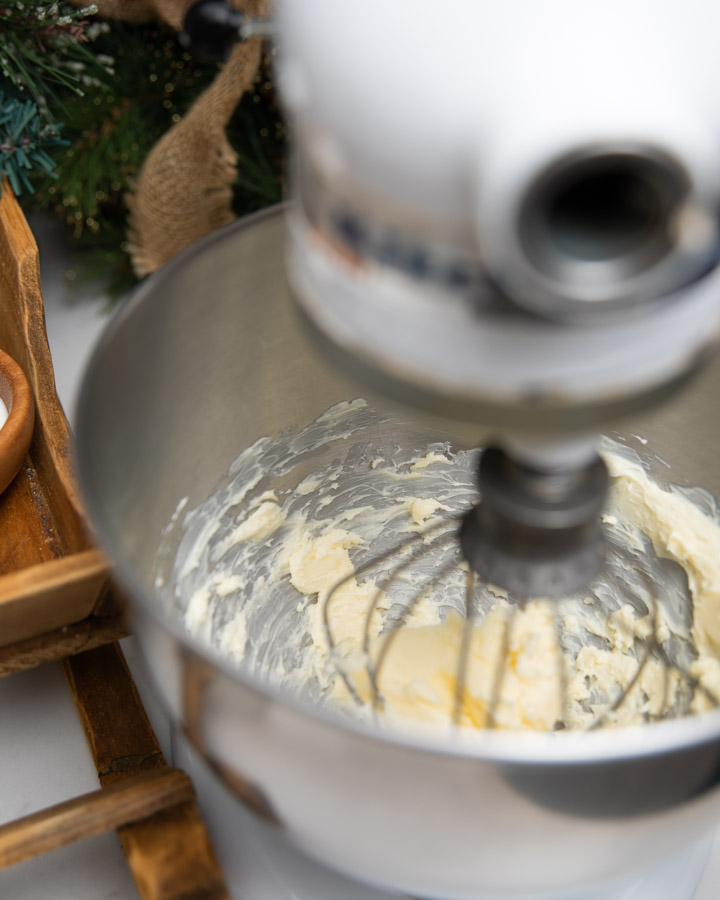
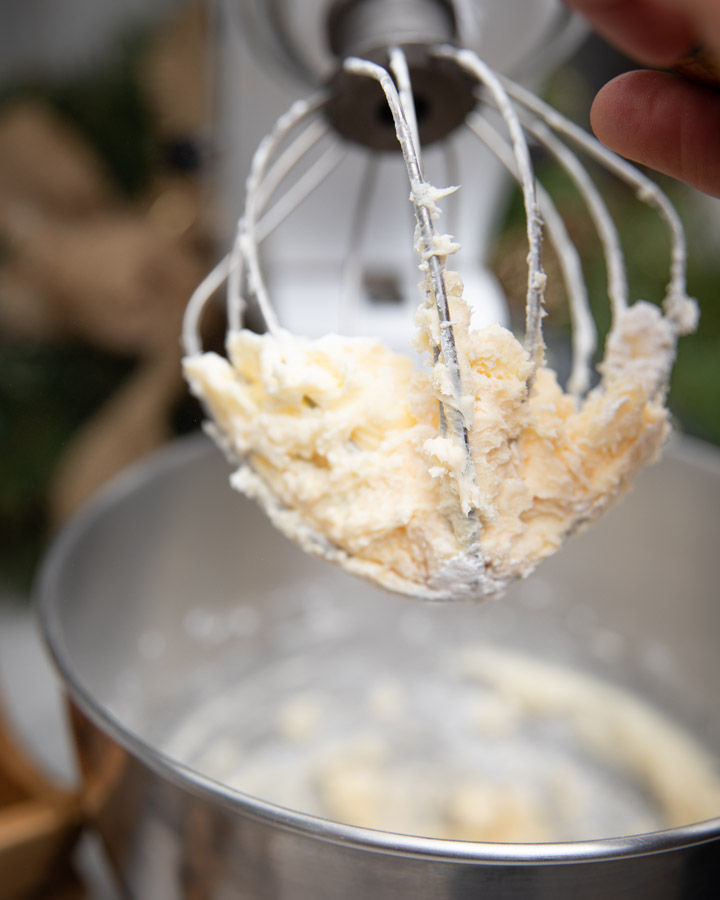
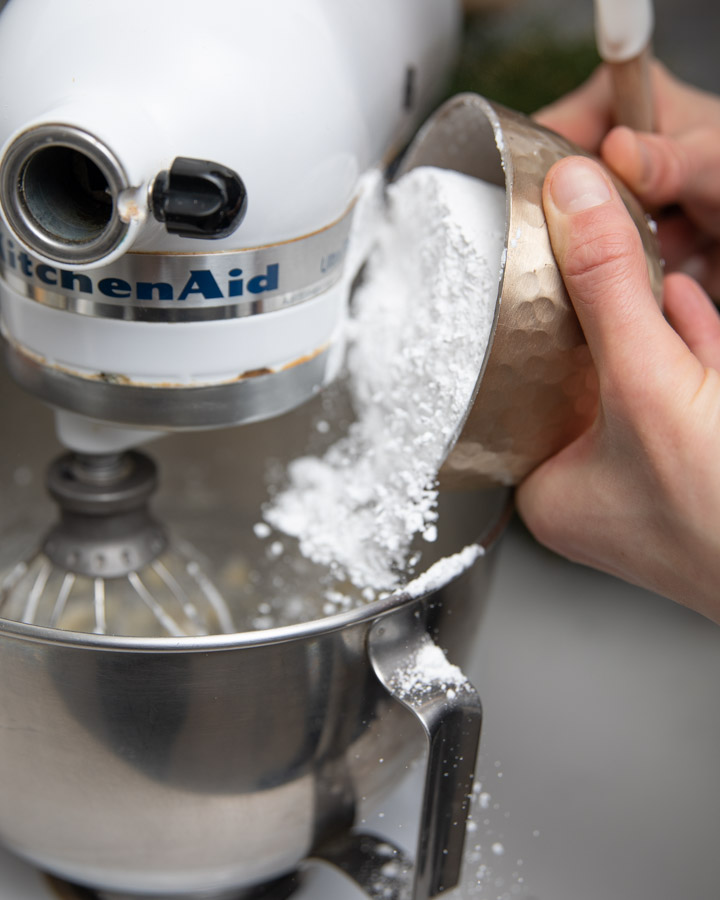
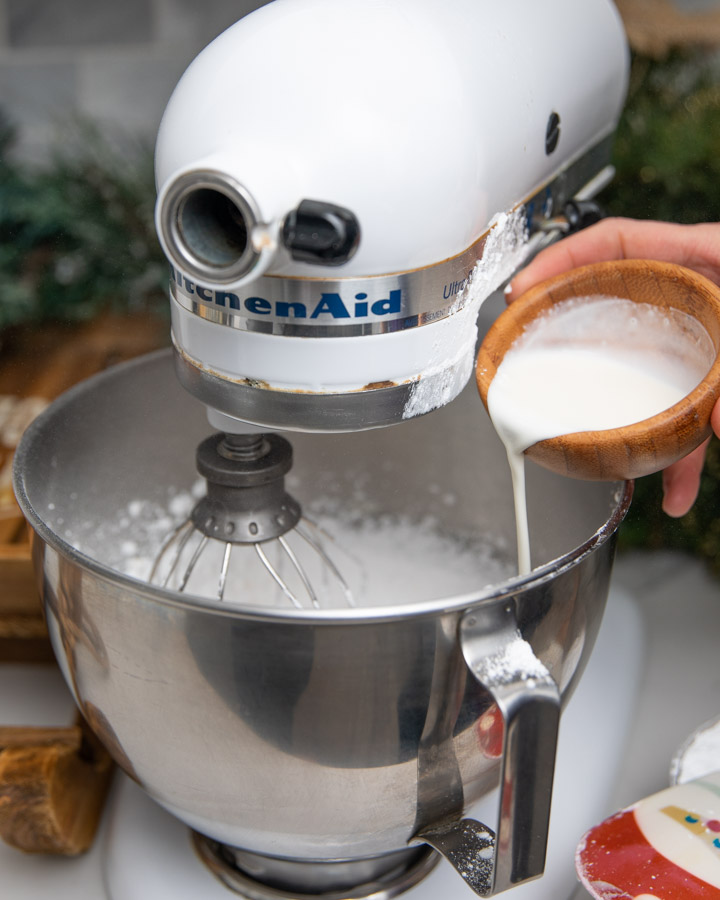
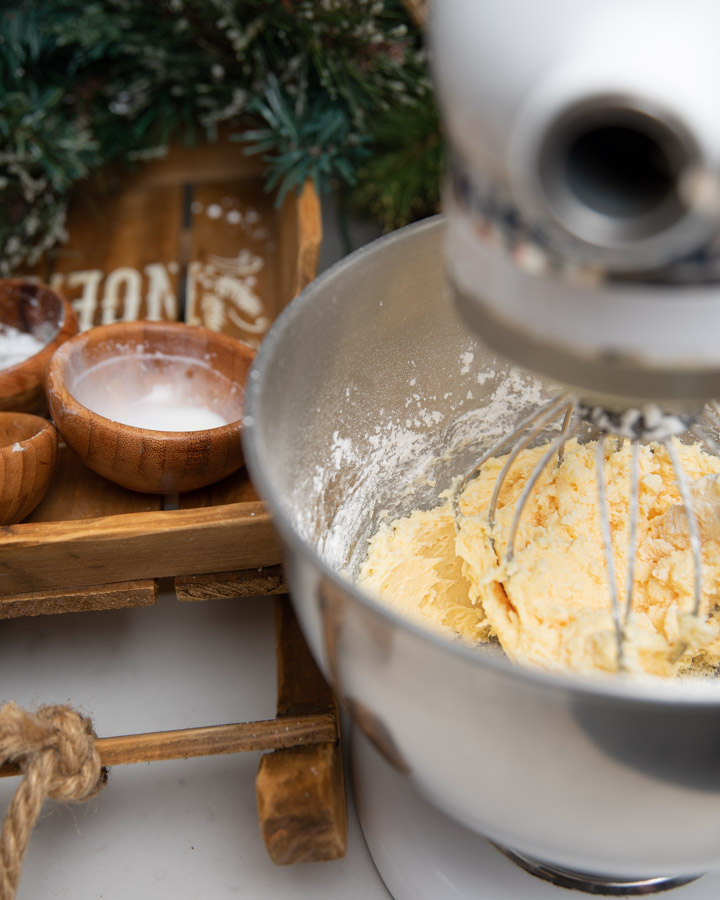
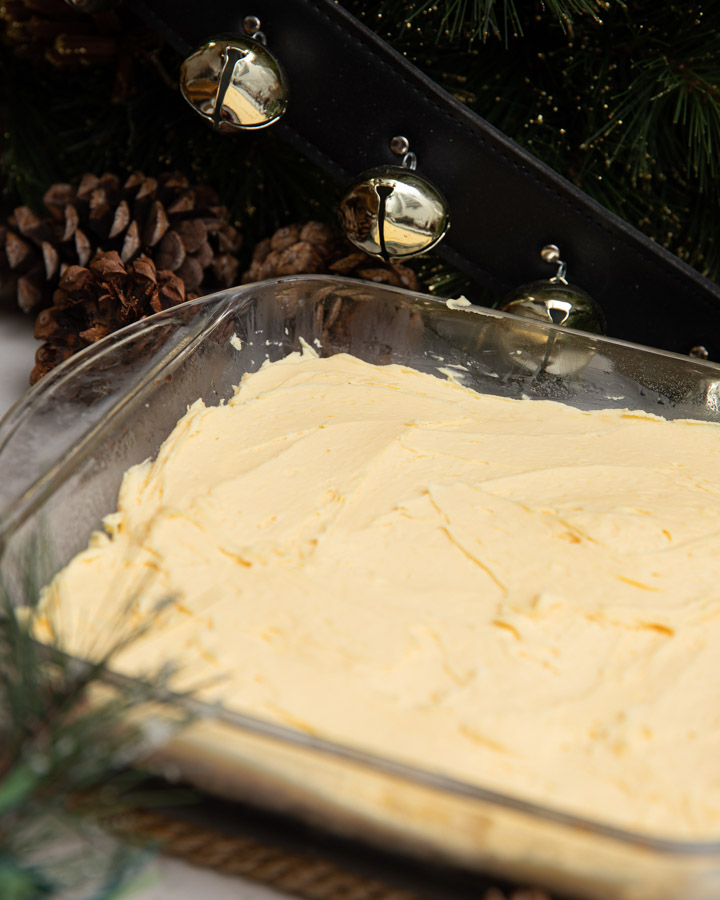
Once it’s mixed, you should find it to be similar to a thick icing consistency. Go ahead and spread this over your base. Then pop it into the fridge for about 30 minutes to cool and fully set.
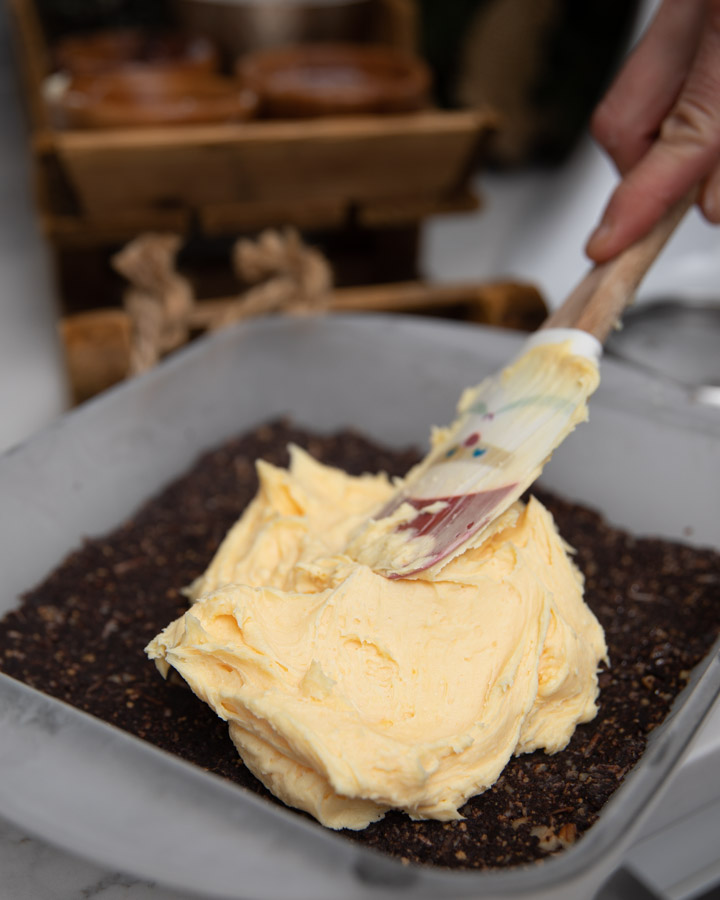
Letting the base and filling cool will allow the top chocolate to set properly. You’ll want the chocolate to form it’s own layer and not mix with the middle filling. Don’t skip this important step!
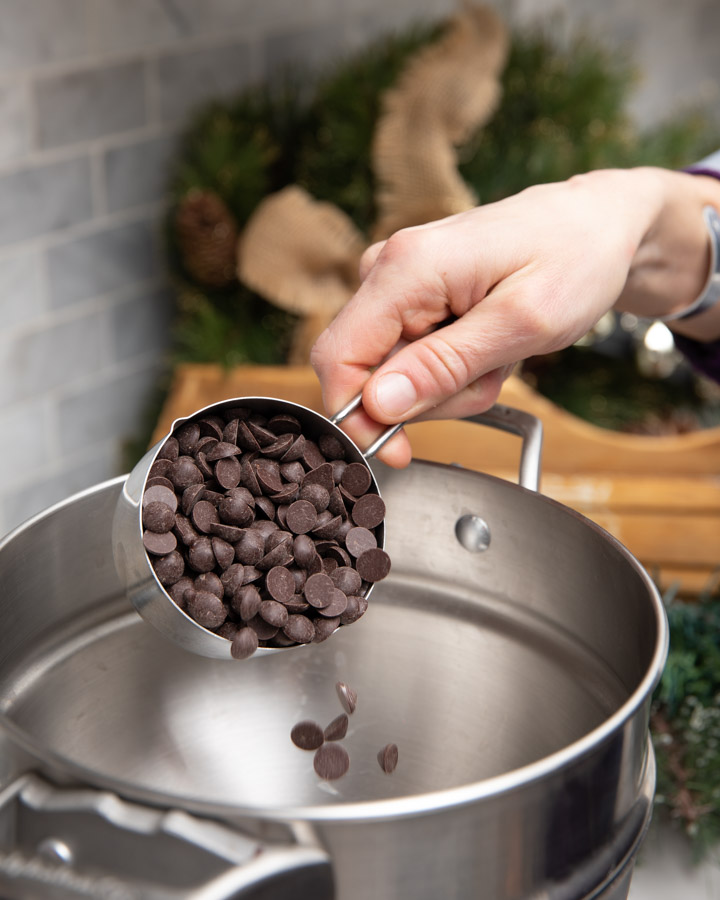
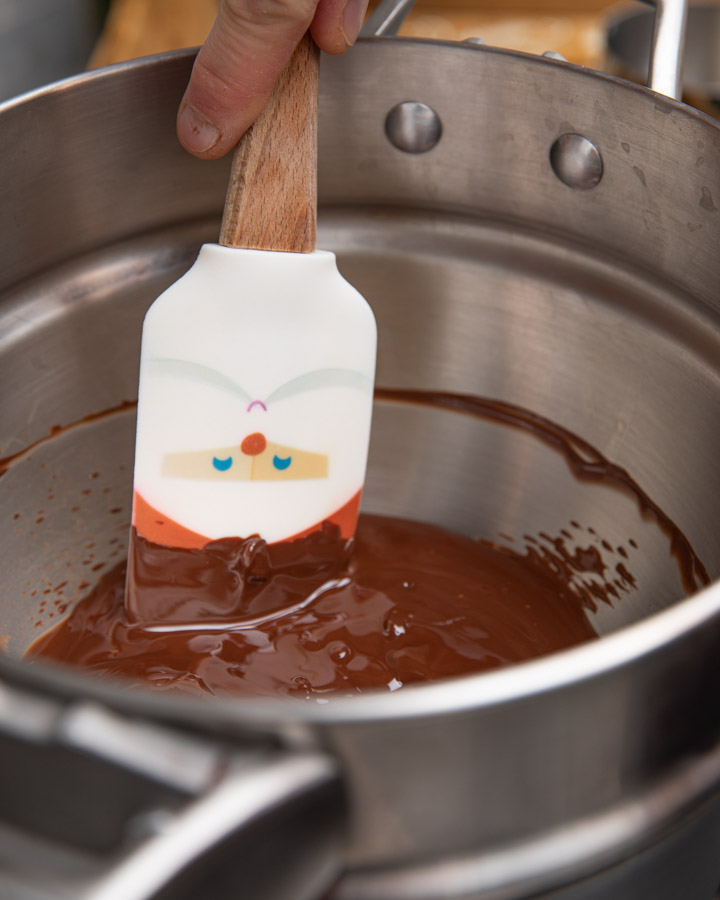
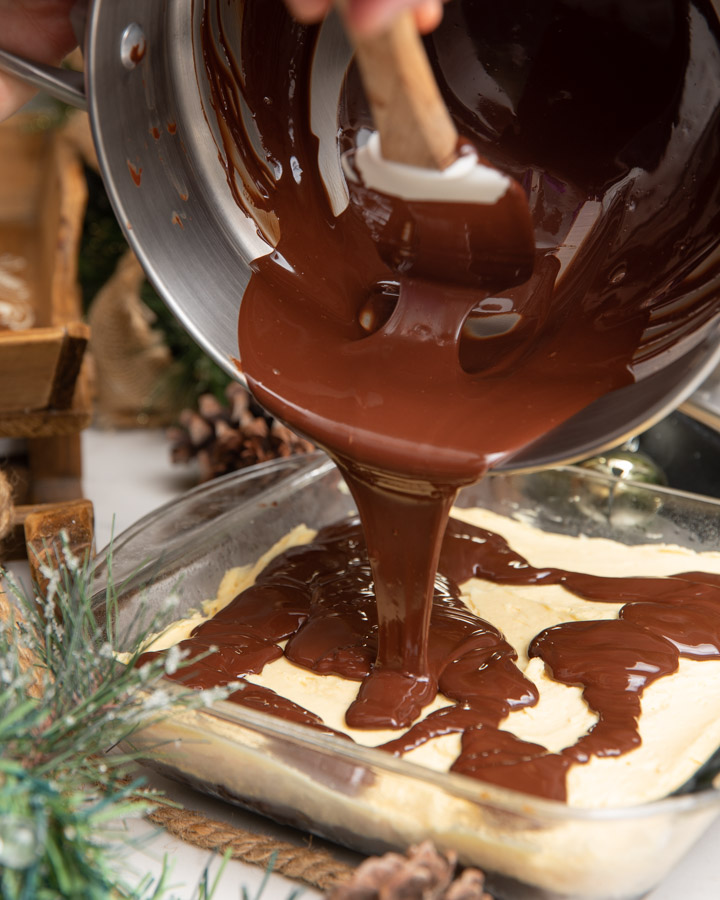
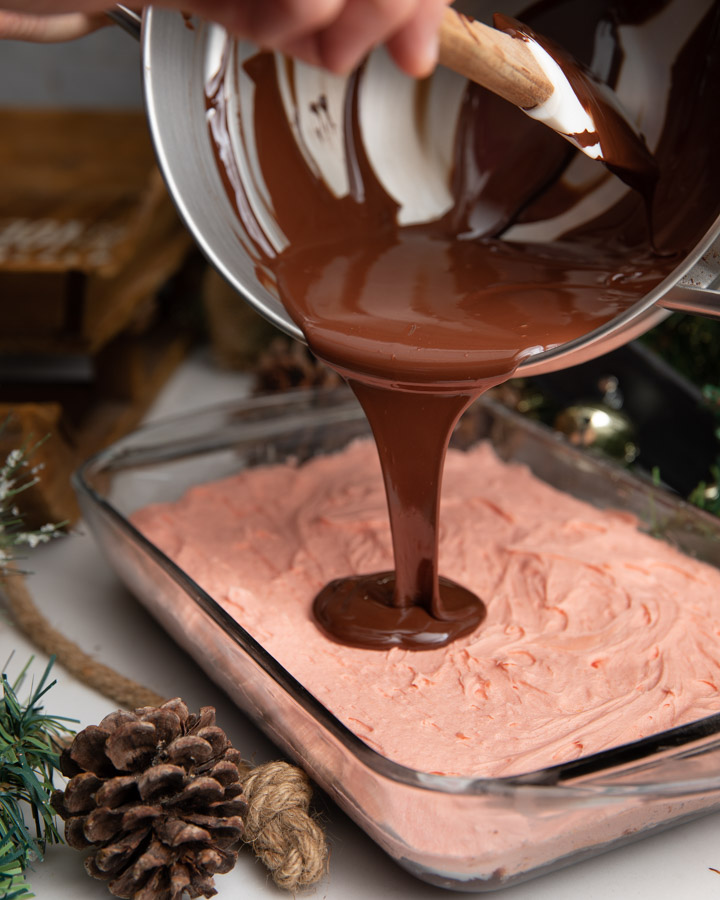
After the base and middle layer have fully set, it’s time to add the chocolate topping! Using a double boiler on low heat, simply melt the chocolate and butter. Don’t worry about tempering the chocolate this time! It needs to be soft to cut properly. The addition of butter will also help with this.
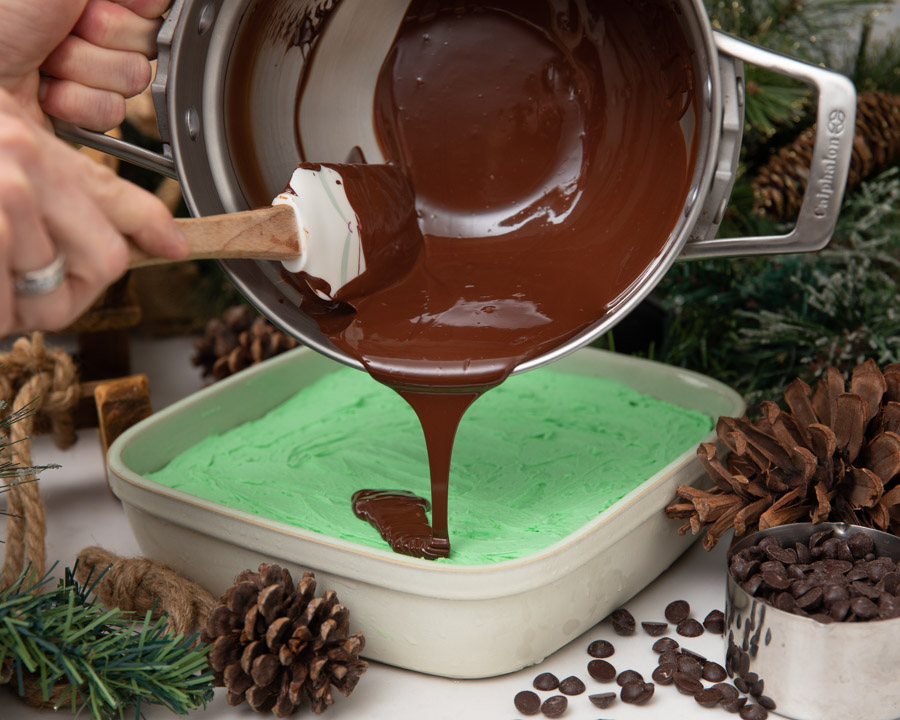
Pour the melted chocolate over the middle layer. Working quickly, carefully spread it evenly to each edge of the pan. You won’t have long before the chocolate starts to set! Giving the pan a slight ‘tap’ on the counter will also help smooth any areas if needed.
That’s it! Ensure the chocolate has fully set before cutting. Happy Holidays!
Nanaimo Bars
Course: Dessert, TreatsCuisine: CanadianDifficulty: Moderate12
servings45
minutes60
minutesCreamy, chocolatey and amazing! These gluten-free versions of a traditional holiday square have also encompassed the colour and flavours of the season. Be adventurous and try or Cherry or Mint Nanaimo Bar as well. Warning though: they will disappear quickly.
Ingredients
- Base
½ cup butter
¼ cup sugar
¼ cup heaped of cocoa powder
1 egg, beaten
1 ½ cup gluten-free wafer crumbs
1 cup coconut
½ cup chopped gluten-free walnuts
1 tbsp water
- Filling Middle Layer
1 cup soft butter
6 tbsp whipping cream
¼ cup custard powder
4 cups icing sugar
*for mint add 2 tsp peppermint extract and green food colouring
*for almond add 2 tbsp grenadine, 1 tsp almond extract, ½ cup icing sugar and 1 more tbsp of custard powder
- Top
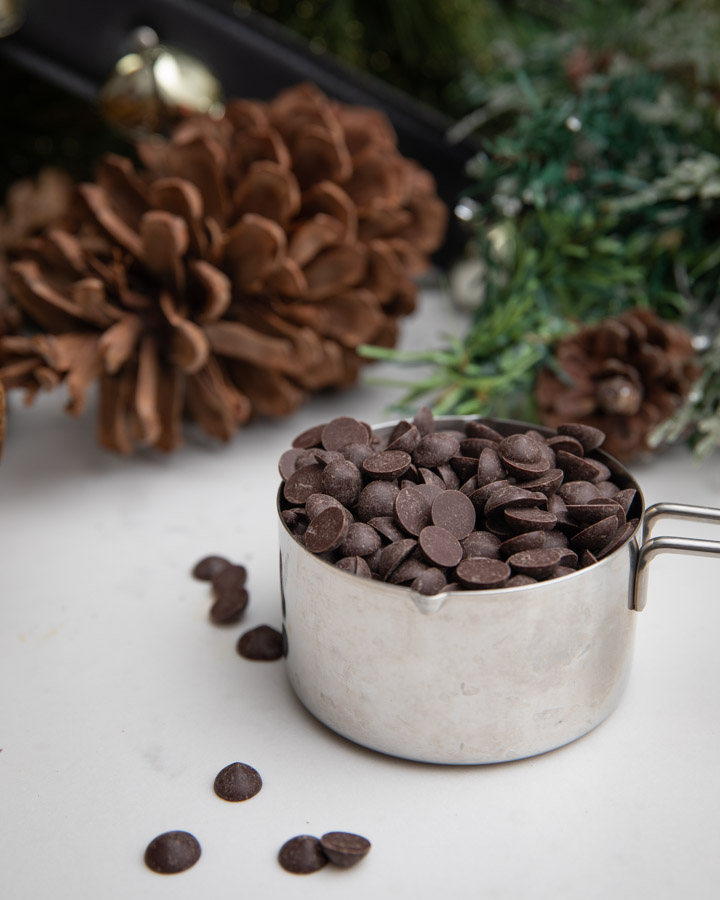
4 oz chocolate chips
2 tbsp butter
Directions
- Base:
In a saucepan melt butter, sugar and cocoa powder. - Stir until combined then remove from heat.
- Stir in the egg.
- Add wafer crumbs, coconut, GF walnuts and water.
- Press into 8 x 8 baking pan lined with parchment paper.
- Refrigerate while you make the filling.
- Filling: Cream butter with whipping cream, custard powder and icing sugar.
- Should resemble a thick, smooth icing.
- If you’re going to make a variation of the original, add extra ingredients now.
- Spread evenly over the base layer and pop back in the fridge for 30 minutes.
- Top: Melt chocolate chips and butter in a saucepan.
- Spread evenly over the top of the filling layer.
- Set back in the fridge for 30 more minutes.
- To cut use a clean sharp knife.