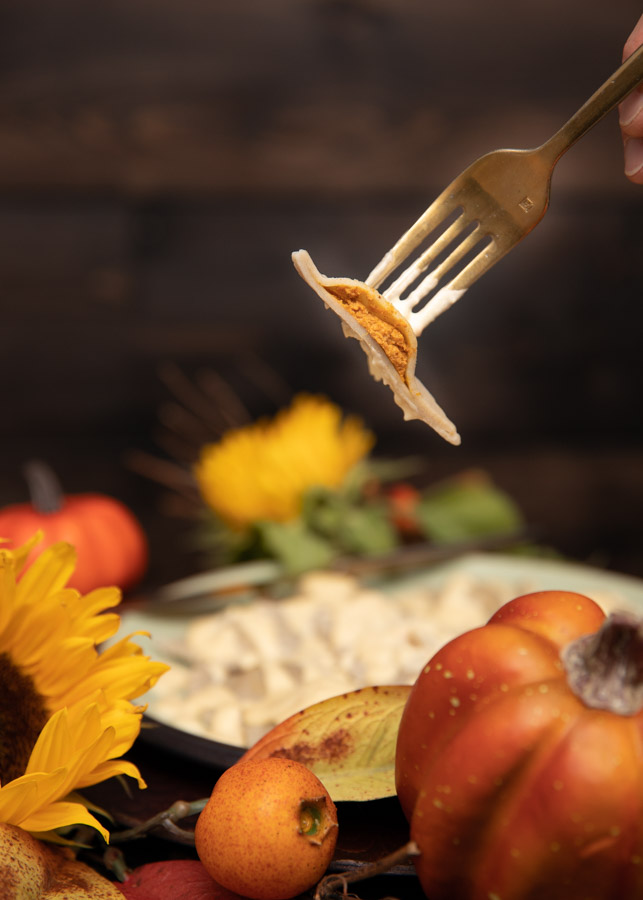
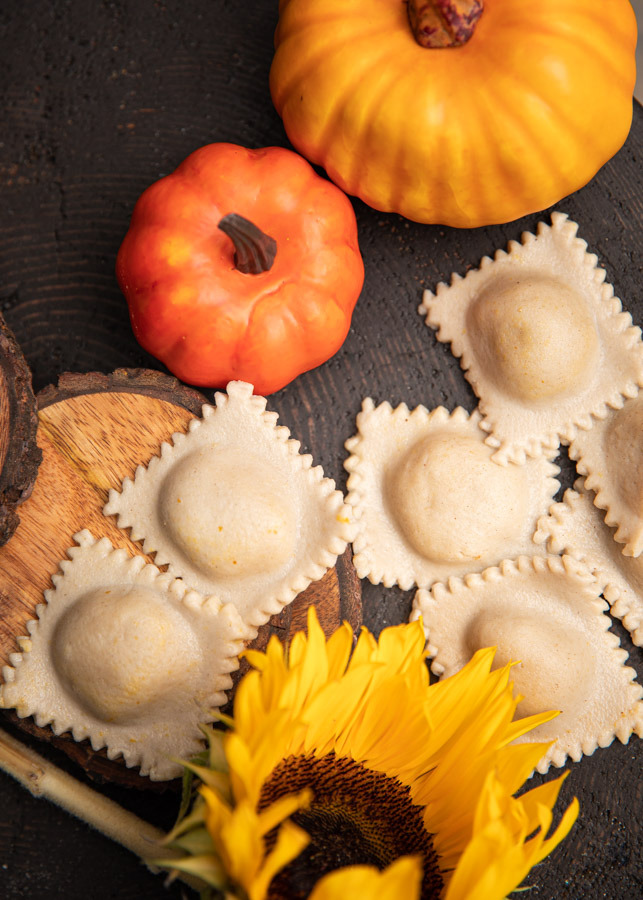
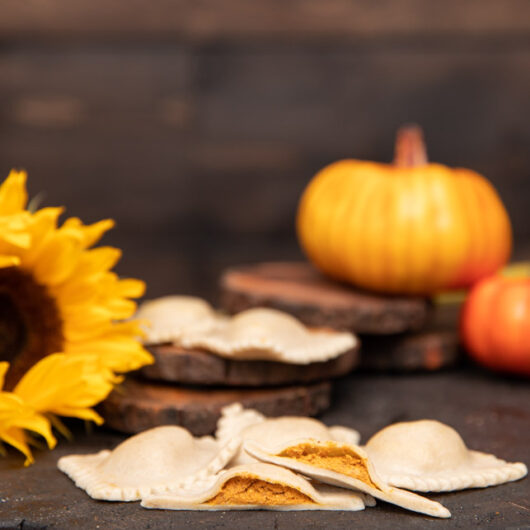
We’re so excited that it’s pumpkin season! AND that it’s GLUTEN FREE PASTA week! There’s no better way to use pumpkin then to wrap it in pasta, and pour a creamy sauce all over it. That’s right, we’ve made homemade GLUTEN FREE pumpkin ravioli!! If you are on a gluten free diet, you’ll understand why this is such an incredible treat.
There are gluten free noodles of many sorts; but to find a gluten free ravioli is almost impossible. We knew without a doubt, that we needed to develop an amazing gluten free ravioli. Pumpkin Ravioli is exactly that. Amazing AND gluten free.
We are so excited to share with you this recipe. It isn’t complicated or extremely hard, but it does require a little more effort then some of the recipes we often post.
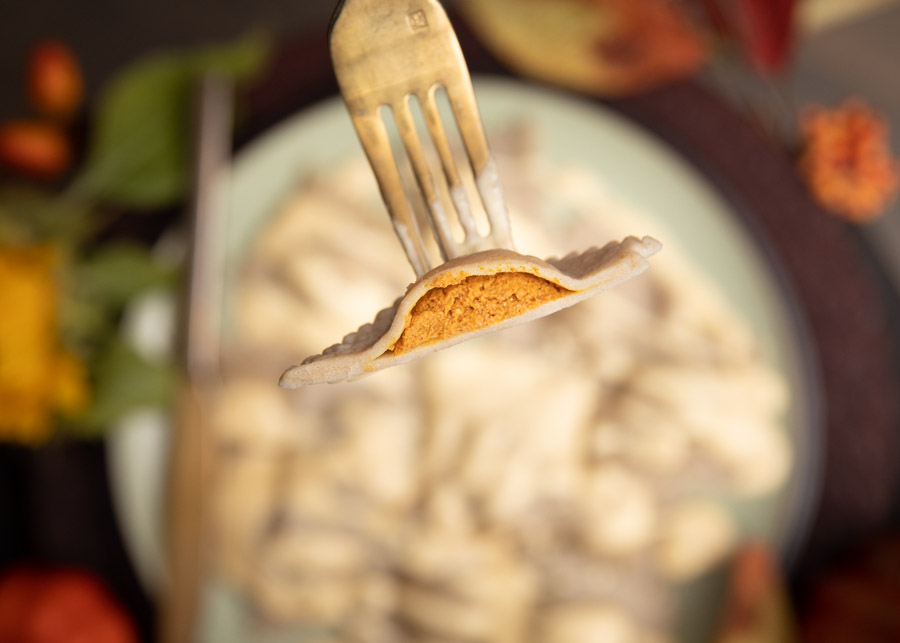
The end result is worth every minute taking the time to make homemade pasta, and filling it’s little pockets with delicious spiced pumpkin. We promise.
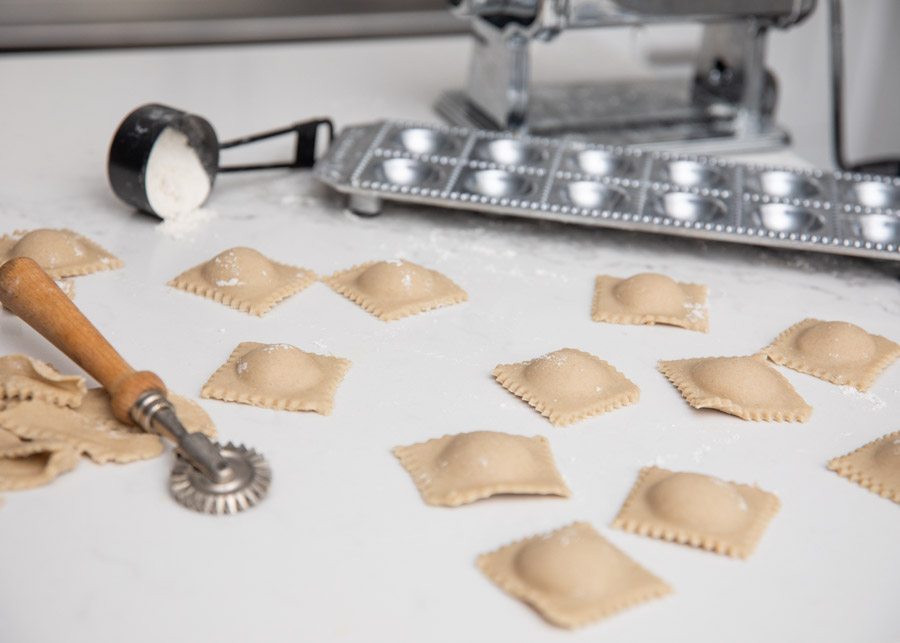
Trying to make ravioli using a tray mould, or just ‘free hand’ cutting the little pockets; we concluded that both ways work great! The moulds will make your life easier and the ravioli look a little fancier. Although, if you don’t care how fancy your edges are, and simply want a delicious bite, then cut away.

Is your mouth watering yet? Let’s get this ravioli boiling and on a plate.
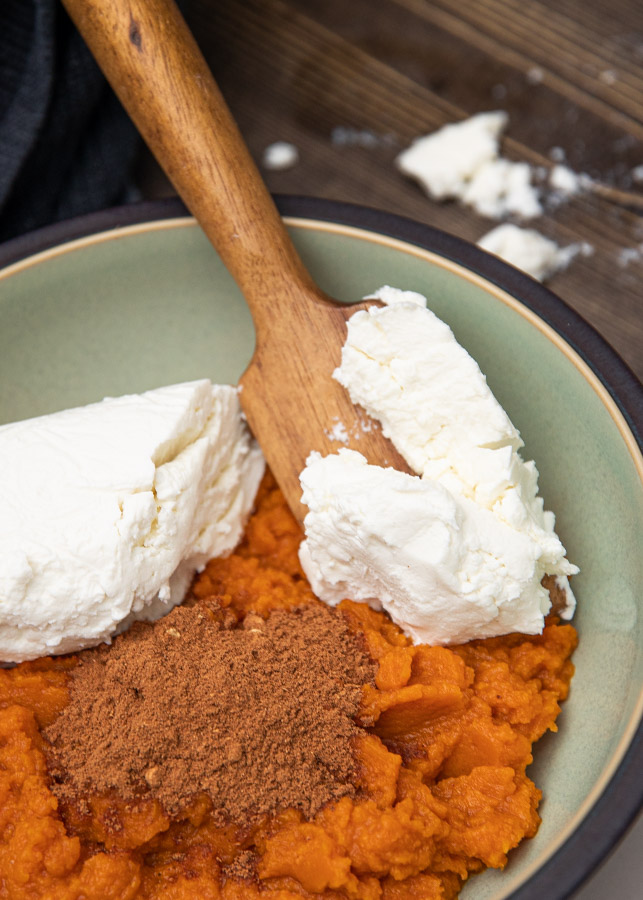
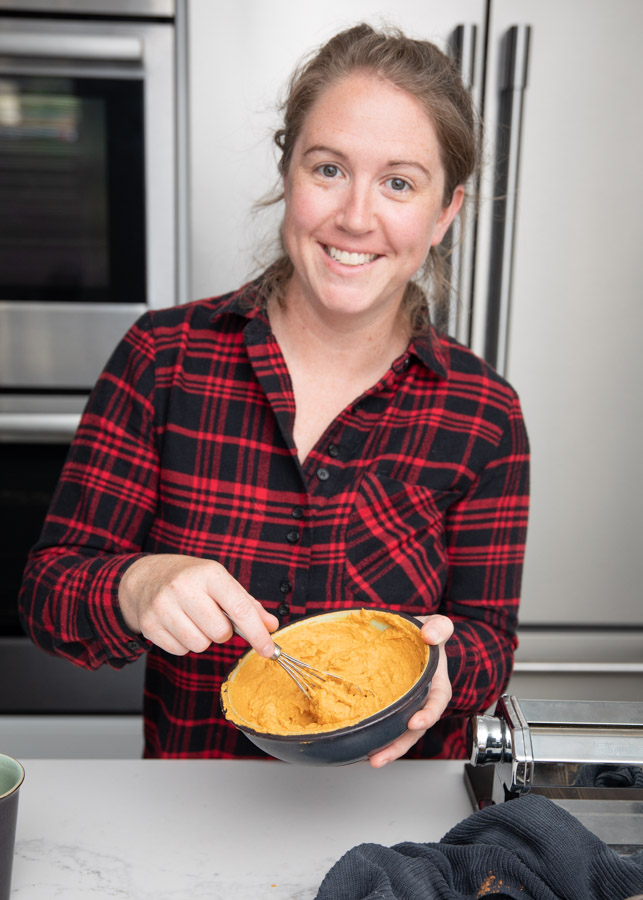
First things first, you’ll need to make your ravioli pumpkin filling. This can be combined and left in the fridge until you’re ready to use.

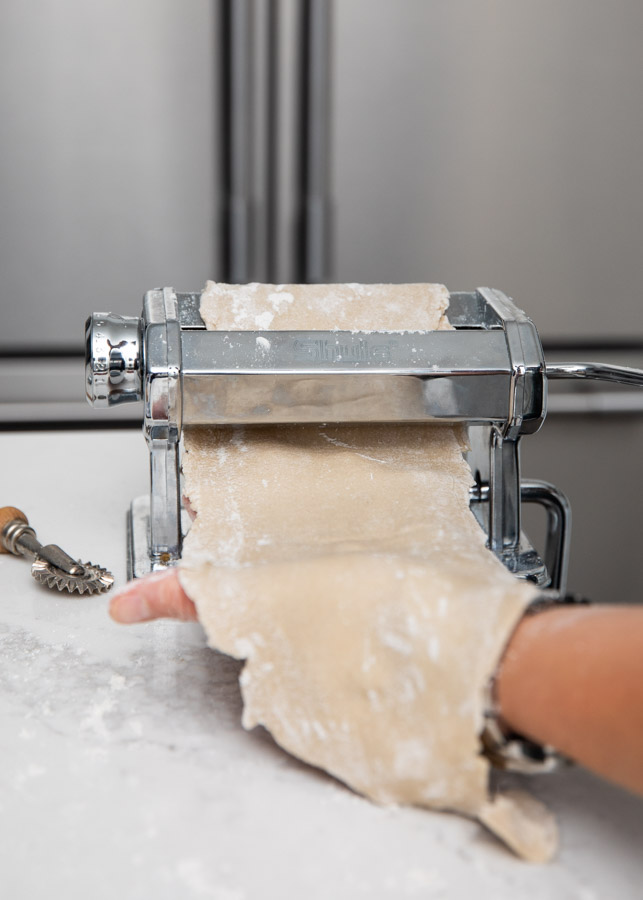
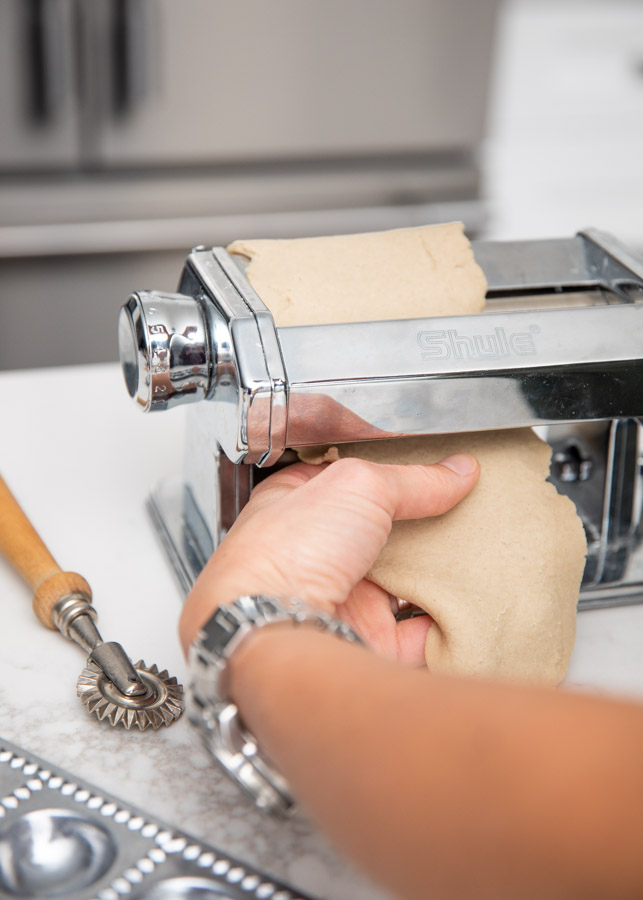
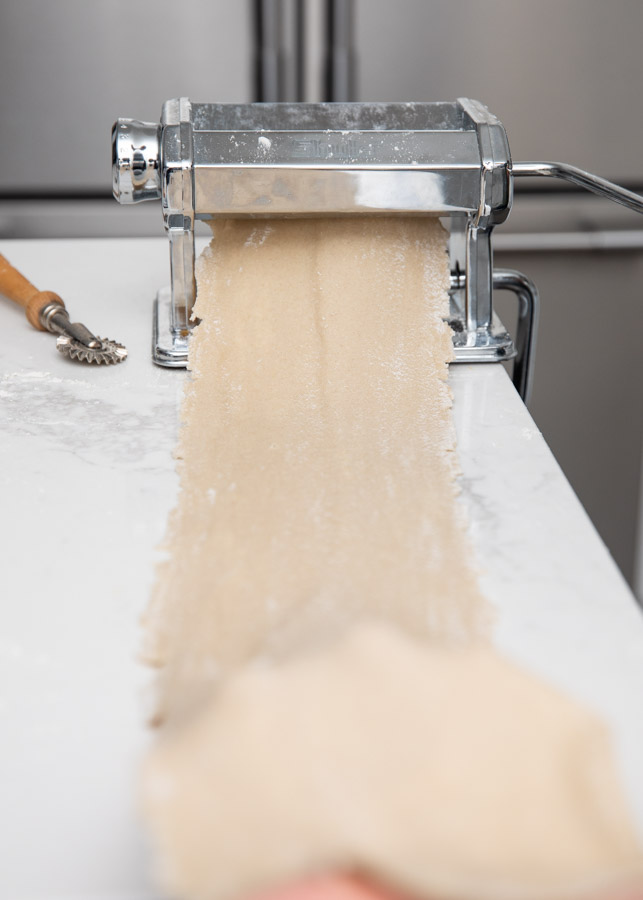
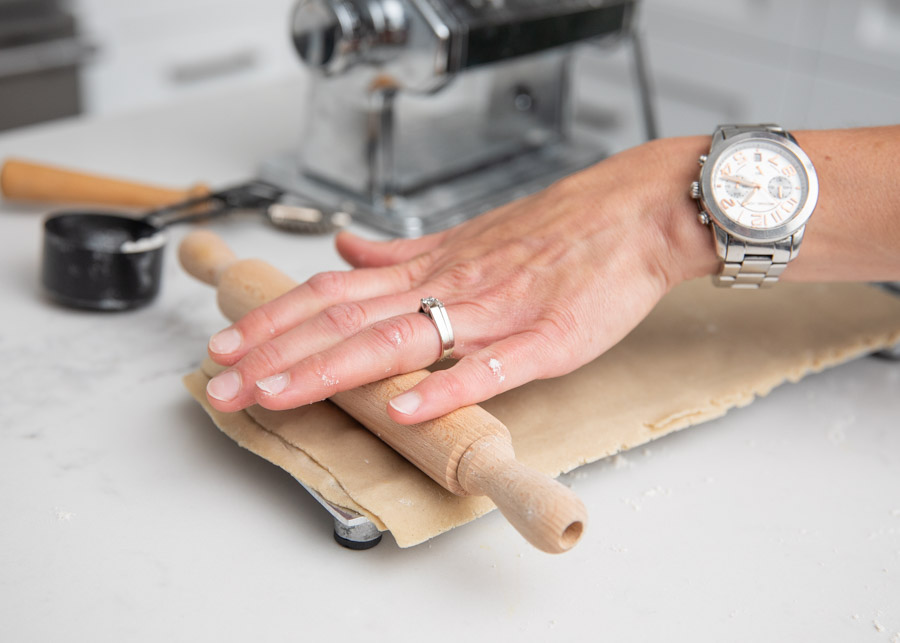
With the filling waiting in the fridge, next on the agenda is to make a batch of CUT Pasta. (https://cutcooking.com/cut-pasta/) Keep your pasta roller pressing out thin sheets of dough starting at #7 setting, then #6, and finally at a #5 setting. Once this has been achieved, and you have a long sheet of stretched dough, you’re ready to create the Pumpkin Ravioli pockets.
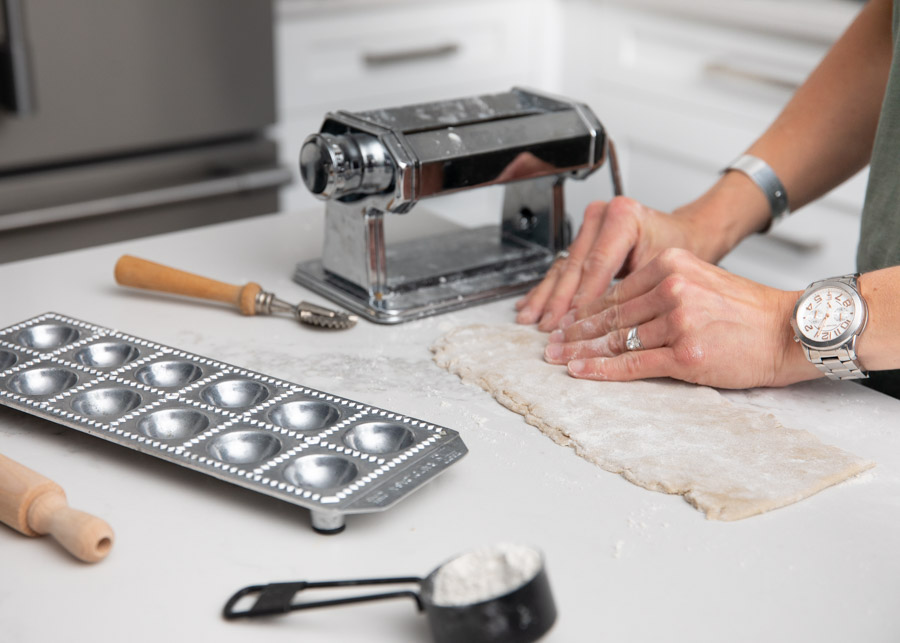
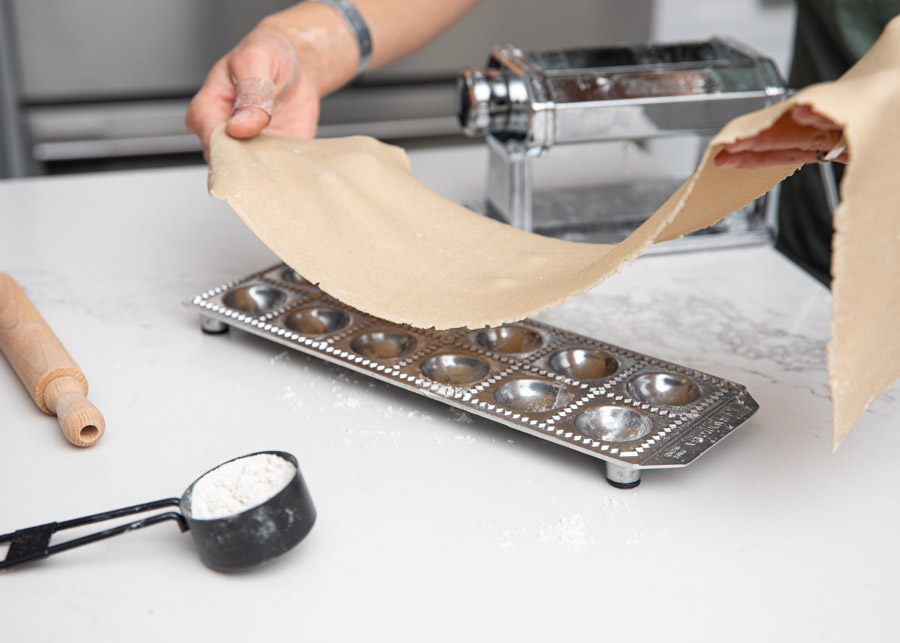
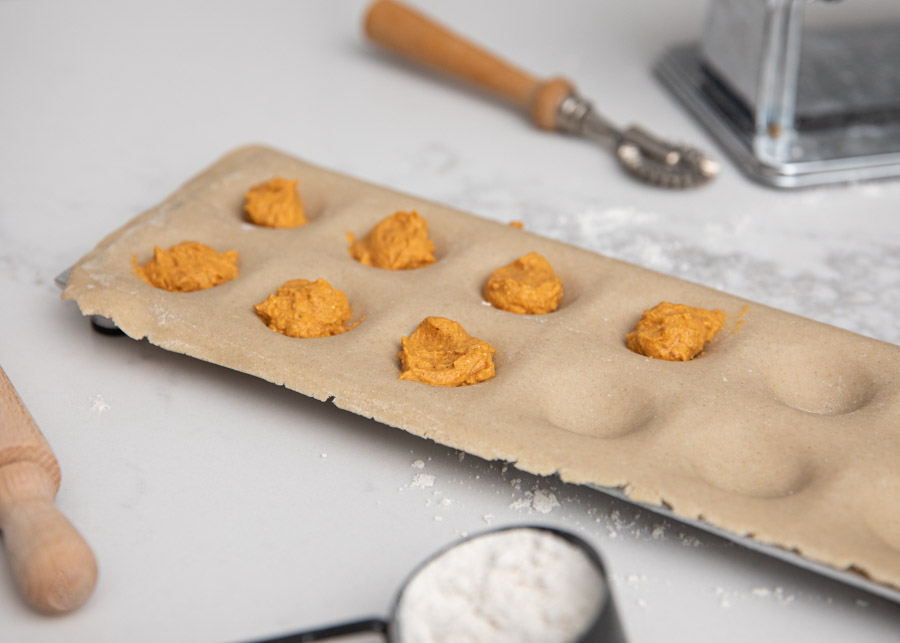
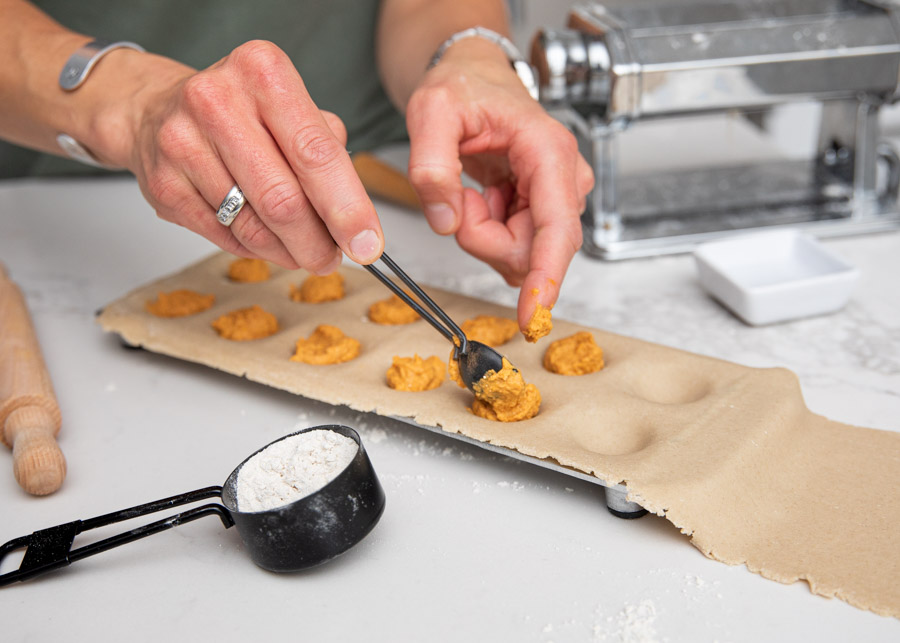
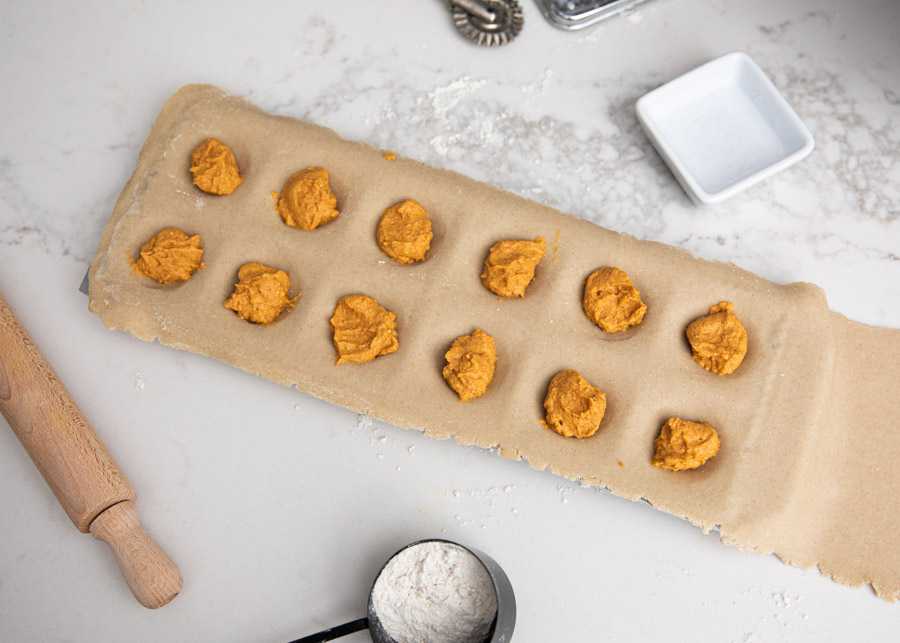
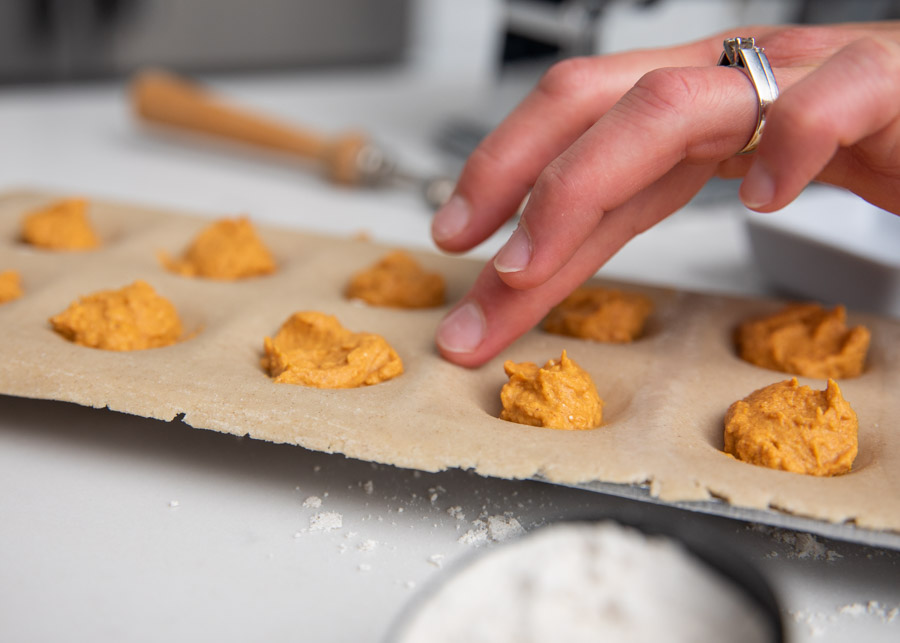
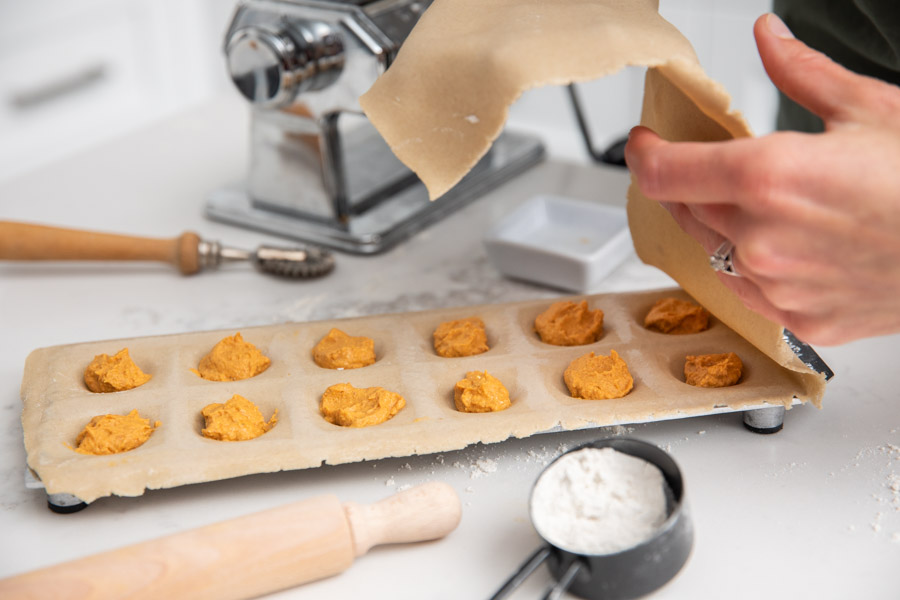
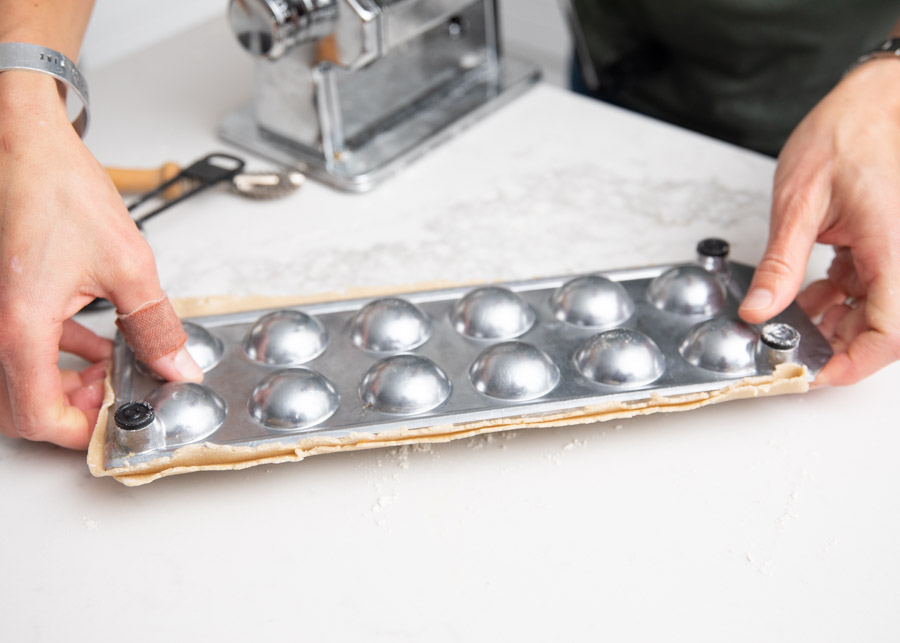
Lay half of the pasta sheet over your ravioli mould and gently press the pasta dough into the divets. Then go ahead and fill the divets with the pumpkin filling. You’ll need only 3/4 tsp of pumpkin filling in each hole. Don’t over fill the dimples or the pasta will have a hard time sealing.

Once the dimples are filled with pumpkin, this next step is super important! Using your finger, run water over all the edges where the sheets will join and be cut. This will help seal the ravioli when you cover the pockets with the other half of your pasta sheet.
There’s honestly nothing more frustrating when making ravioli, then watching all the filling empty out of the pockets as it boils! Be sure to seal your squares tightly.
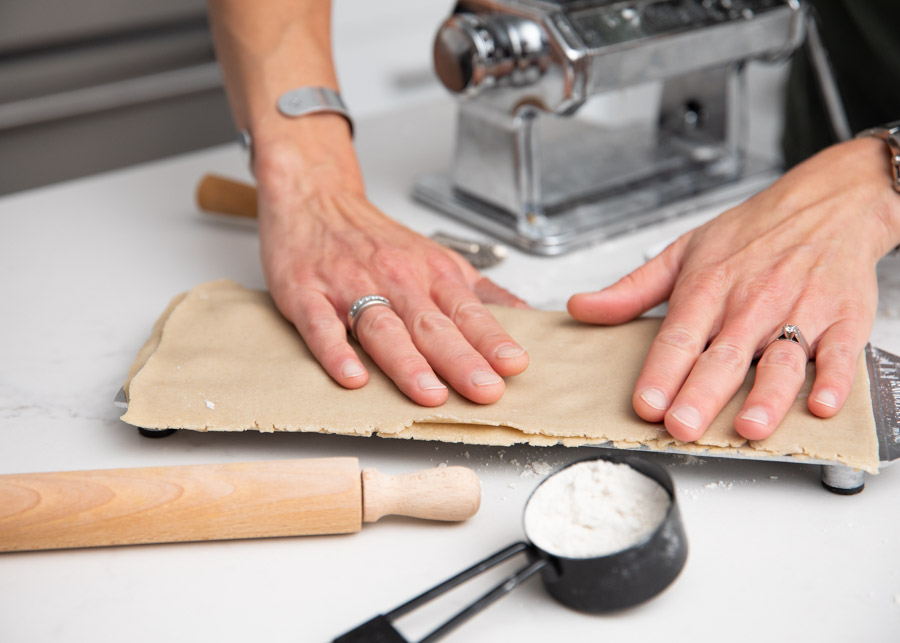
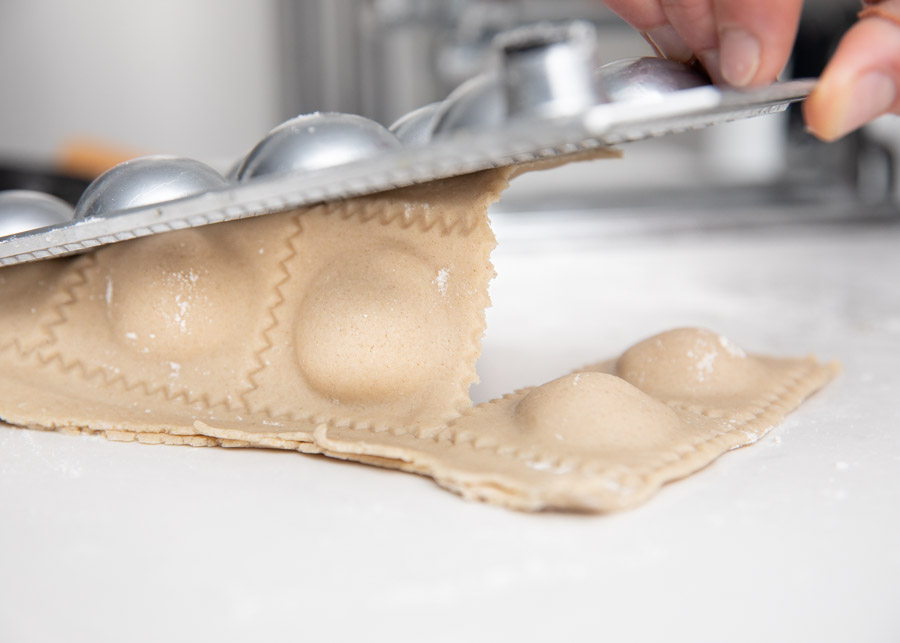
Using your pasta roller, press the two sheets together and press the dough over the ravioli squares. This will help seal and perforate the pasta pockets and when you flip the tray over, you should have individual ravioli!
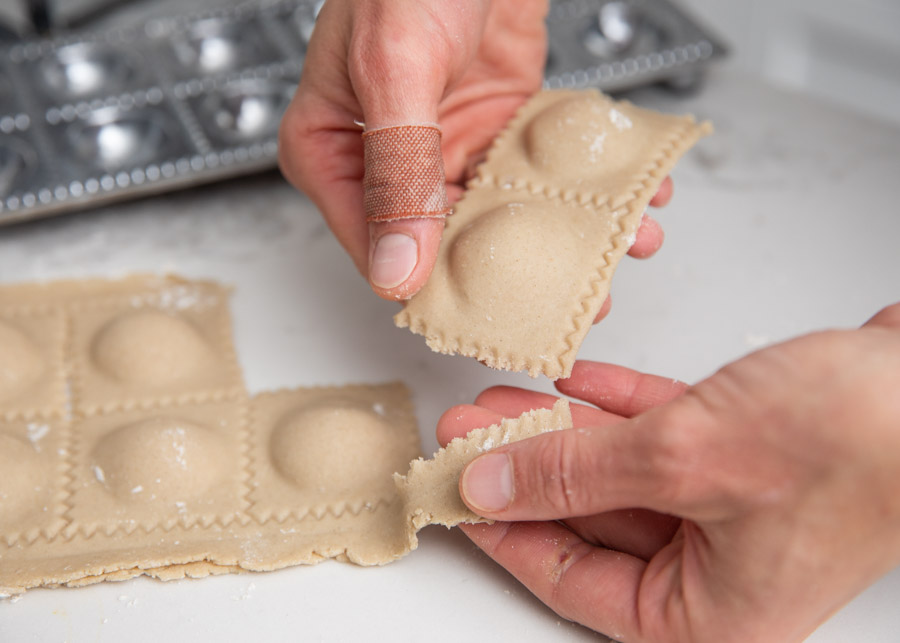

Don’t fret if your ravioli doesn’t all fall out independently of each other. As long as you know you’ve rolled the sheets tight together, go ahead and use your pasta knives to trim apart if necessary. These pasta knives also work awesome if you don’t have moulds and want to try just hand forming the ravioli.
Below is how we did it without any extra pasta making tools! No roller, no moulds and no fancy knives…it can be done. Remember adaptability is a strength and something to build upon – especially in the kitchen. It will make you a better chef! You decide your method.
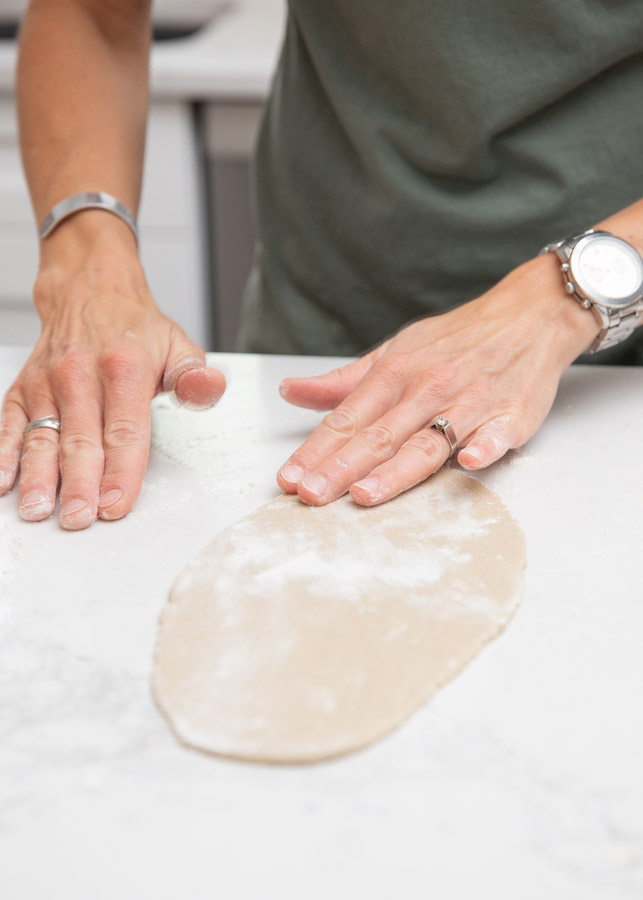
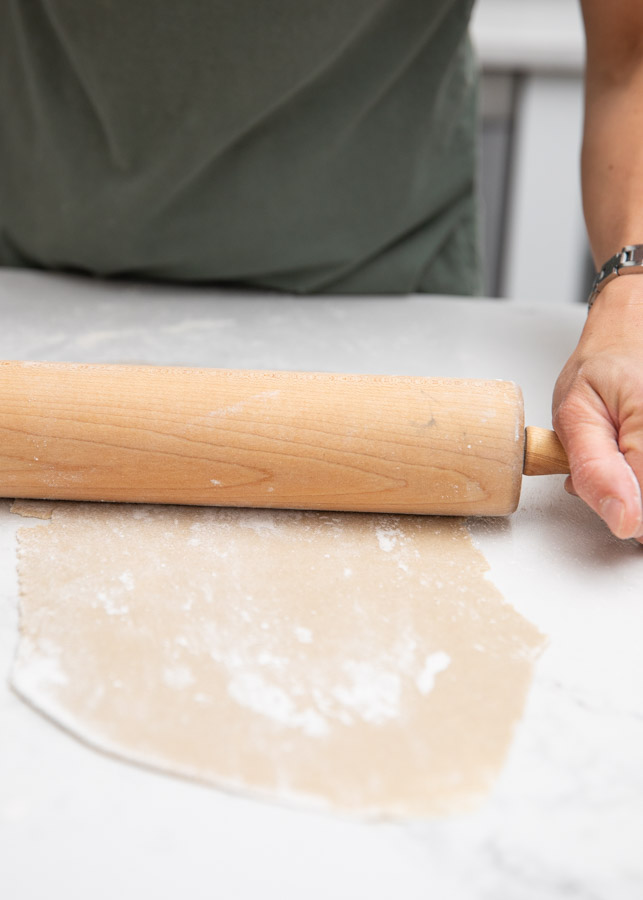
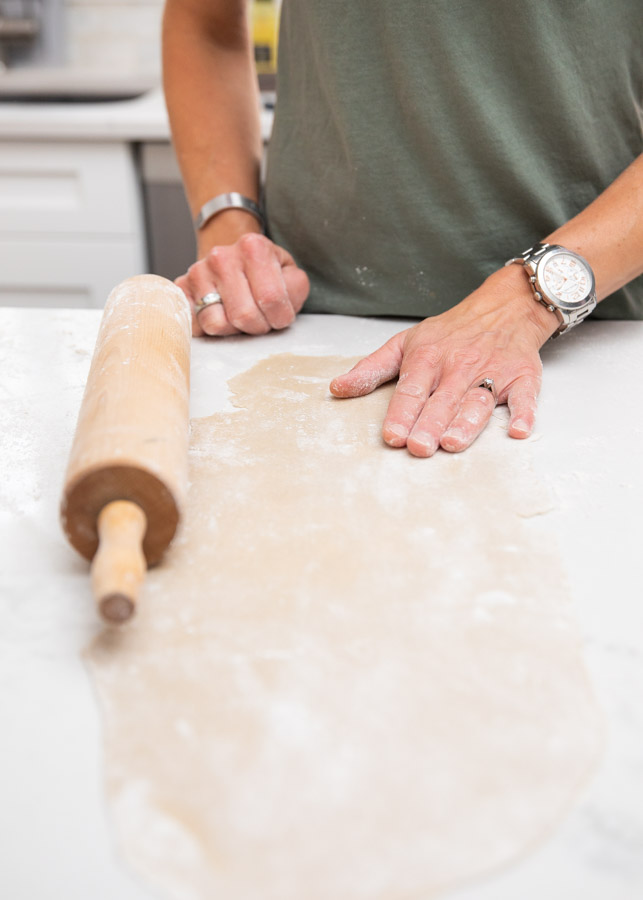
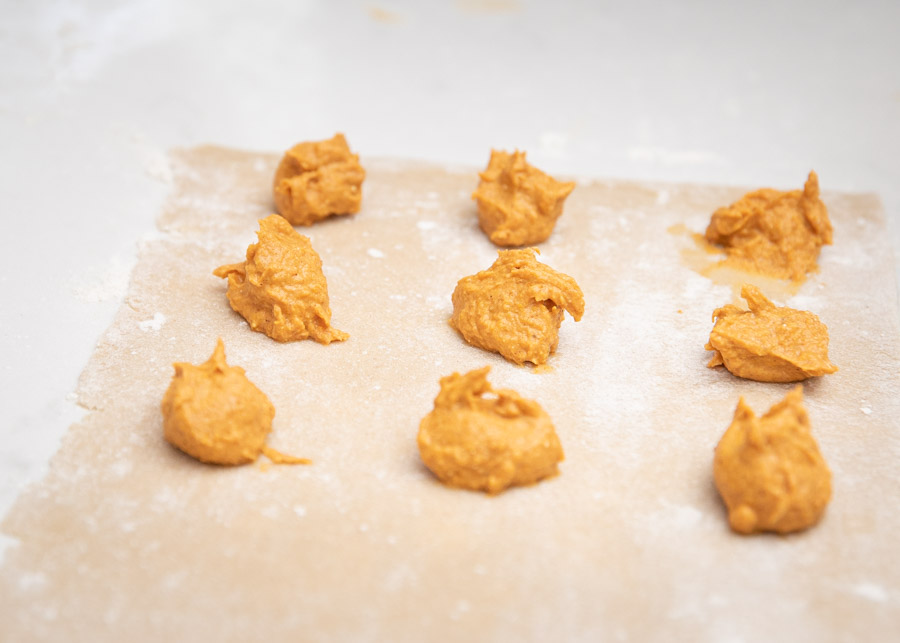
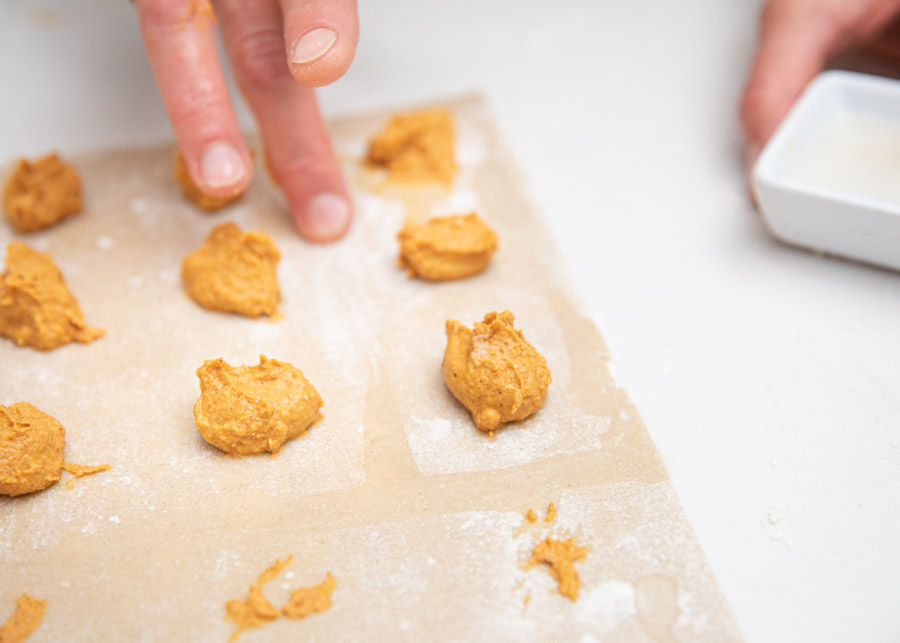
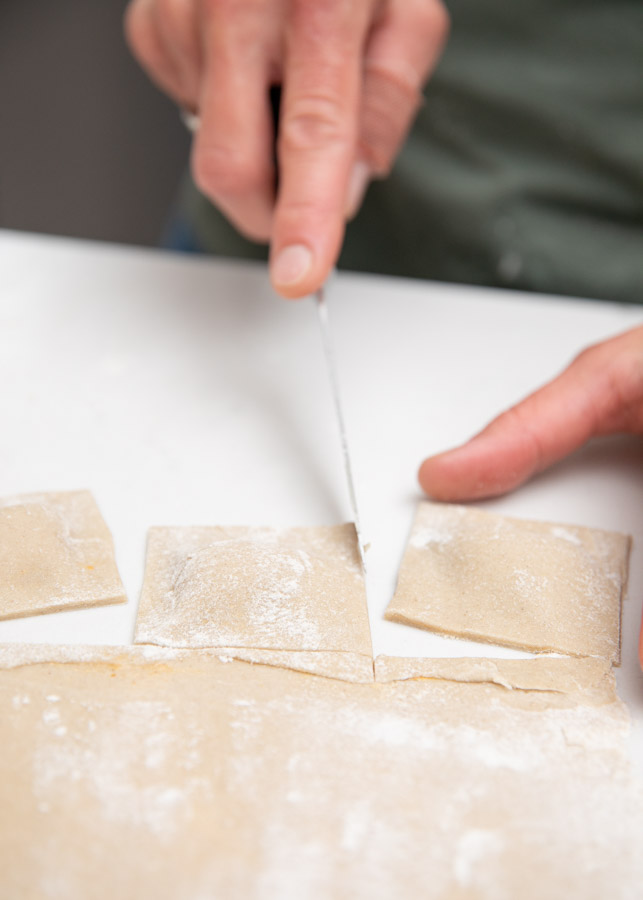
If you’re not using “tools”, cut your rolled dough into a “rectangle” the best you can. Drop your pumpkin filling in straight lines, evenly spaced apart from each other. Be sure to leave enough room for the top sheet of pasta to form around each ball of filling and seal.
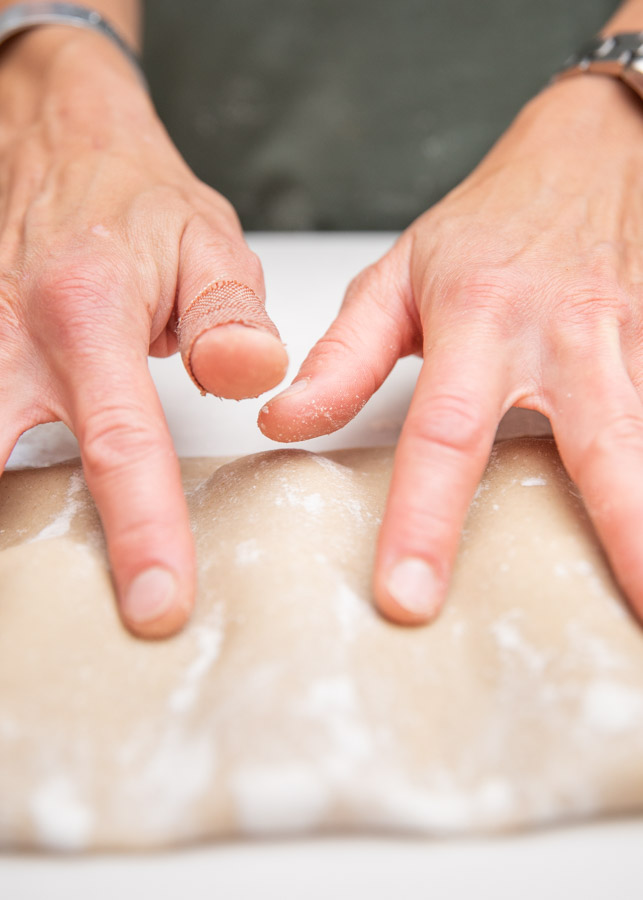
Fill your pinch bowl of water, and using your finger, draw around the pumpkin where you’ll press the two sheets of pasta together.
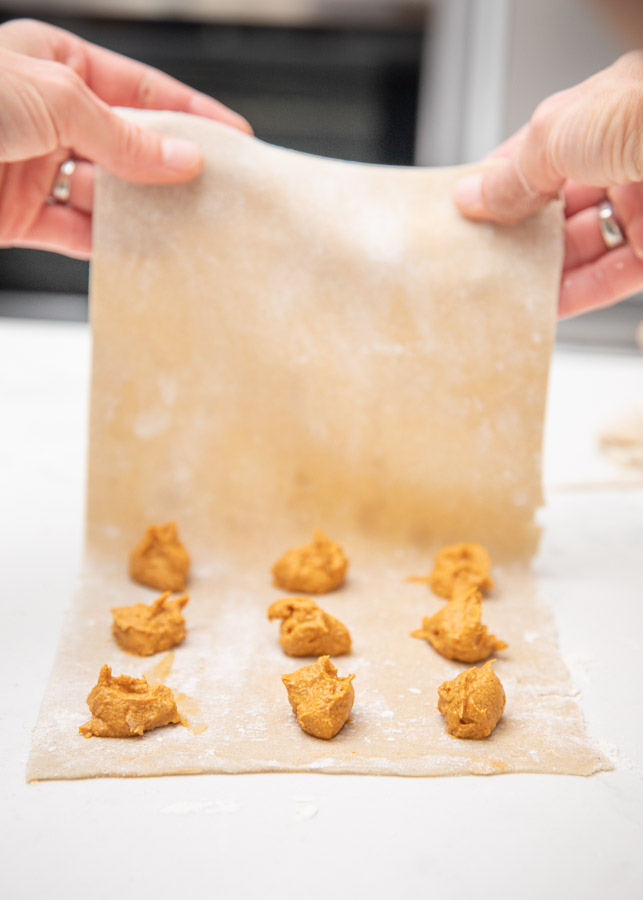
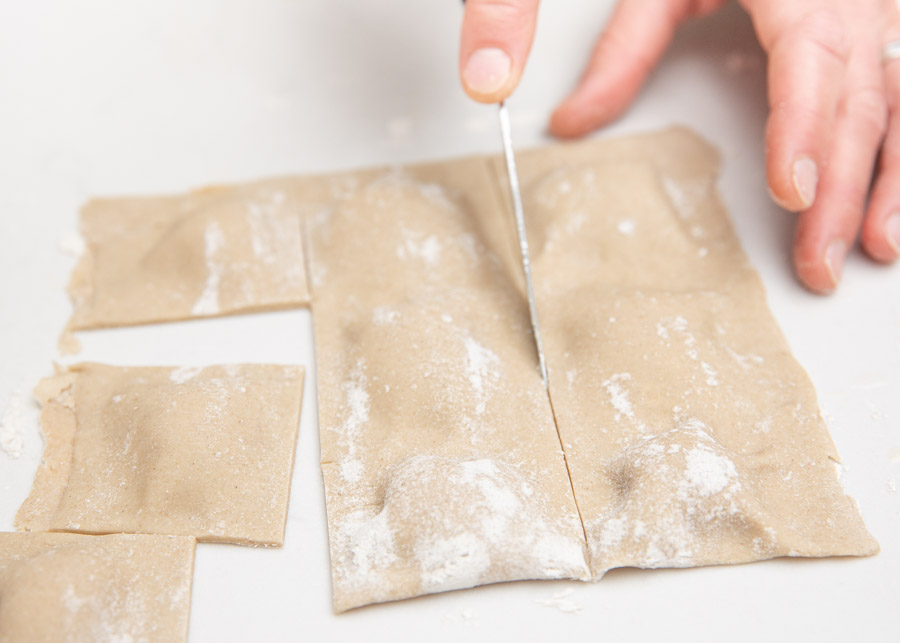
After you’ve spread a bit of water around each filling ball, go ahead and cover the pumpkin with your top sheet. Press the sheets of dough together in between and then you can start cutting your ravioli!

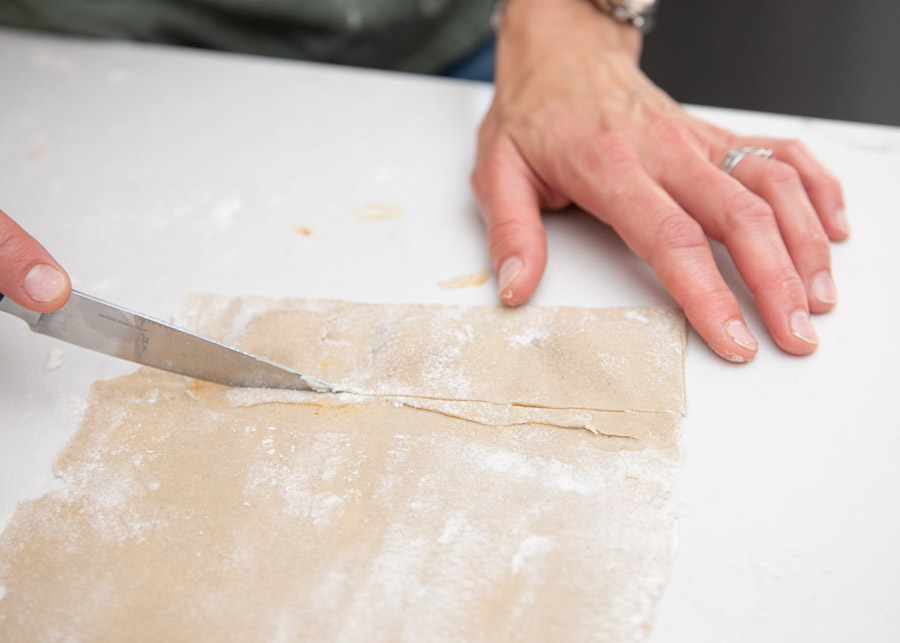
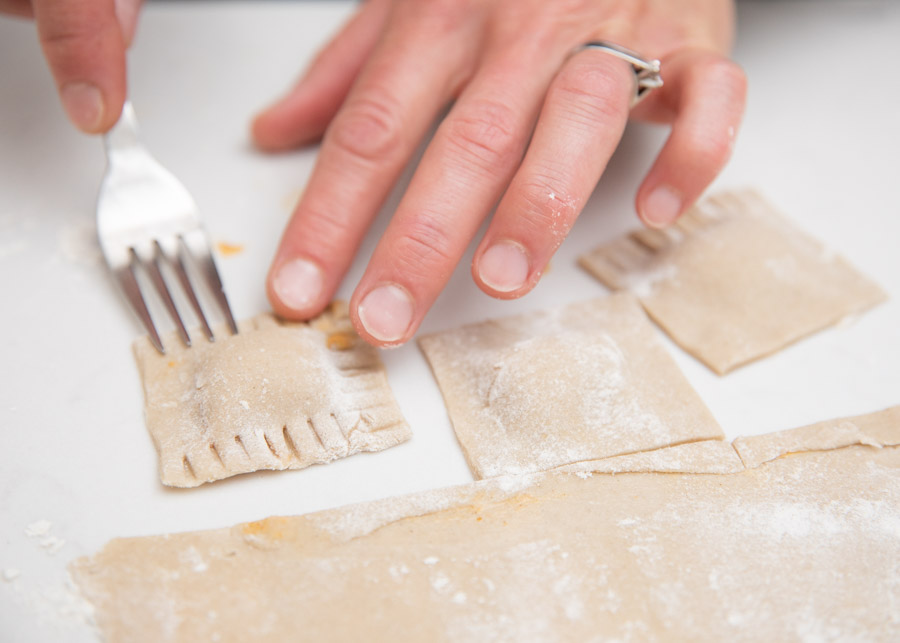
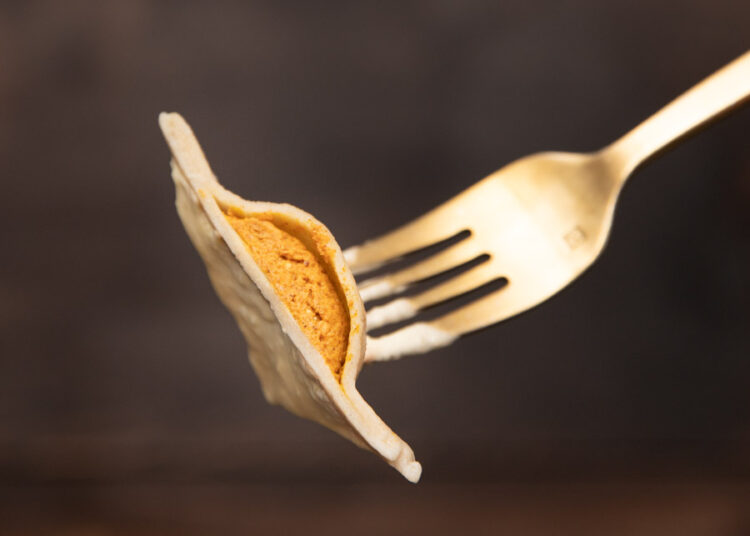
Lastly, press the edges with a fork to help seal the pasta dough. This also creates a unique edge to each ravioli. Boil the water and get your gluten free ravioli cooking.
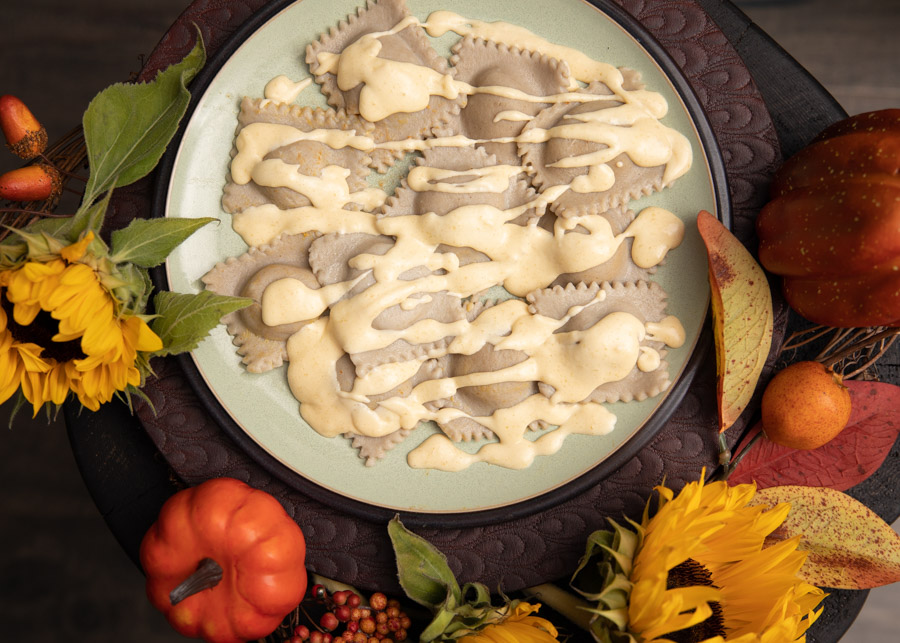
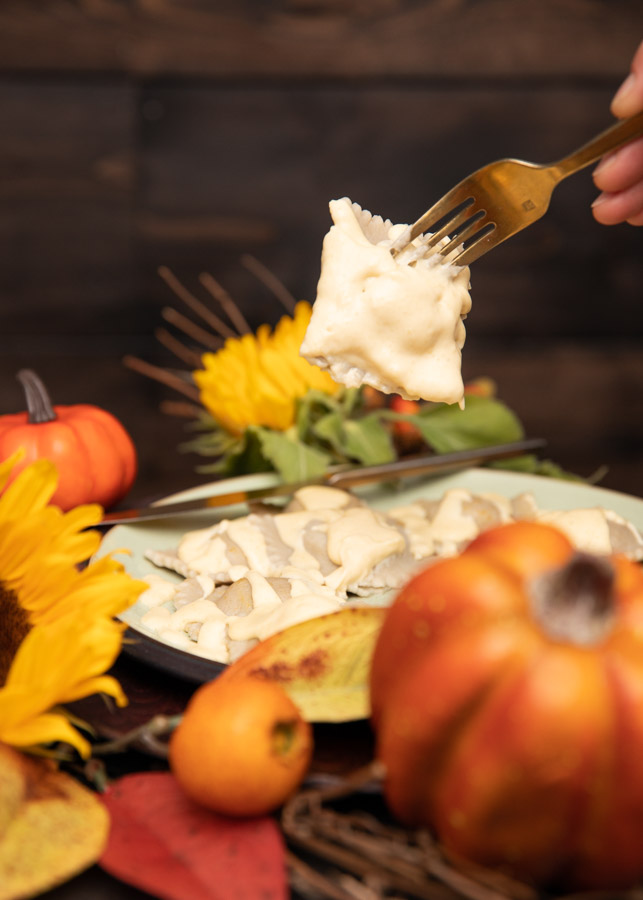
It takes 25 minutes to boil a finished ravioli, so make a sauce, clean your kitchen and pour a glass of wine. You’ve worked hard for this treat and we promise it’s going to pay off in one single bite.
One of our favorite sauces with this ravioli is our Epic Garlic Sauce. The pairing of these two is absolutely incredible! We dare you to try it!! (https://cutcooking.com/epic-garlic-sauce/)
Pumpkin Ravioli
Course: Pasta, VegetarianCuisine: CanadianDifficulty: Hard4
servings1
hour25
minutesThere’s no better way to use the fall pumpkins then to make gluten free Pumpkin Ravioli! This Italian dish is an absolute treat that all ages will love. Cut Pasta filled with spiced pumpkin and blanketed with our Epic Garlic Sauce…fall bliss.
Ingredients
- Pumpkin Filling
1 cup pumpkin purée
1/3 cup goat cheese
1 tsp CUT fall spice
1 tsp garlic powder
1/2 tsp salt
- CUT Pasta
https://cutcooking.com/cut-pasta/
- Epic Garlic Sauce
https://cutcooking.com/epic-garlic-sauce/
Directions
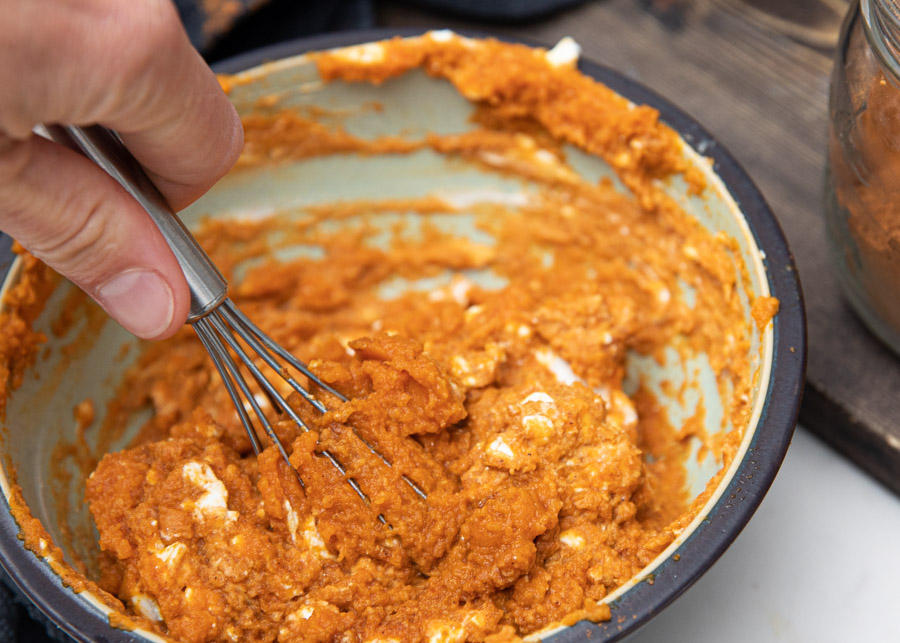
- To make the pumpkin filling, combine all the ingredients and mix well. Store in the fridge until needed.
- Make CUT Pasta. Follow the instructions on the pasta blog and create #5 long sheets for ravioli.
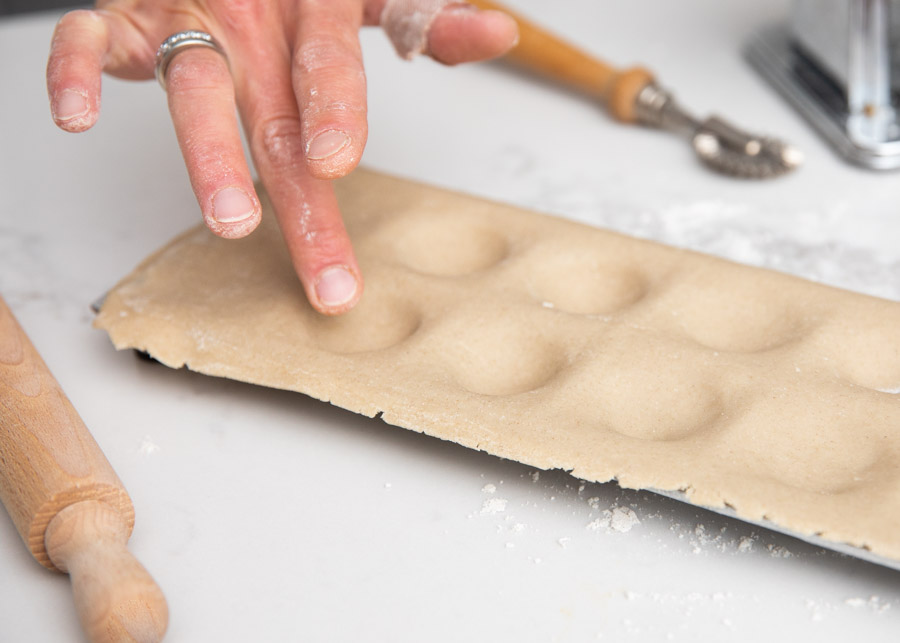
(https://cutcooking.com/cut-pasta/) - If using a ravioli mould, stretch first part of a #5 pasta sheet over the tray. Gently indent the pasta where each divet is, be cautious not to tear the pasta.
(If you’re not using a mould, begin by dropping 3/4 tsp pumpkin filling evenly spaced on the pasta sheet. Only use half the length of the pasta sheet – you’ll fold the other half over top to create the ravioli pockets.) - Drop 3/4 tsp of pumpkin ravioli in each divet. Be careful not to overfill the divets with filling. To much filling and the ravioli won’t seal.
- Fill a pinch bowl with water, and using your finger, dab water around each ravioli square.
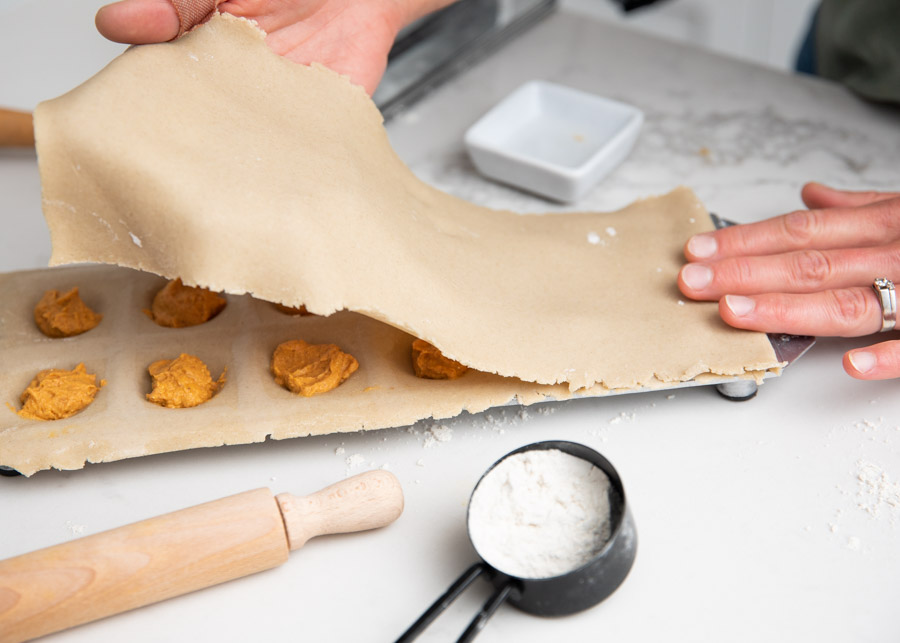
- Place “top” pasta sheet over pumpkin filled ravioli divets.
- Press gently but firmly between each divet. Using a roller, roll firmly back and forth over the entire tray. This will seal the two sheets of pasta together, and perforate or even cut each individual ravioli square.
(If you’re not using a tray, ensure the pasta sheets are pressed tightly together in between each ravioli. Once sealed, cut the squares with a knife and then press the edges tight again using a fork.) - Flip mould over and allow ravioli to fall out. You may need to tap gently on the bottom of the tray. Once the pasta is removed, go ahead and either separate the ravioli squares by hand, or cut if needed.
- Continue the same process with all the prepared pasta and filling.
- Boil a large pot of water. When the water is at a rapid bowl, transfer ravioli and cook for 25 minutes. Stir every few minutes to ensure the noodles don’t stick together.
- These ravioli freeze very well! Go ahead and boil them right from frozen.
- Make a creamy sauce to pour over your cooked ravioli before serving. We recommend our Epic Garlic Sauce! (https://cutcooking.com/epic-garlic-sauce/)
- ENJOY! The best gluten free, Italian fall treat…cheers to Pumpkin Ravioli!
Stacey and Meg