A biscuit made from sponge cake batter, these little cookies are loved world wide. The British call them “Sponge Fingers”, Italians call them “Savoiardi”, and the French have named them “Boudoir Biscuits”. Whatever they’re called, we think they’re absolutely delicious!
Not being able to find easily a gluten-free version, we knew we needed to make this cookie happen! And when two women get to work and succeed with such a delicious gluten-free predecessor, we landed on the name Lady Fingers.
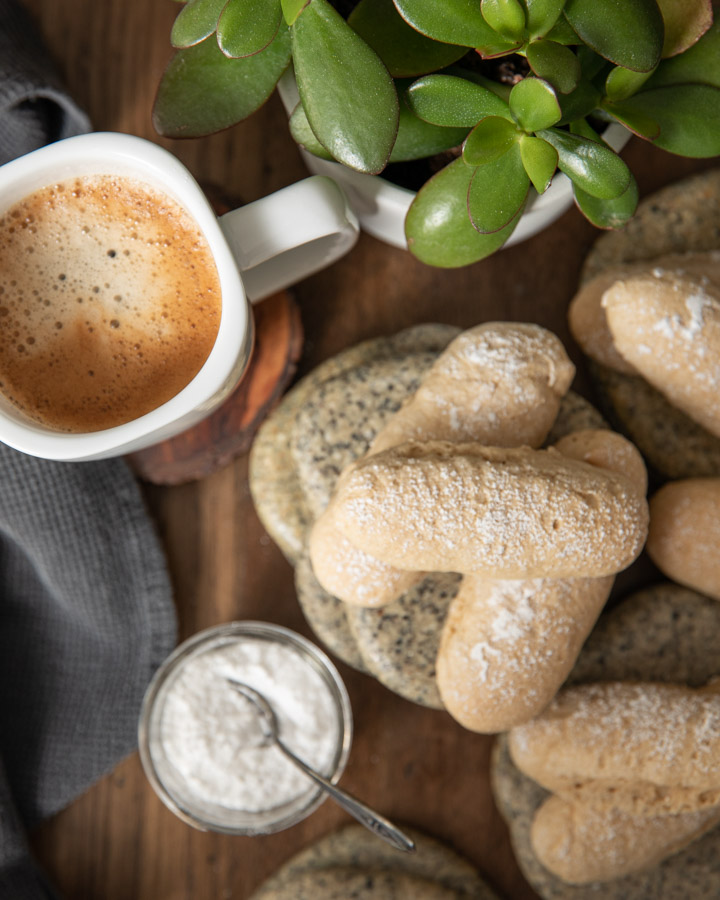
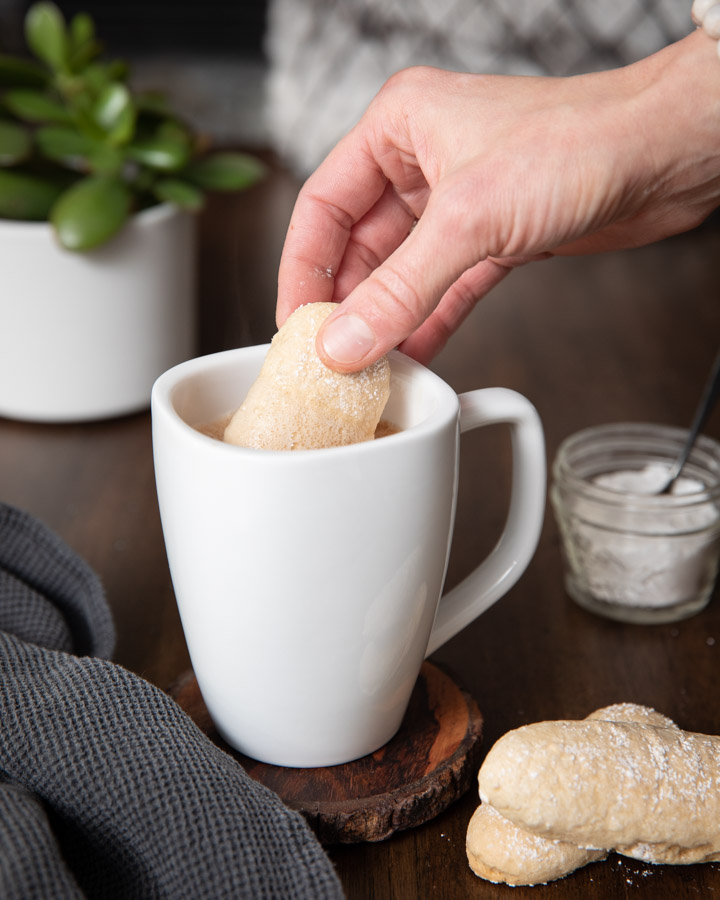
Lady Fingers, roughly shaped like a finger, are the basis to many different desserts. Often soaked in coffee, liquers or other creams and puddings, they’re usually the building block to many recipes. However, we promise you that these homemade Lady Fingers are absolutely extraordinary- simply amazing on their own. They’re so good!
These biscuits are often thought to be difficult or tricky to bake. We have simplified the process and you can do it! The egg whites and egg yolks are both mixed with sugar . Then they’re beaten separately and folded together with the flour. To achieve the finger-like shape, you’ll use a piping bag and dust them with icing sugar. That’s it! You’ll be shocked how easy this recipe will come together.
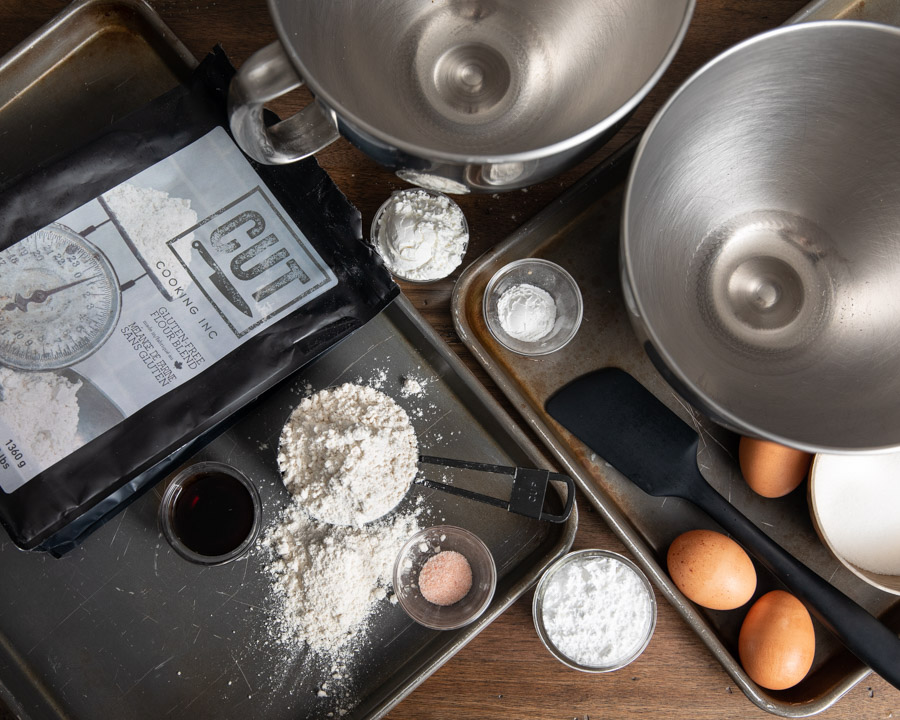
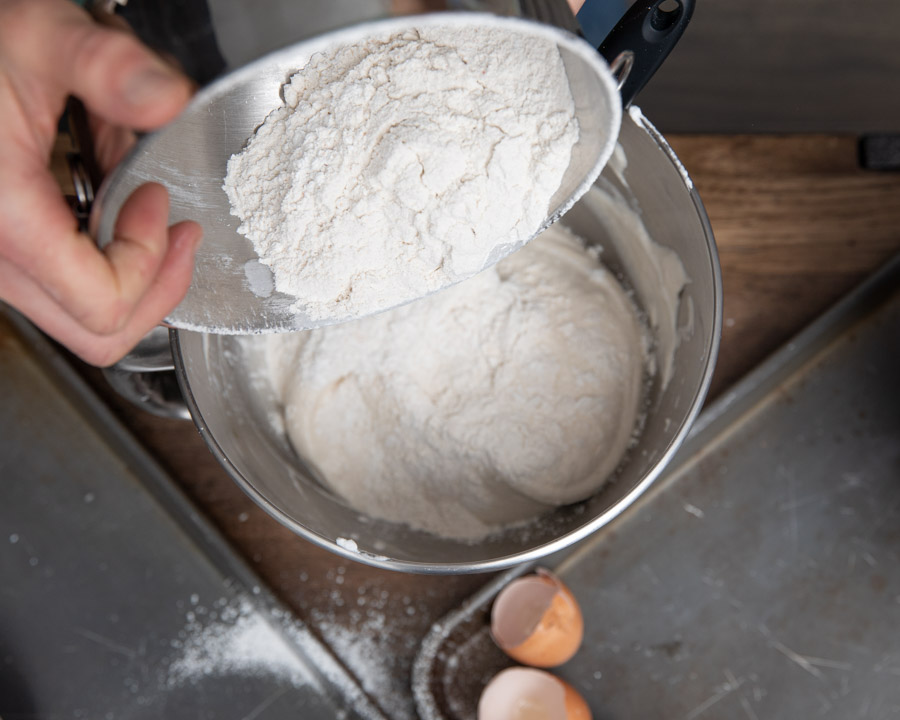
With Easter around the corner, we have an incredible surprise in store for you…save a few eggs from decorating and lets make Lady Fingers! Separate the yolks and whites and let’s get mixing.

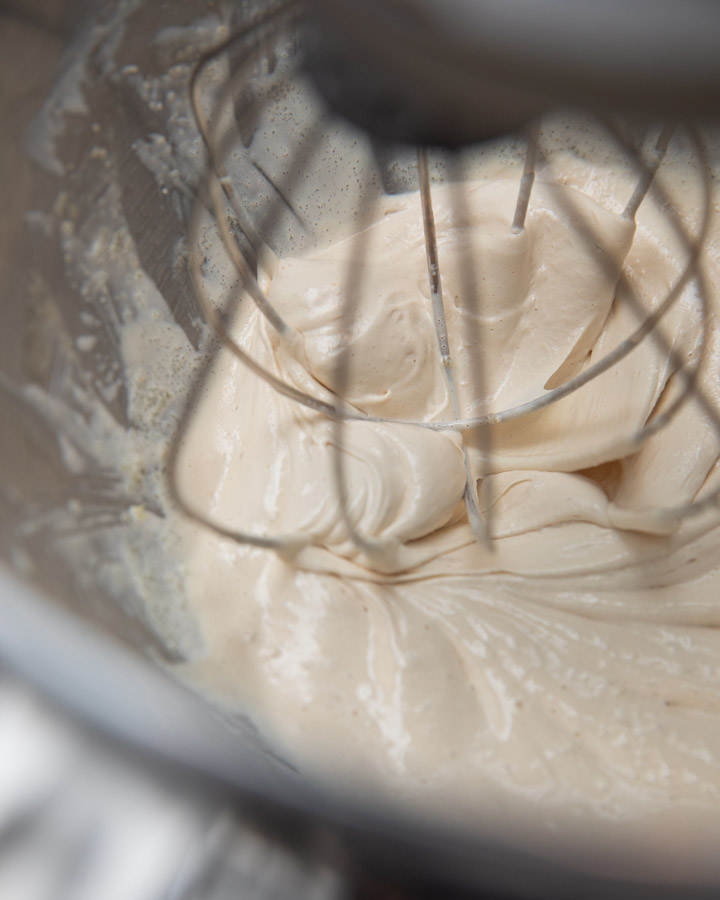
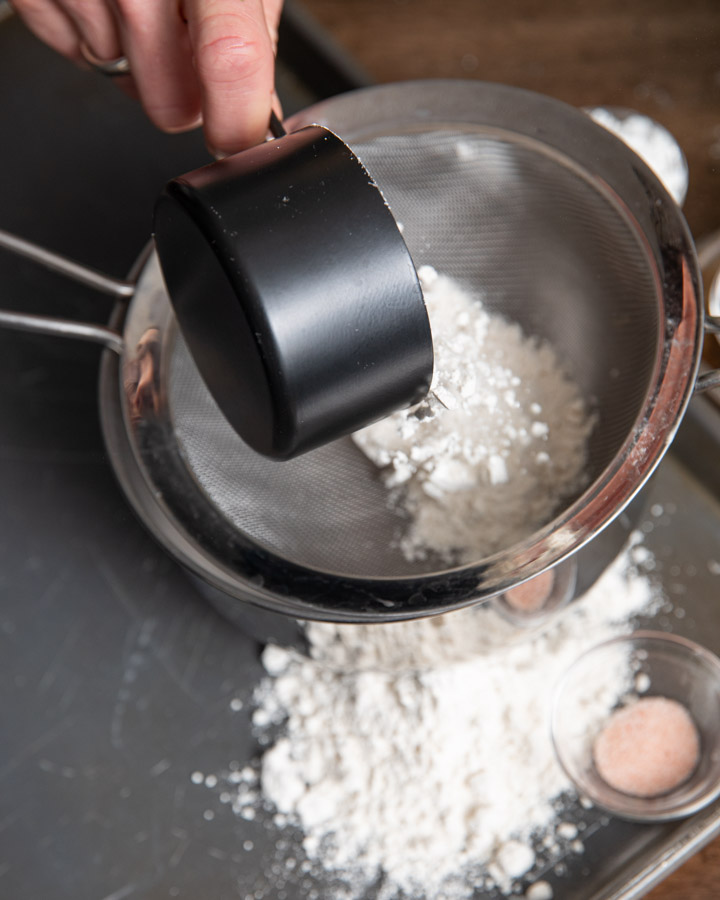
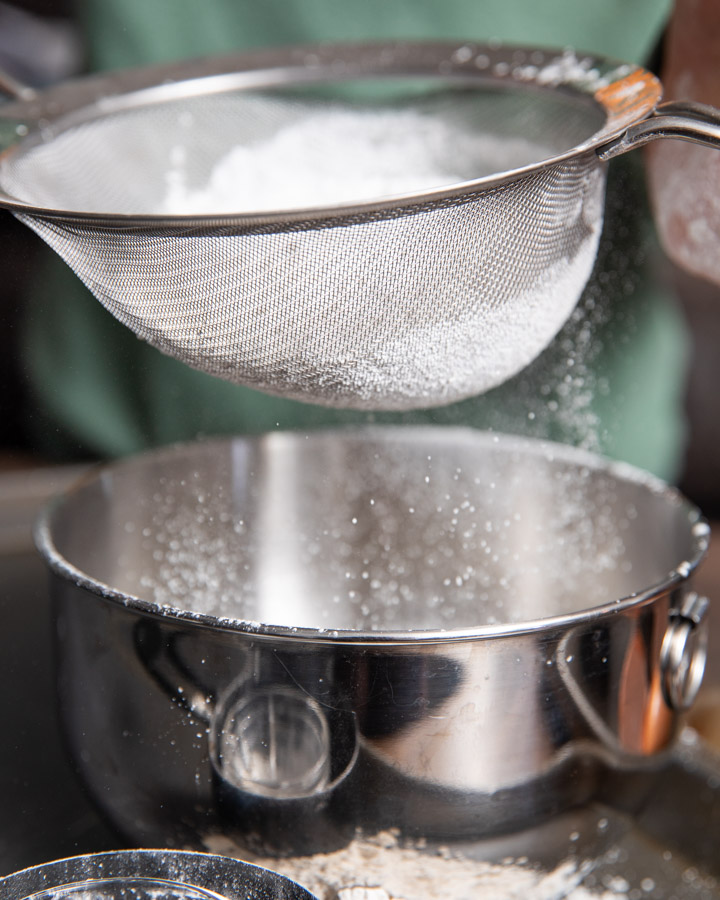
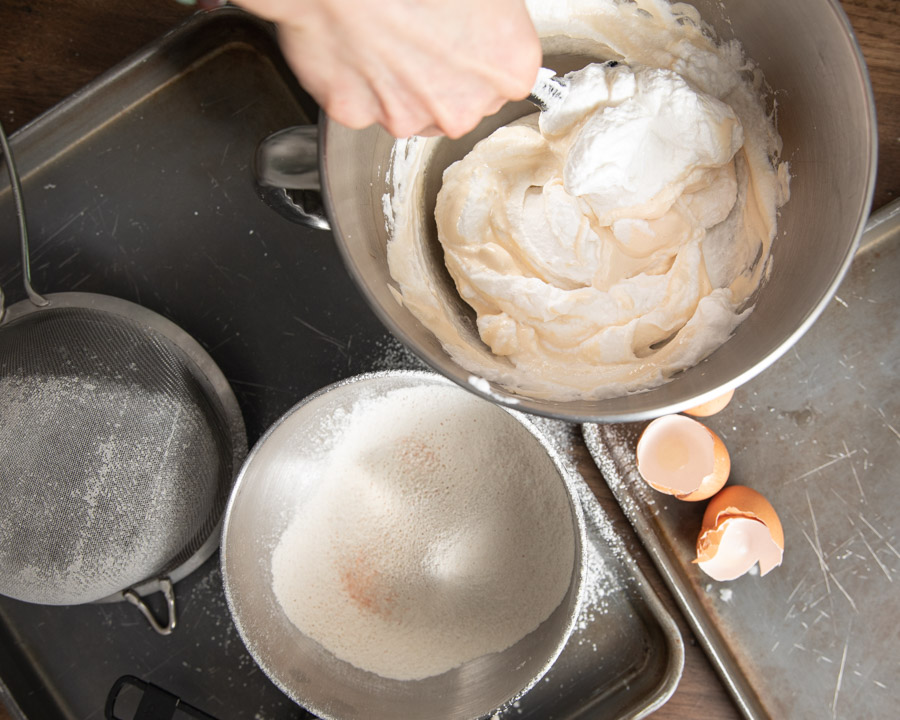
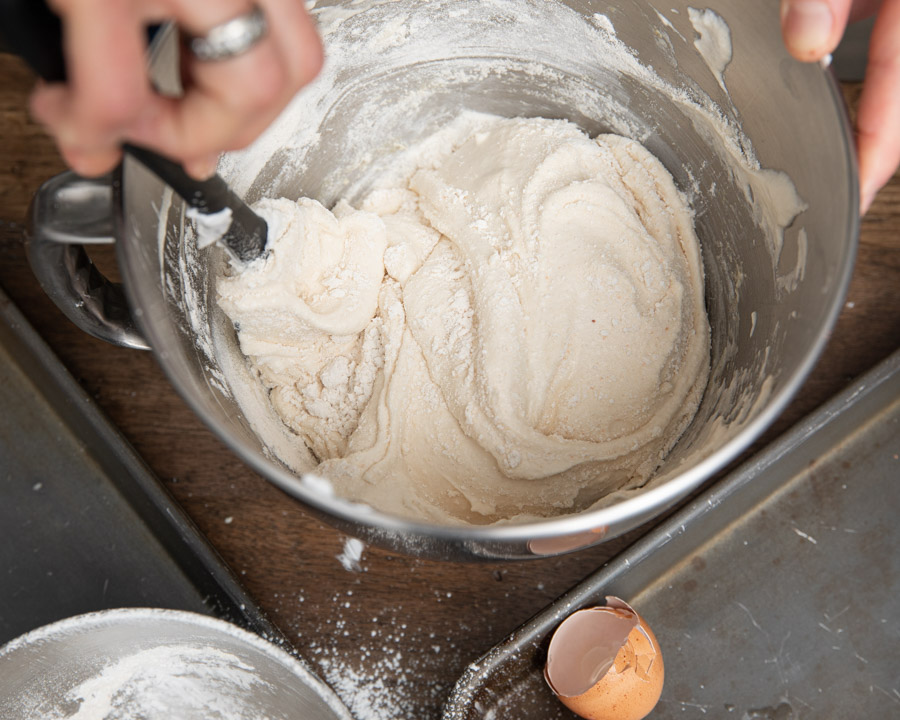
When both the egg yolks and egg whites have been mixed, and sugar added, you’ll sift the flour and all dry ingredients. Then the magic happens! We don’t put away our electric mixer often, but this next step MUST be mixed by hand. Lady Fingers are mastered during the process of adding air to eggs. When mixed by hand, with CUT Flour, they are perfection.
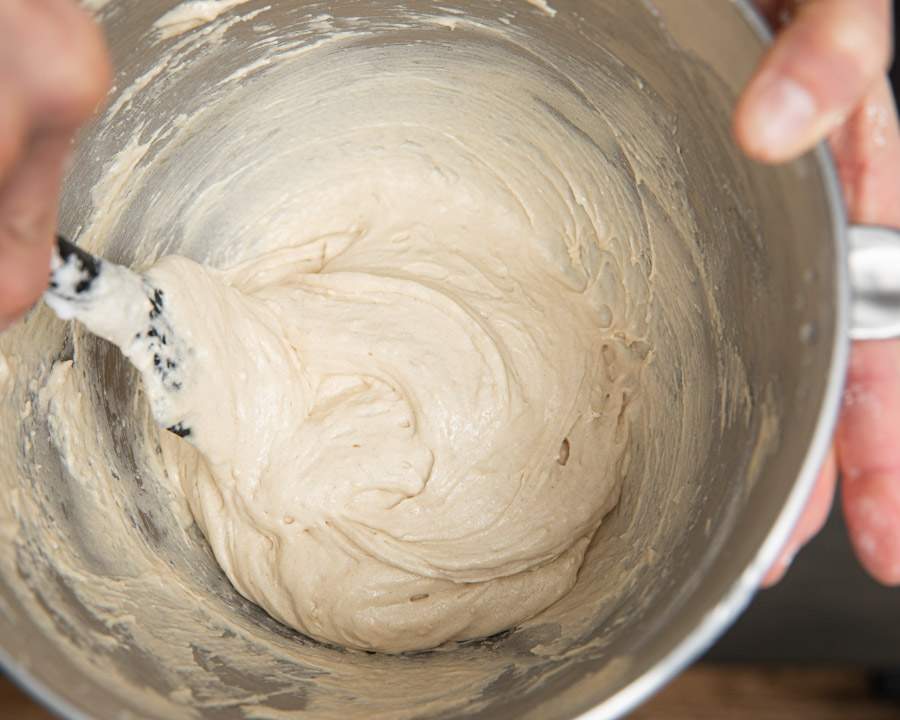
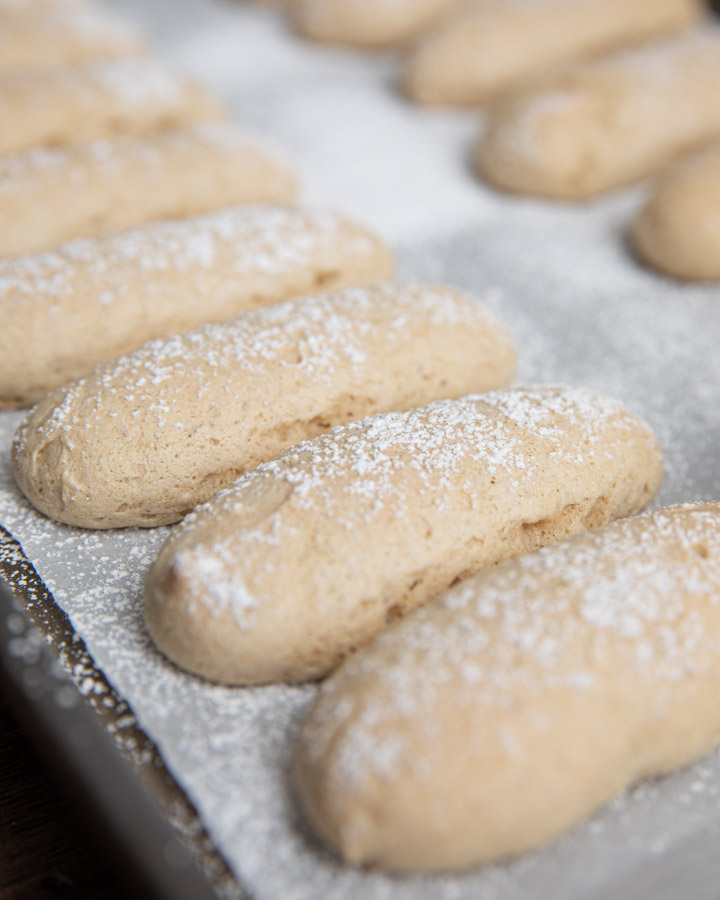
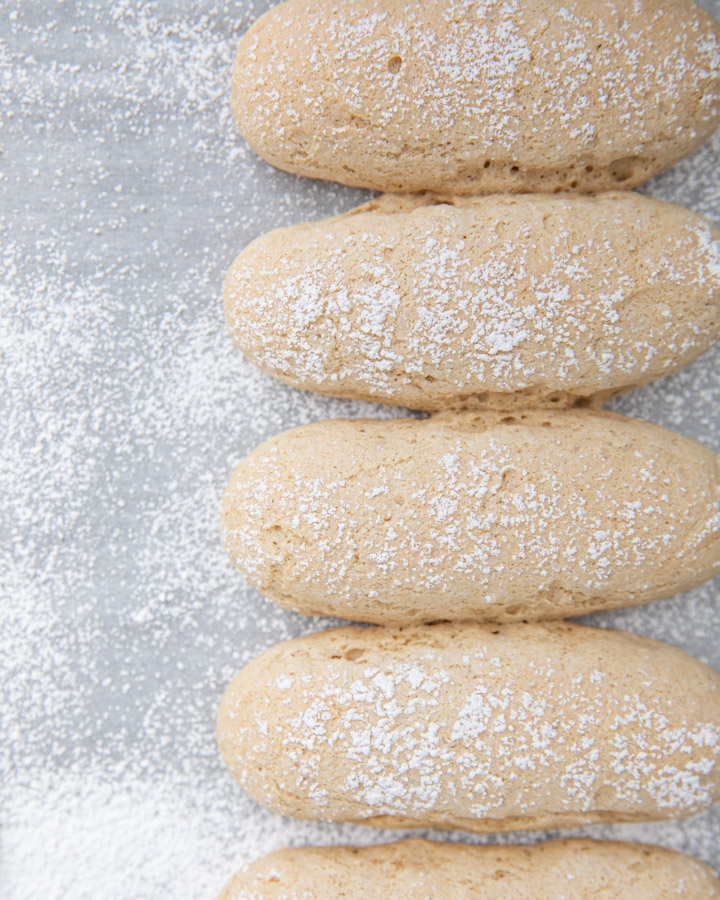
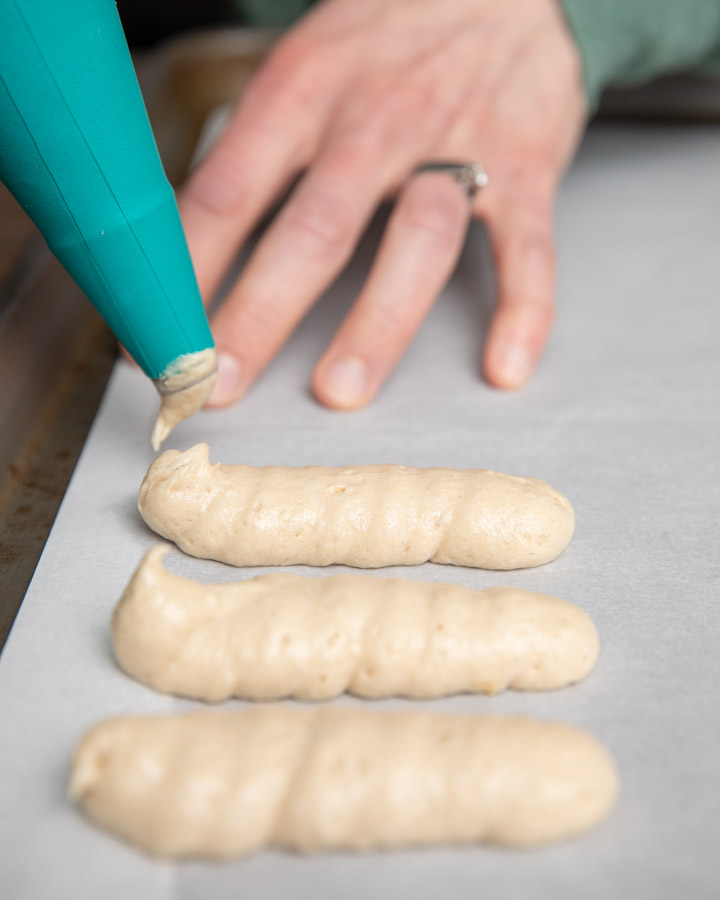
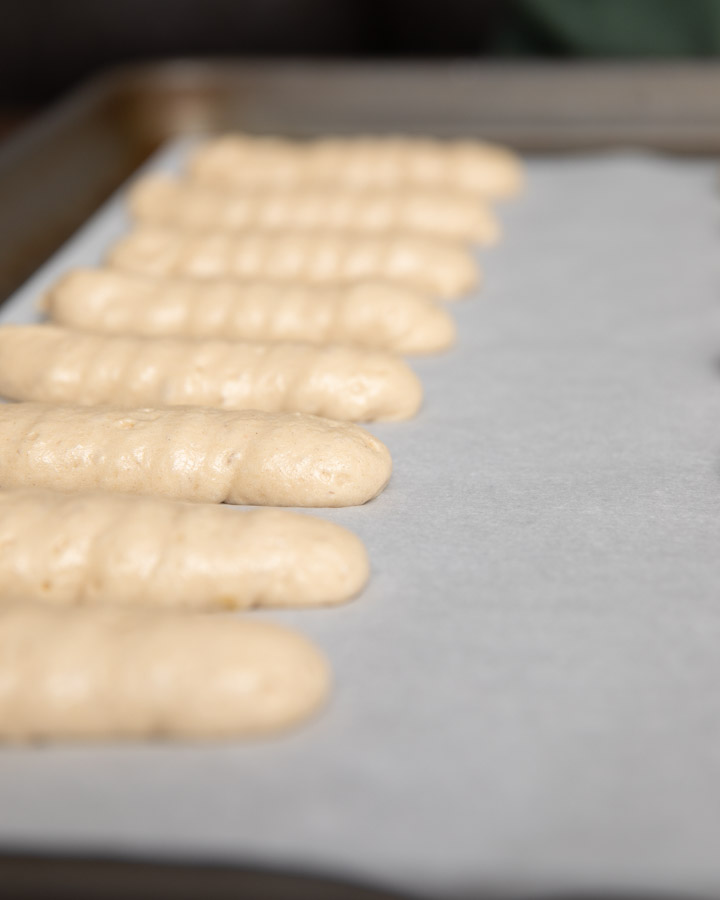
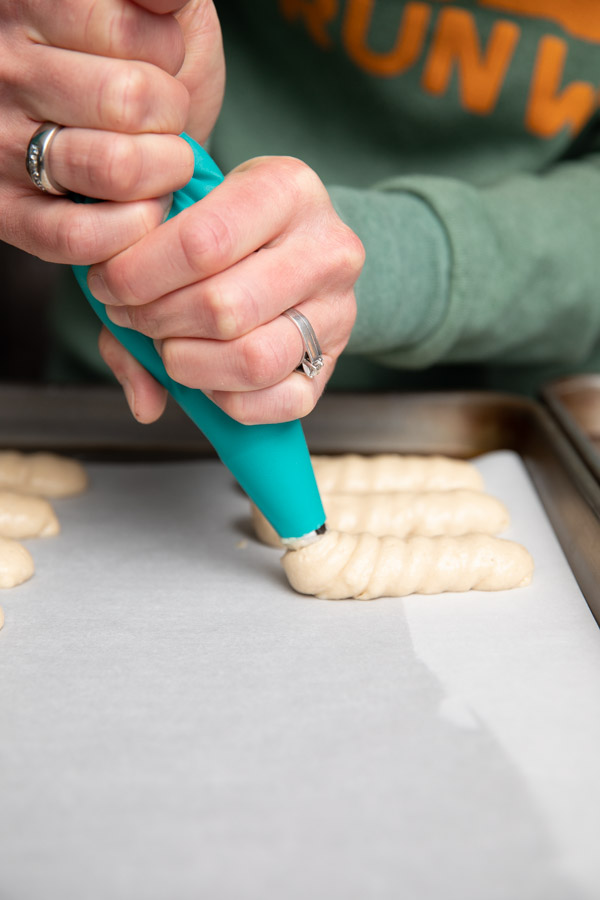
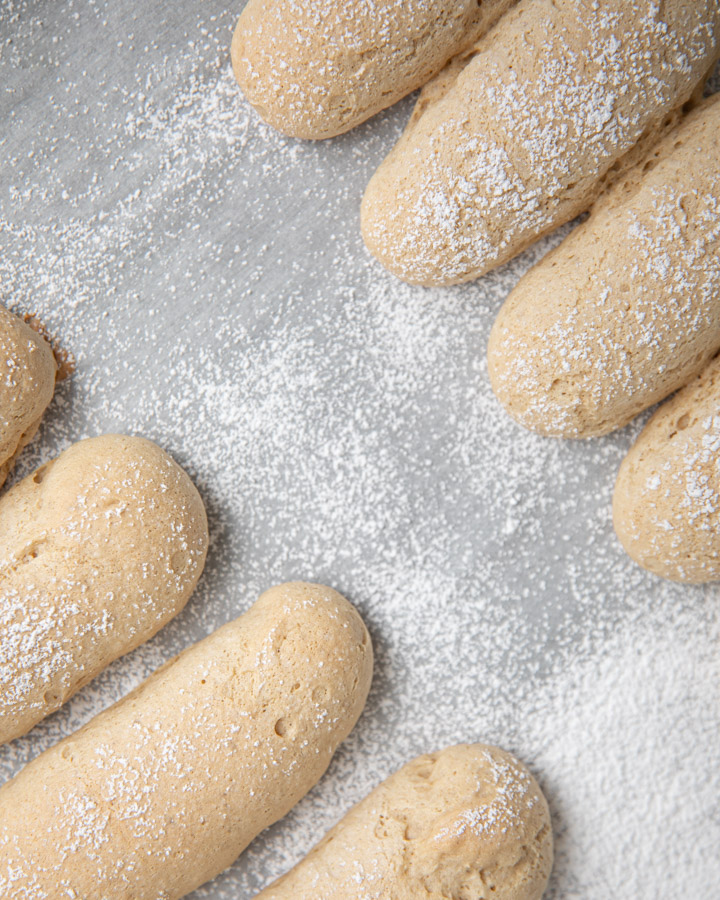
Using a piping bag, you’ll squeeze the sponge cake batter into thin strips. Dust the Lady Fingers with icing sugar and bake. Don’t worry if you find the dough “thick” or “sticky”. This is absolutely ok! We promise the texture of your biscuits in the end will be light, crispy and exactly as they should be. This recipe is everything you’d expect from an incredibly delicious Lady Finger-except the gluten!

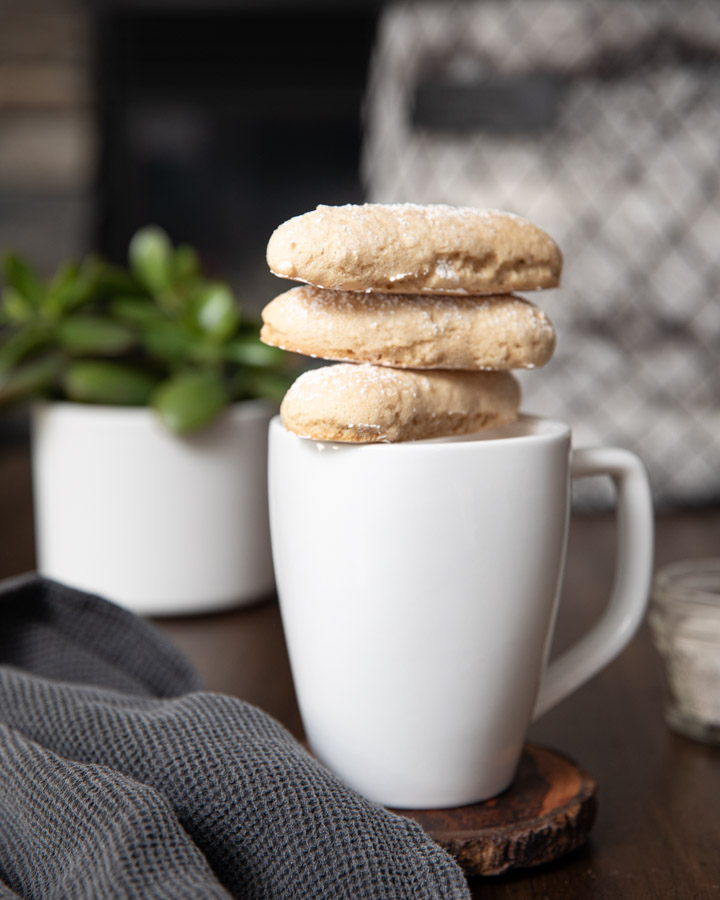
Lady Fingers
Course: DessertCuisine: Canadian, ItalianDifficulty: Moderate24-28
cookies20
minutes10-12
minutesThese beloved biscuits are light and crispy. Everything you’d expect from an extraordinary delicious Lady Finger-except the gluten!
Ingredients
3 large eggs
2/3 cup white sugar
2 tsp vanilla extract
1 cup CUT Flour
2 tbsp cornstarch
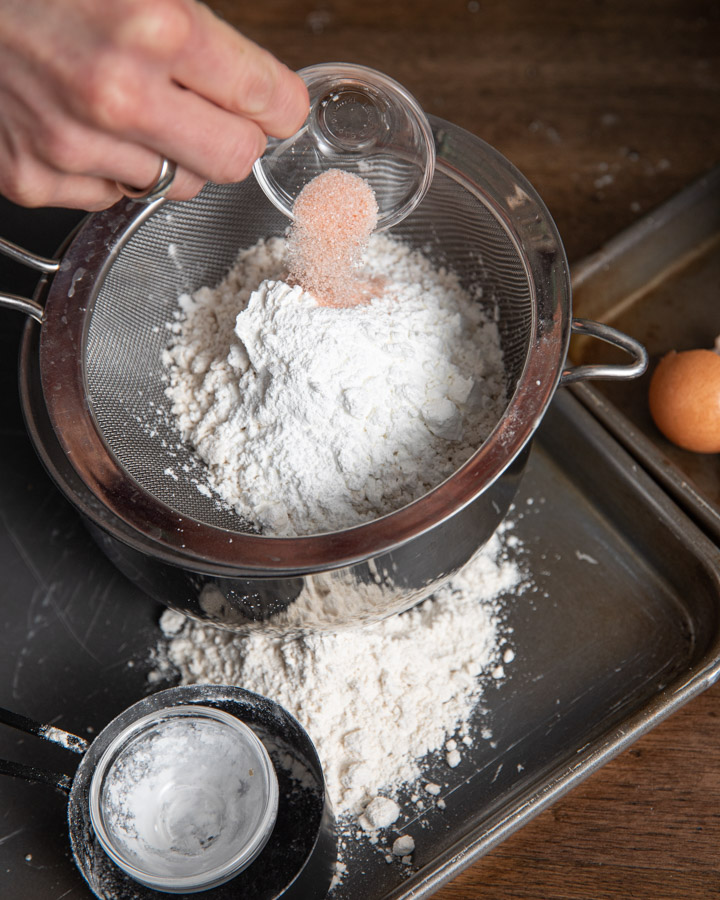
1/2 tsp salt
1 tsp baking powder
1-2 tbsp icing sugar for dusting
Directions
- Preheat oven to 400°F.
- Separate eggs into two large mixing bowls, one will have the whites and one will have the yolks.
- Using an electric mixer, combine the egg yolks and vanilla and whip on high. Gradually add half of the sugar (1/3 cup) to the yolks/vanilla as you mix. Beat approximately 5 minutes until pale yellow and fluffy. Set aside.
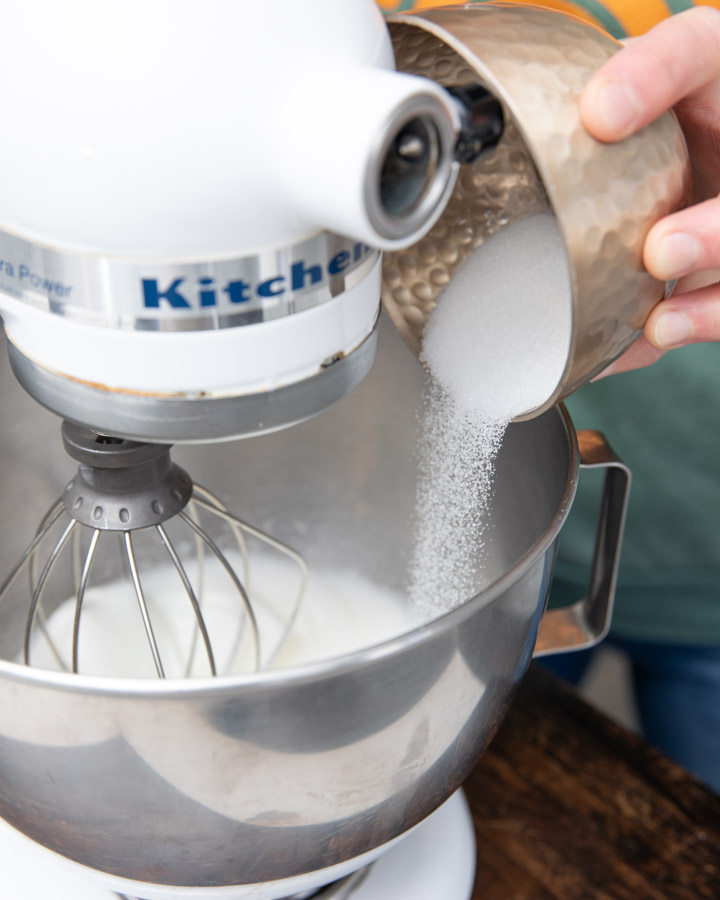
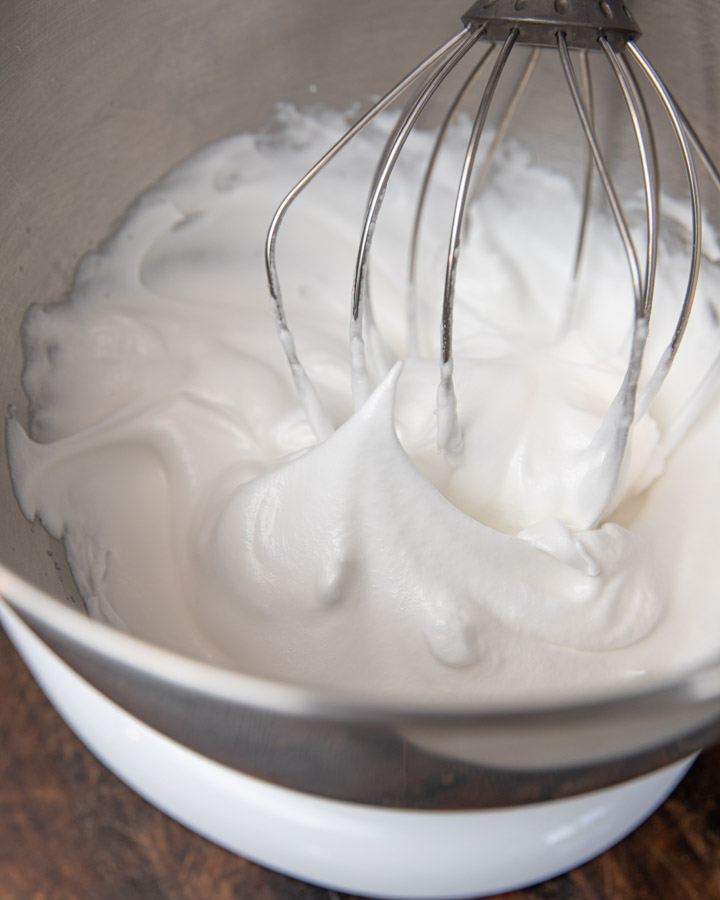
- In other mixing bowl, and again an electric mixer, beat the egg whites on high and gradually add the remaining 1/3 cup of sugar. Mix until stiff peaks form.
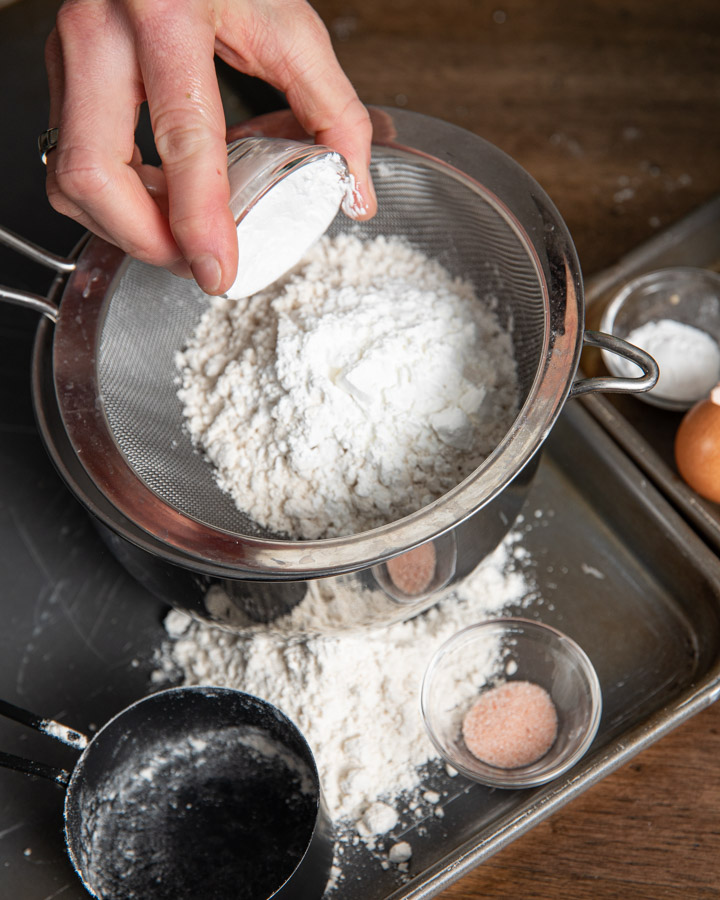
- In a third bowl, sift the CUT Flour and all other dry ingredients together.
- Put the electric mixer away!
- Using a spatula, begin to combine egg whites into yolk mixture. Fold egg whites into yolks by hand, careful not to over mix.
- Continue folding process by gradually adding sifted dry ingredients by hand.
- When everything is incorporated put batter into a piping bag fixed with a medium, round tip.
- Line baking sheets with parchment paper and pipe 1 cm wide strips of batter approximately 4 cm long onto parchment paper.
- Bake for 10-12 minutes until lightly golden.
- When cooled, lightly dust with icing sugar.
- Pour a coffee, dip a Lady Finger and take a breath. Love the simplicity of just a biscuit,
Stacey and Meg