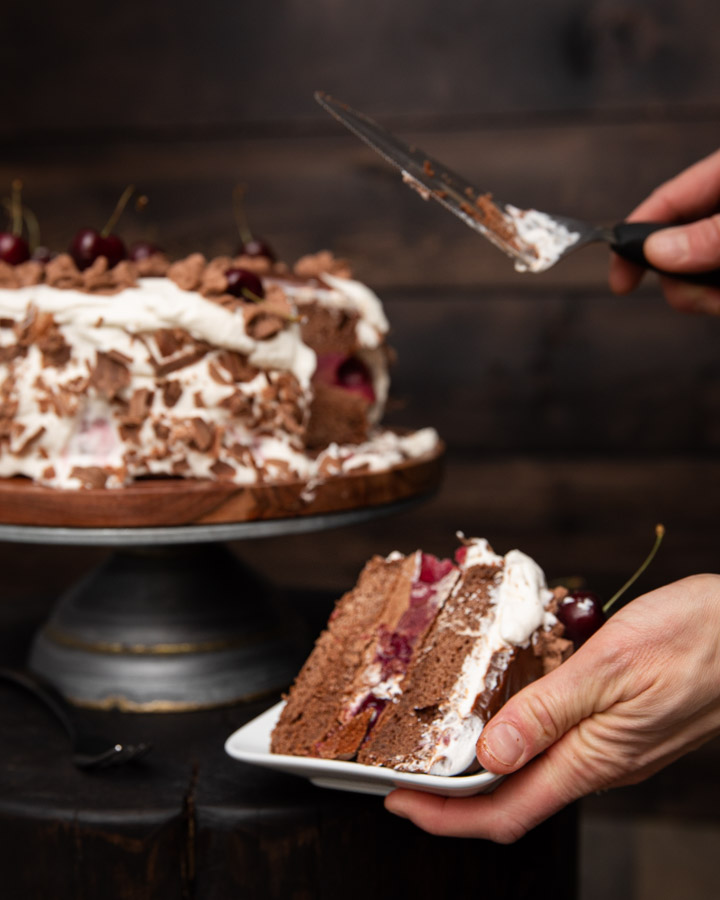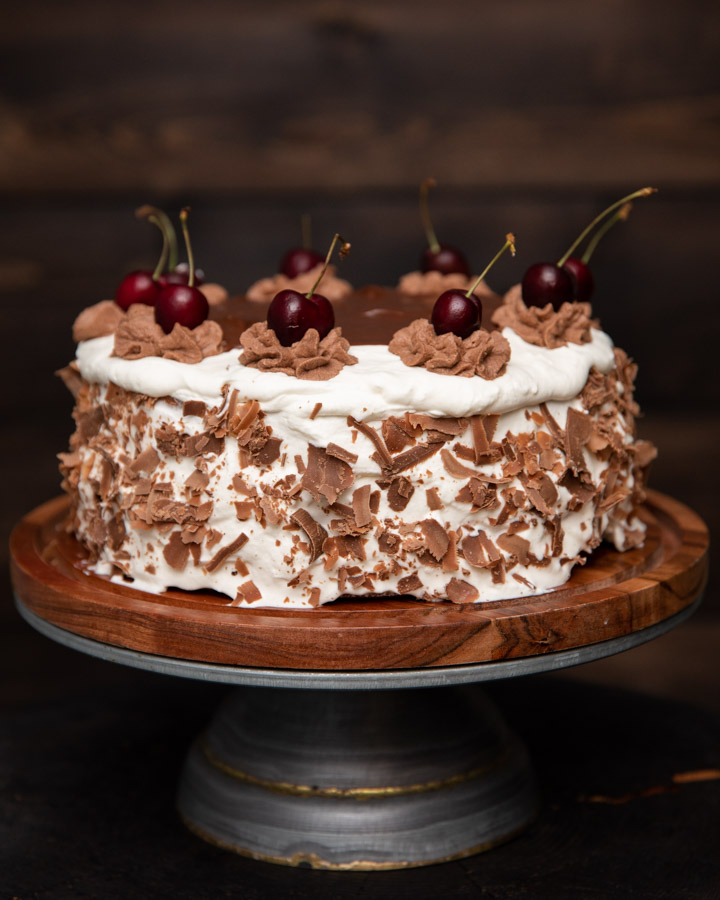
Chocolate, cherries, whipping cream. Could there be a more perfect combination? Our fudgie brownie cake, paired with chocolate ganache and sour cherries truly ups the ante of this already incredible, traditional dessert. Valentines Day this year, take your dessert to the next level.

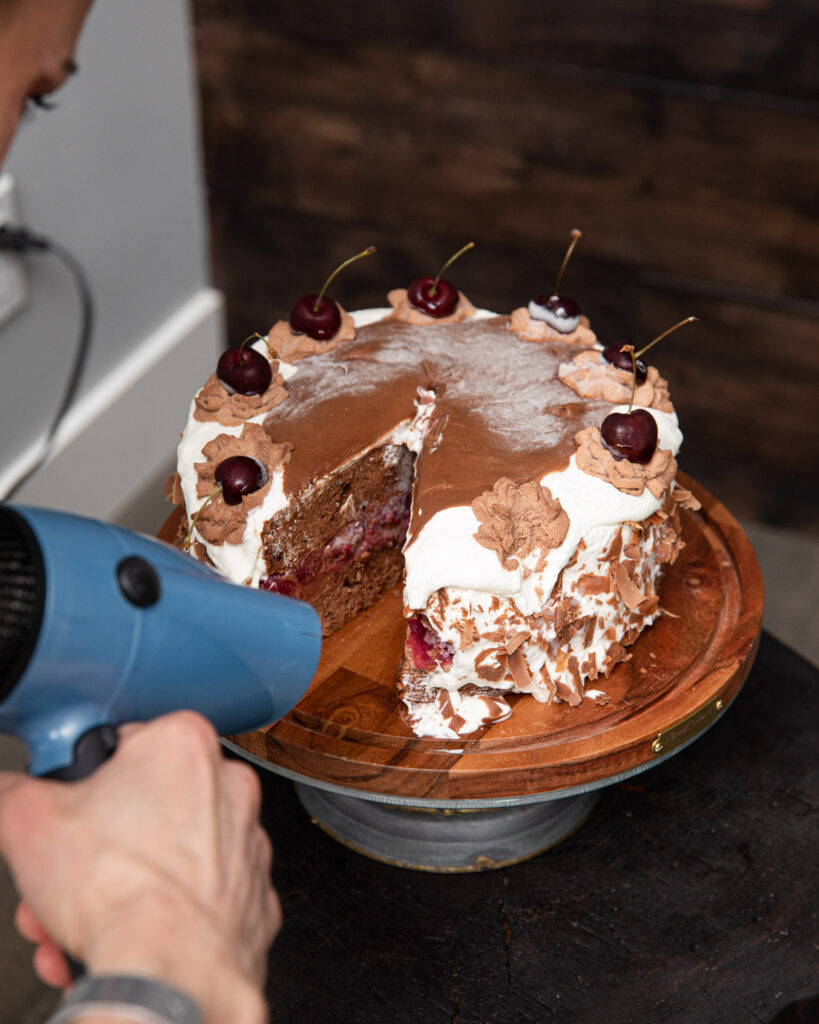
Don’t be worried about the construction of this cake. It honestly looks harder then it is and we will walk you through every step along the way. With a little patience, we promise to give you all the hints and tips. It’s not tricky, but it does require a bit of time. This cake freezes well and can be made ahead of time if needed. Lol, it even thaws quickly if you “just need that picture…”. We thought you’d enjoy a little glimpse of the crazy sometimes we pull out …yes, that is a hairdryer.
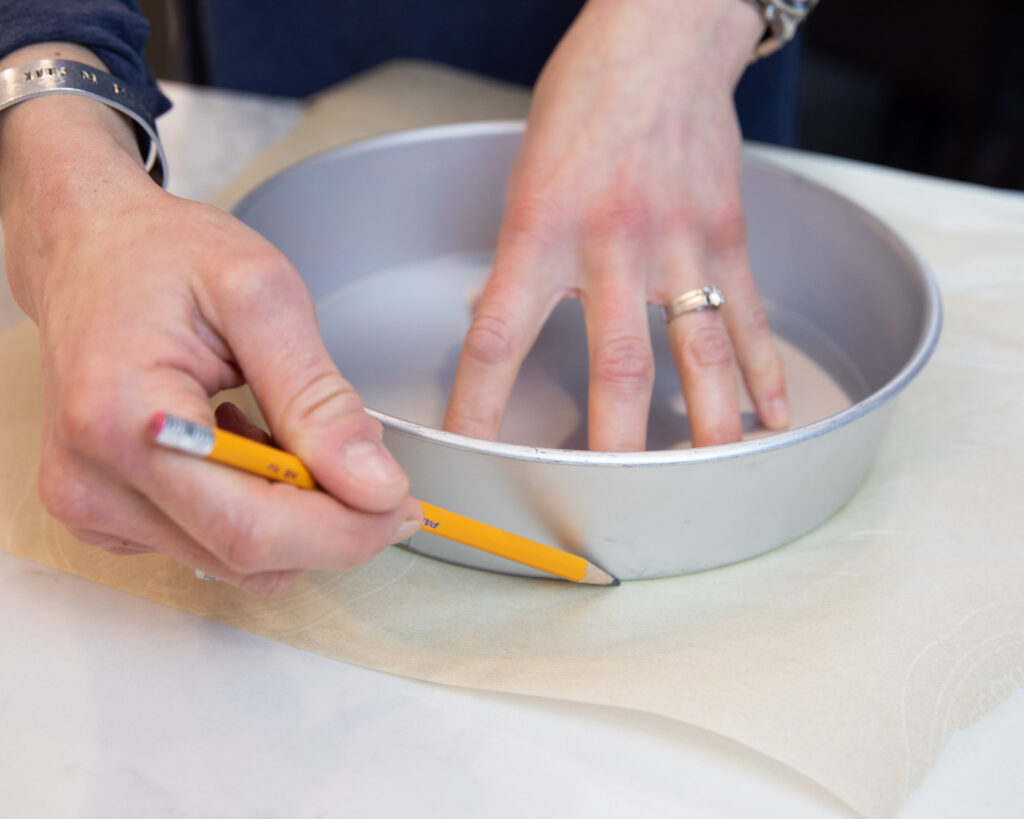
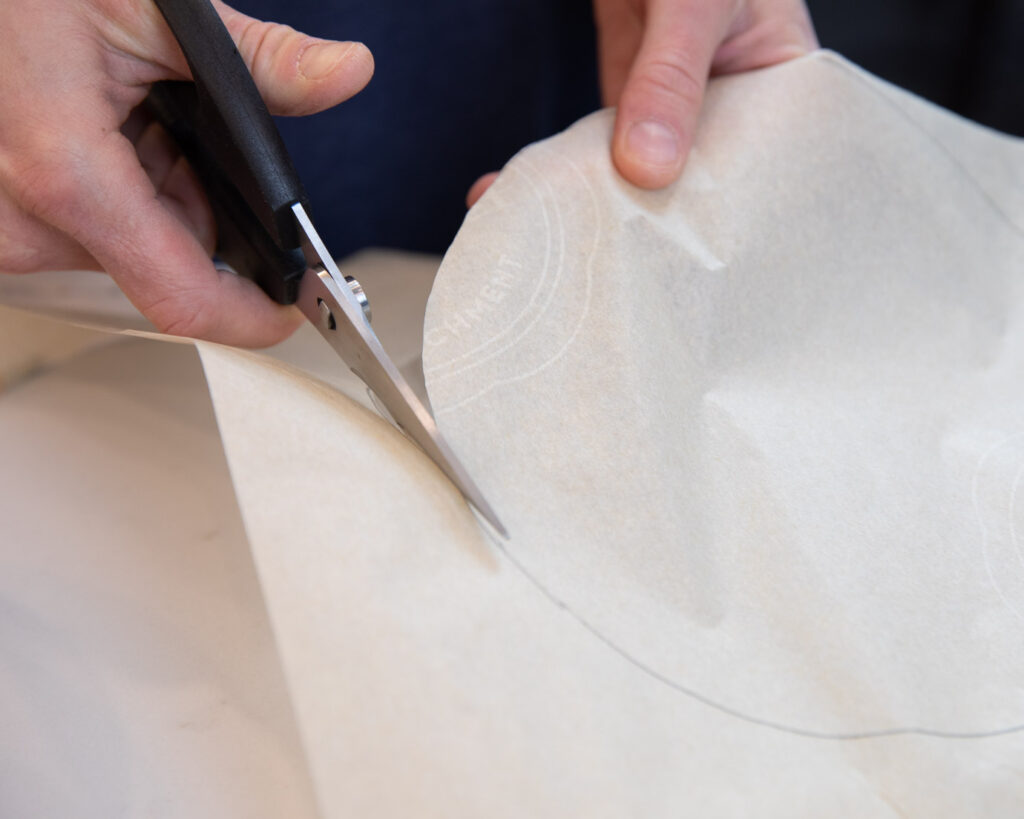
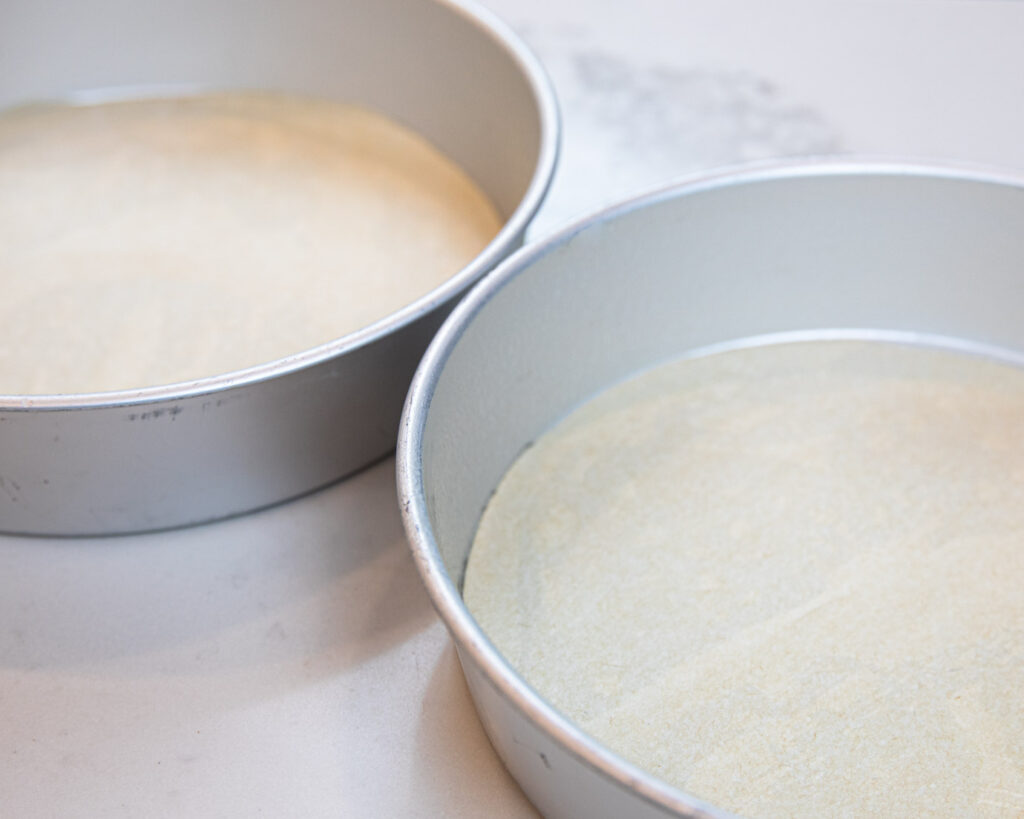
Ok, back to the cake! First prep two 8″ round cake pans. We like to use baking paper on the bottom and lightly spray with coconut oil. This will ensure the cakes come out without breaking or leaving half the cake in your pan. Make it easy, simply trace your pan on the paper and cut it out!
Preheat your oven to 350°F and begin to mix your cake. This recipe uses the addition of yogurt and milk to give it a more fudgey texture. Starting with the butter, whip it well and then add the rest of the ingredients. Don’t worry about sifting or anything. We promised to keep things simple.
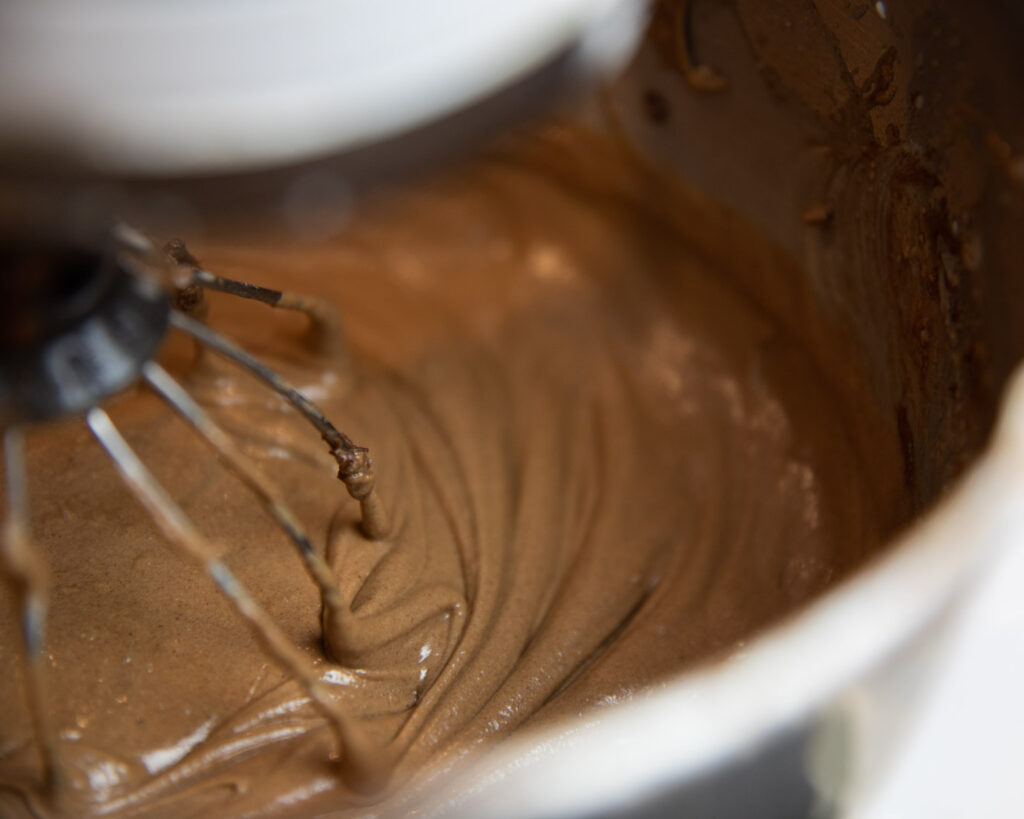
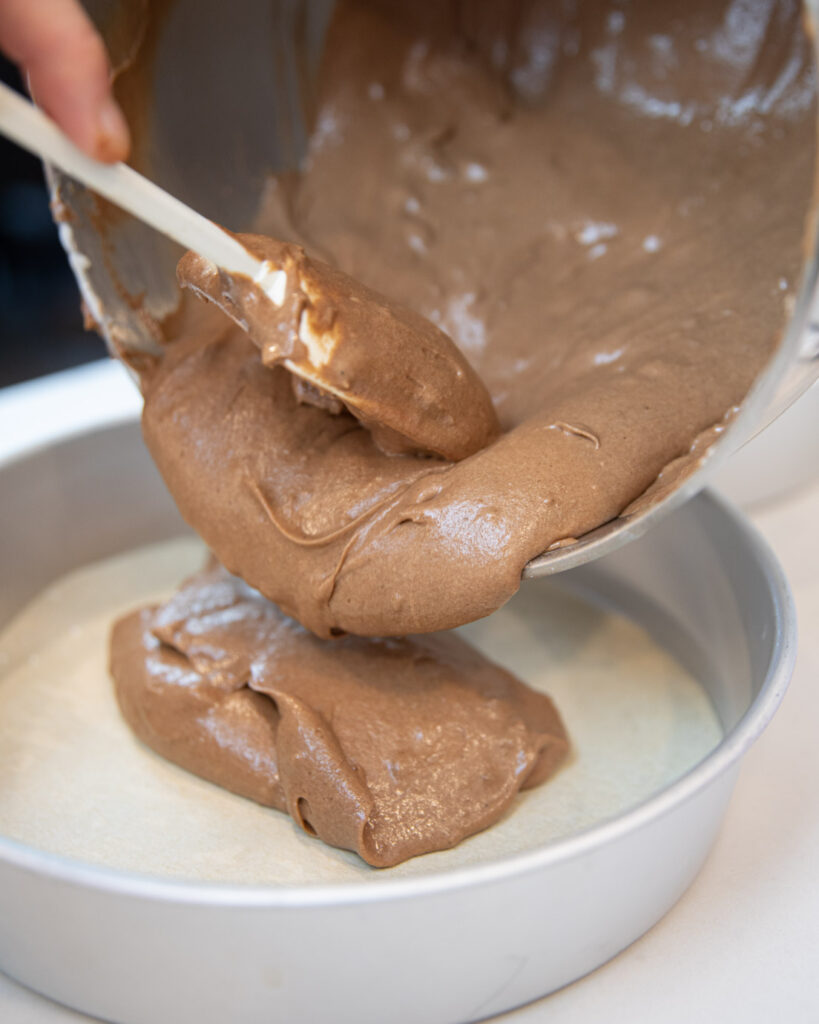
Divide the batter in half and get the cakes baking. You may need to help spread the batter as it is gluten-free and can sometimes seem a bit more “sticky”. This is ok! Just try and divide evenly so your cakes are level and equal. While they’re in the oven, get cooking the middle layer – the cherries.
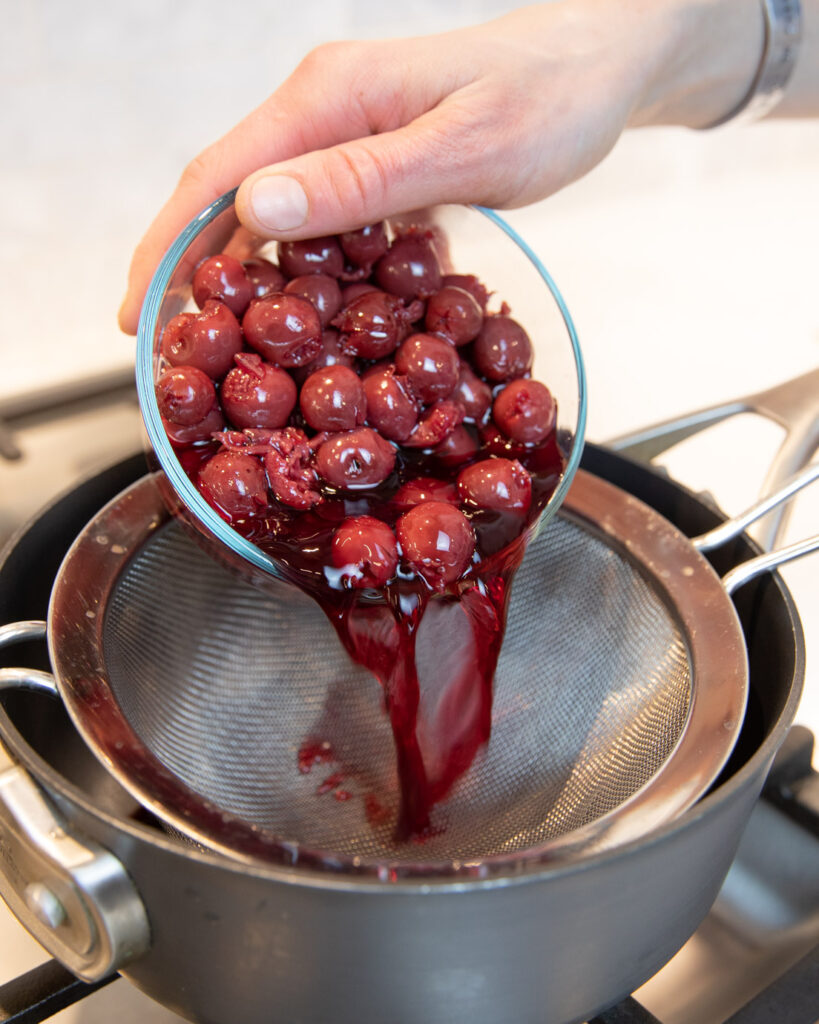
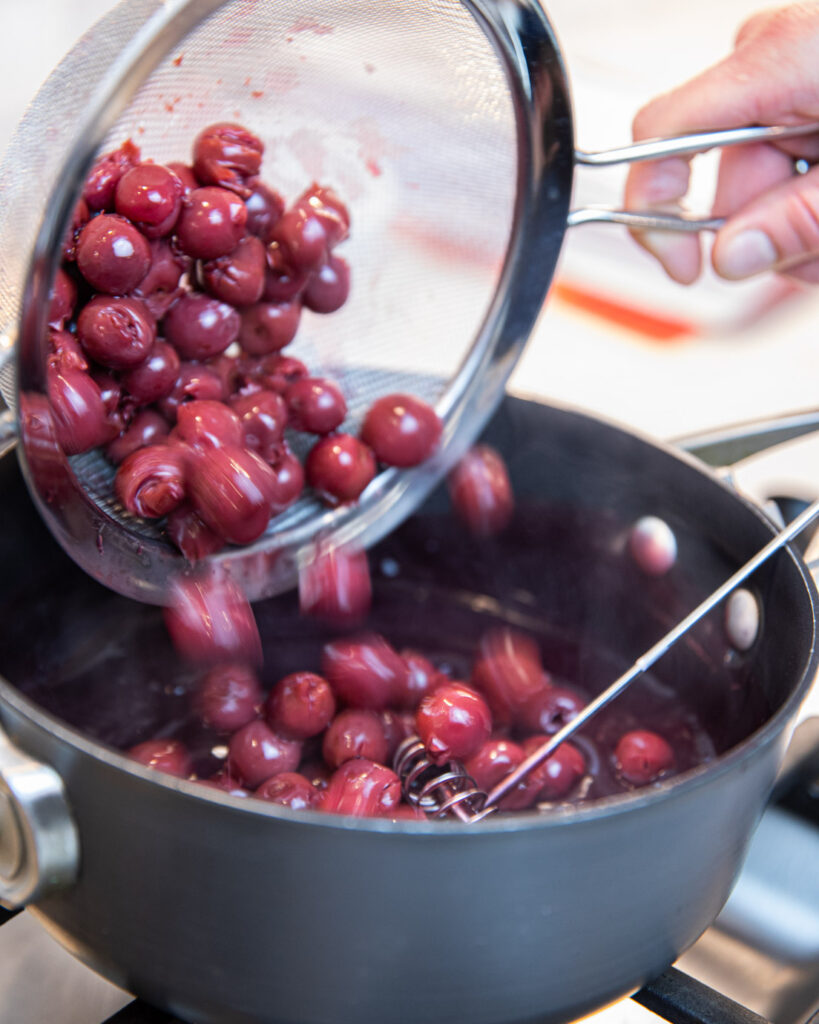
Begin by straining the juice from the cherries into a medium saucepan. You should have approximately 1 1/2 cups of juice.
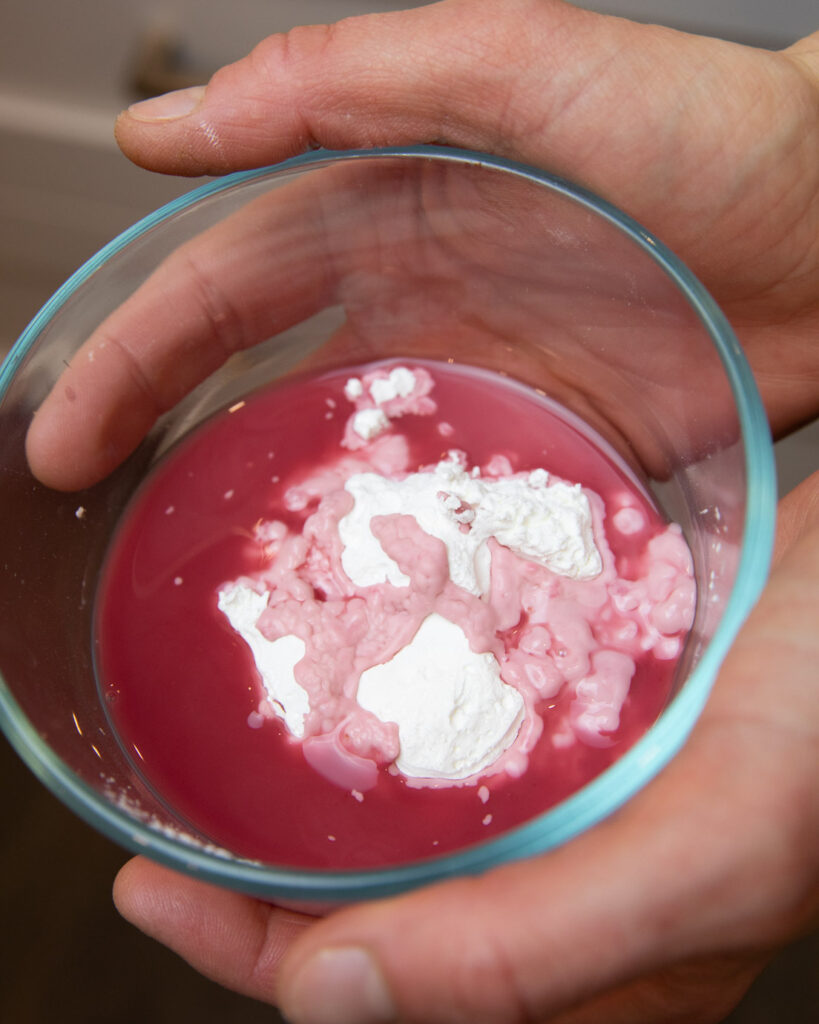
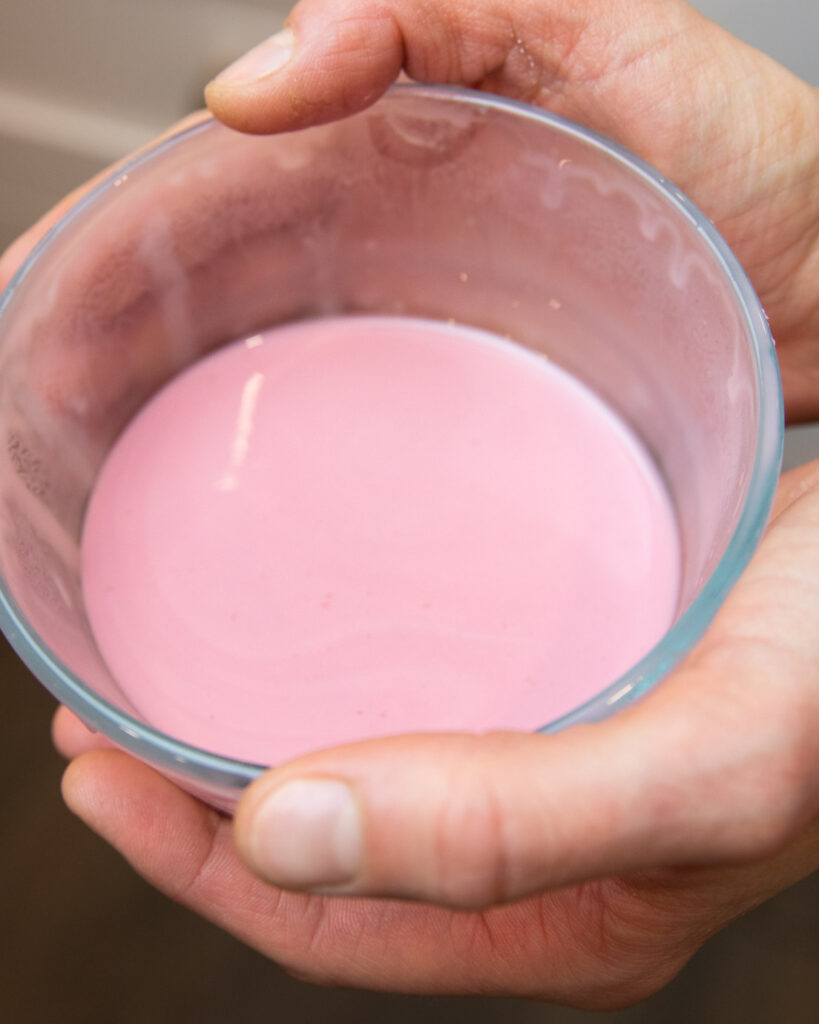
Take 2 tbsp of juice and mix with the water and cornstarch in a small container/jar with a lid. Shake or stir well and you’ll make the thickener for your cherry layer. We like to do this separate to the main ingredients in the pot as the cornstarch incorporates better and won’t clump at all with your cherry juice.
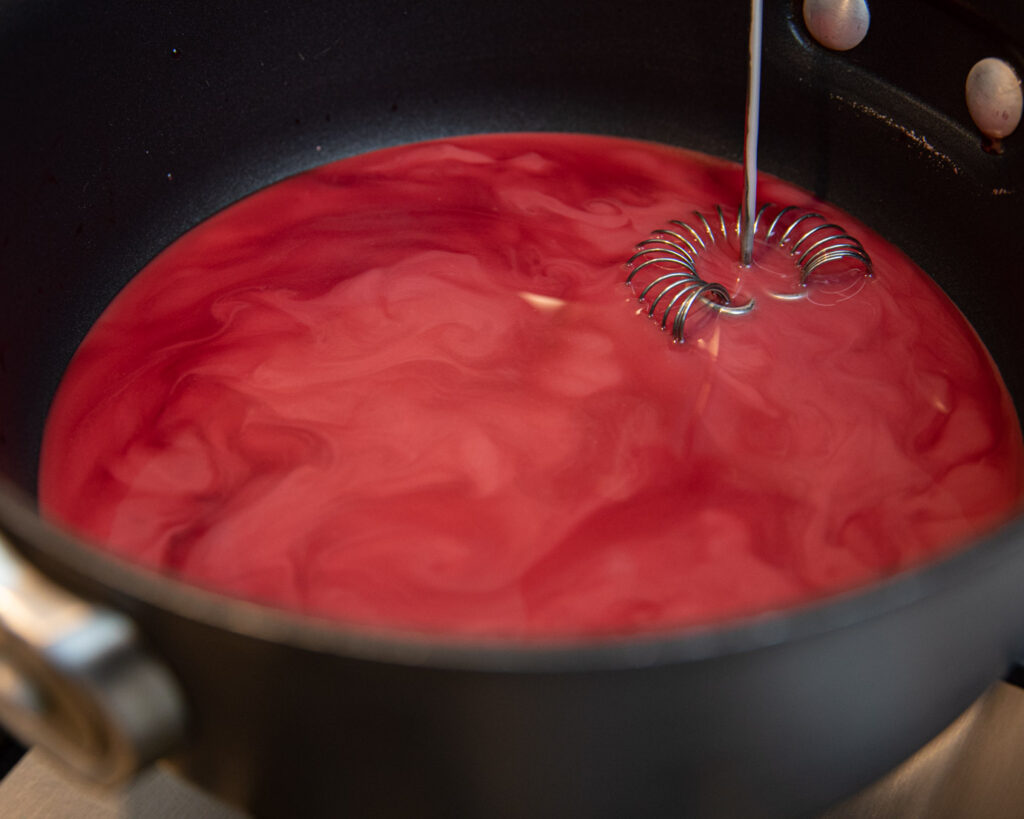
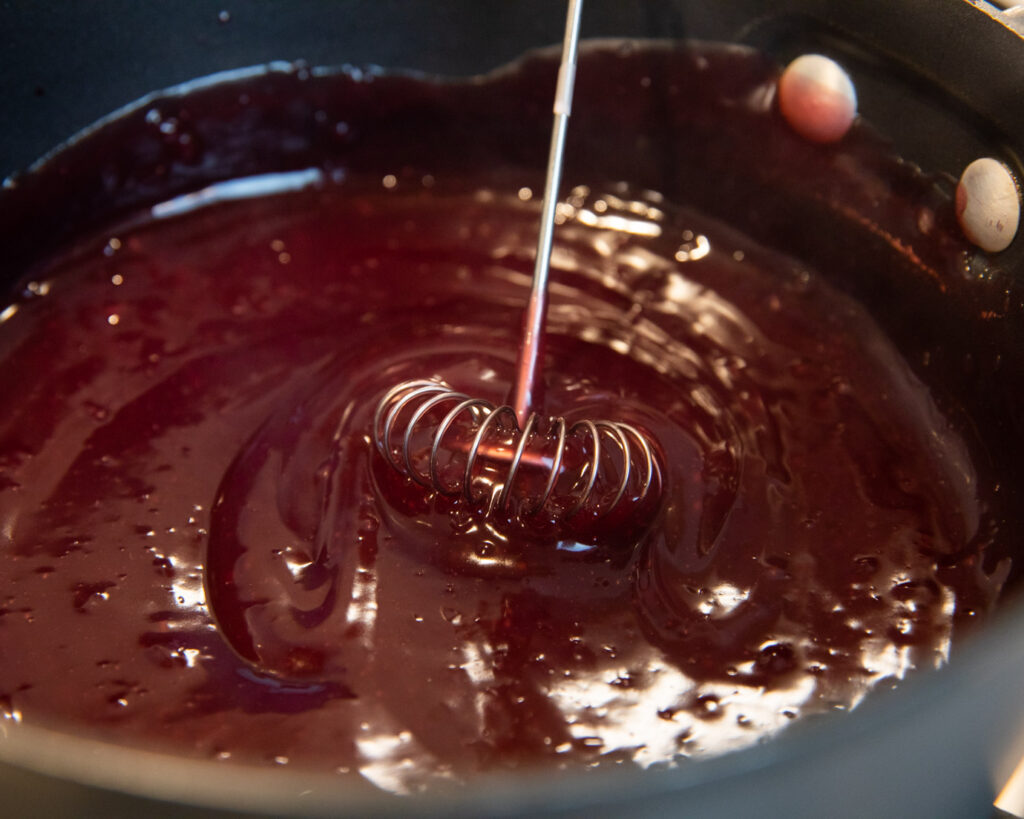
Pour this cornstarch mixture into the saucepan of cherry juice on medium heat and begin to whisk well. It won’t take long and before you know it, the cherry juice will be a thick cherry syrup. Turn the heat to low and add the whole cherries. Carefully stir keeping the cherries whole.
Valentines day is special, let’s continue the trend and add a something little extra special…In goes the Kirsch liquor!
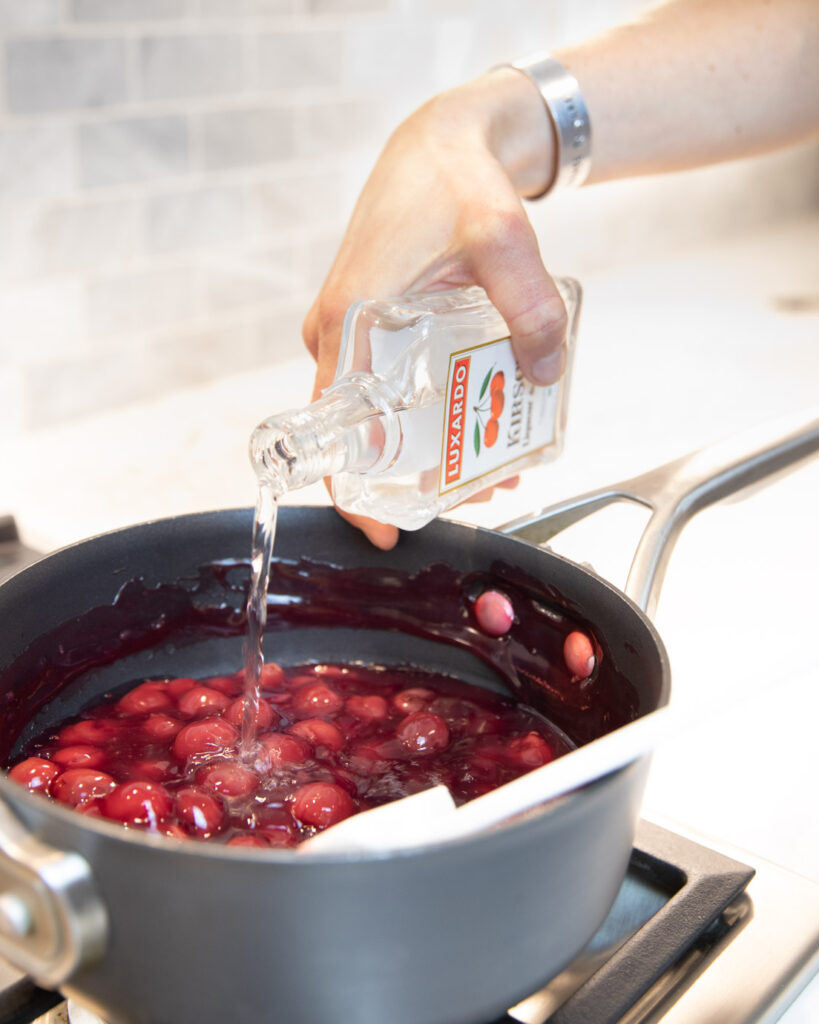
Combine the kirsch and cherries and turn off the heat. You’ll need to cool this cherry compote before creating the middle layer. Transferring the compote to another bowl and placing in the fridge will help this process, or stirring the mixture often will also help release heat. Cherries cooling, the cakes will be coming out soon too. Prep the cooling rack and get ready with the oven mitts!
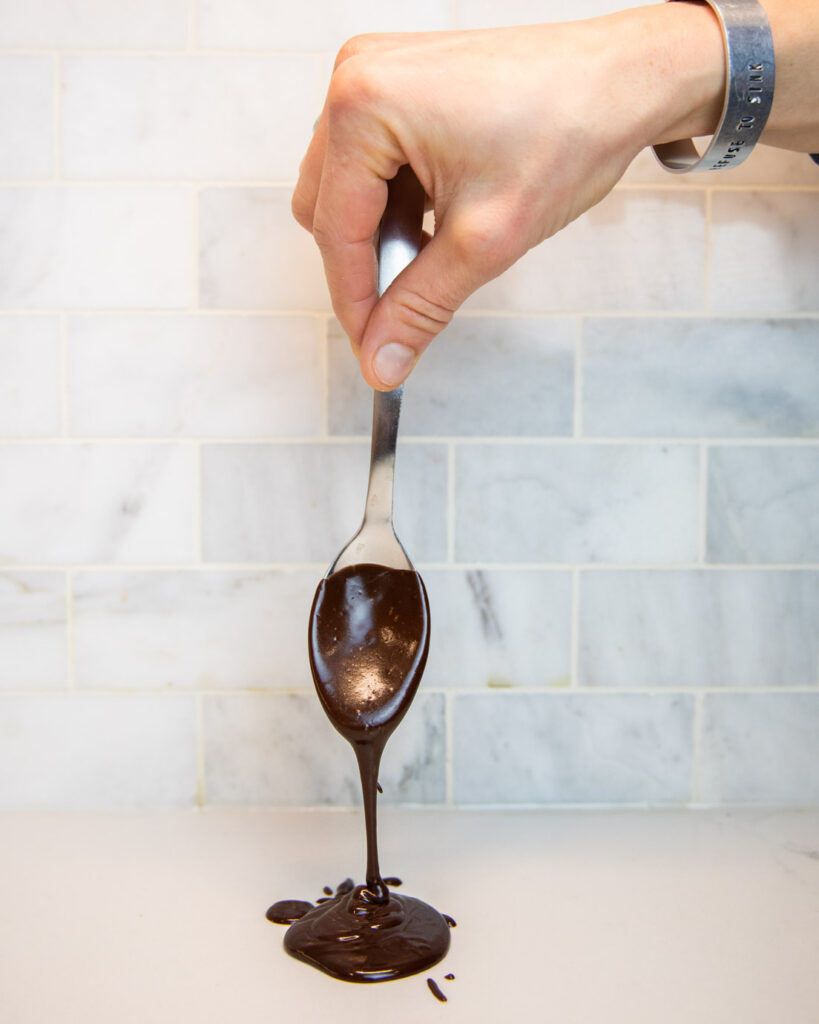
While the cakes are cooling is the perfect time to make your chocolate ganache. The recipe for this can be found on our previous blog. To build this black forest cake, double the recipe so you’ll have plenty of chocolately ganache goodness during construction and not run out. We will be using a whipped form and an ‘icing’ form; be sure to reserve approximately 3/4 cup of the ‘icing’ ganache before whipping and set it aside.
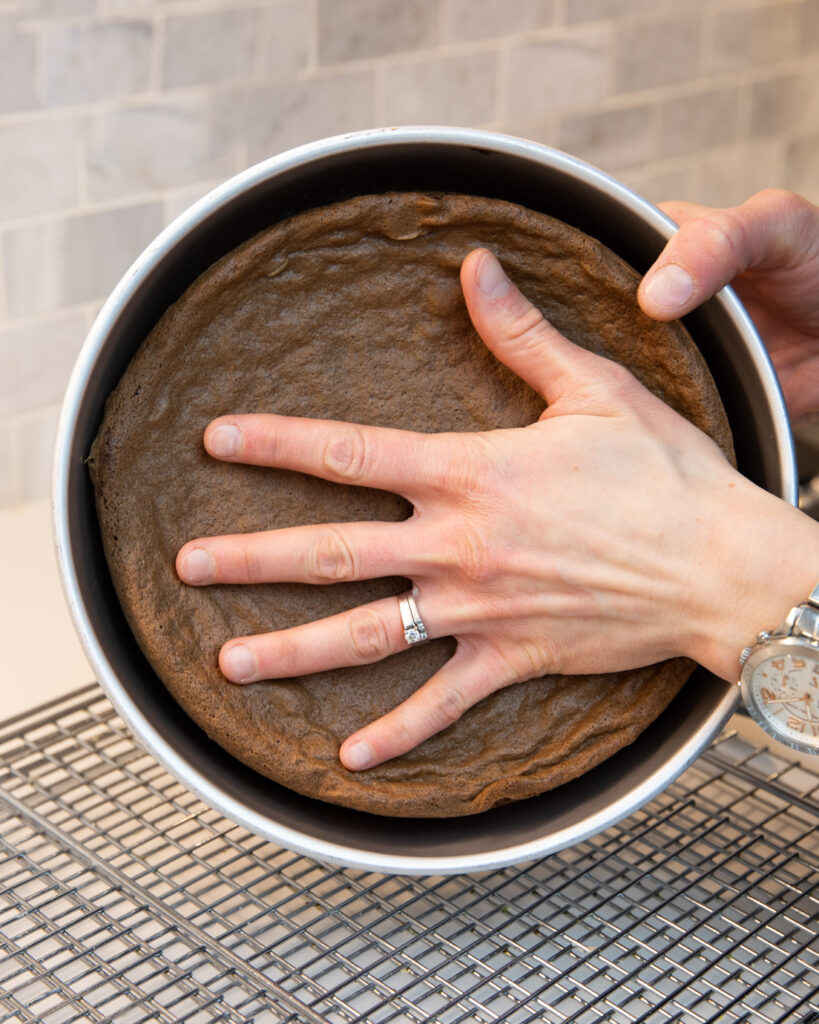
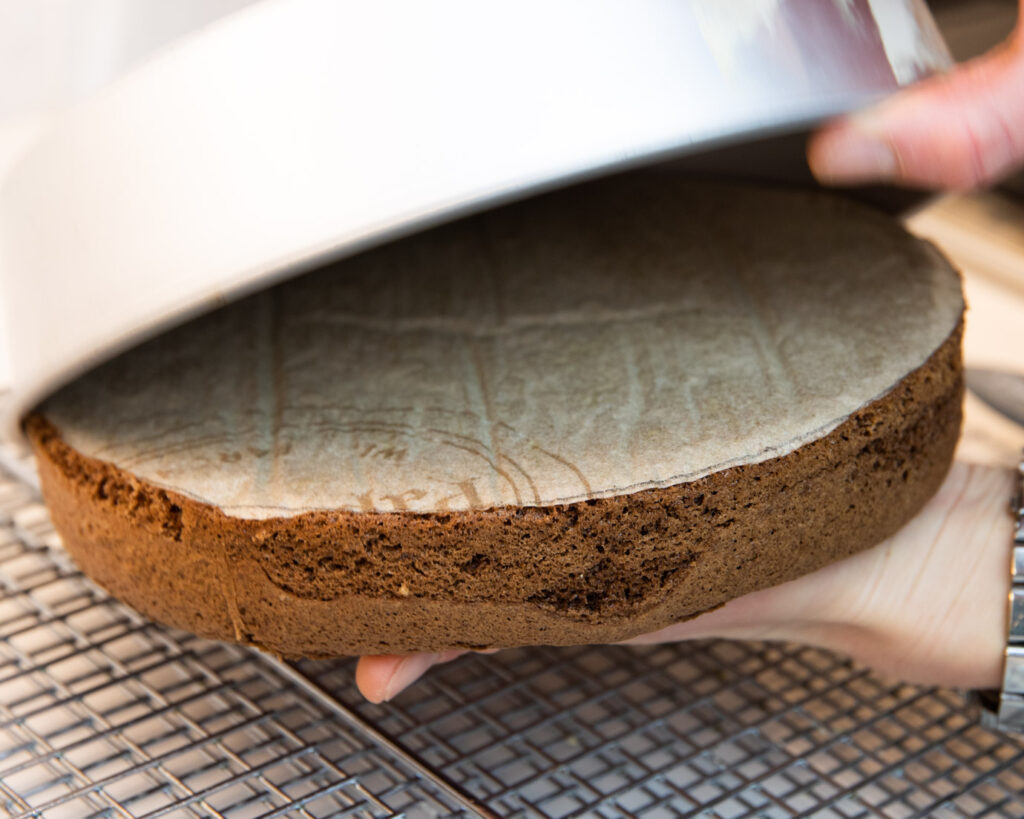
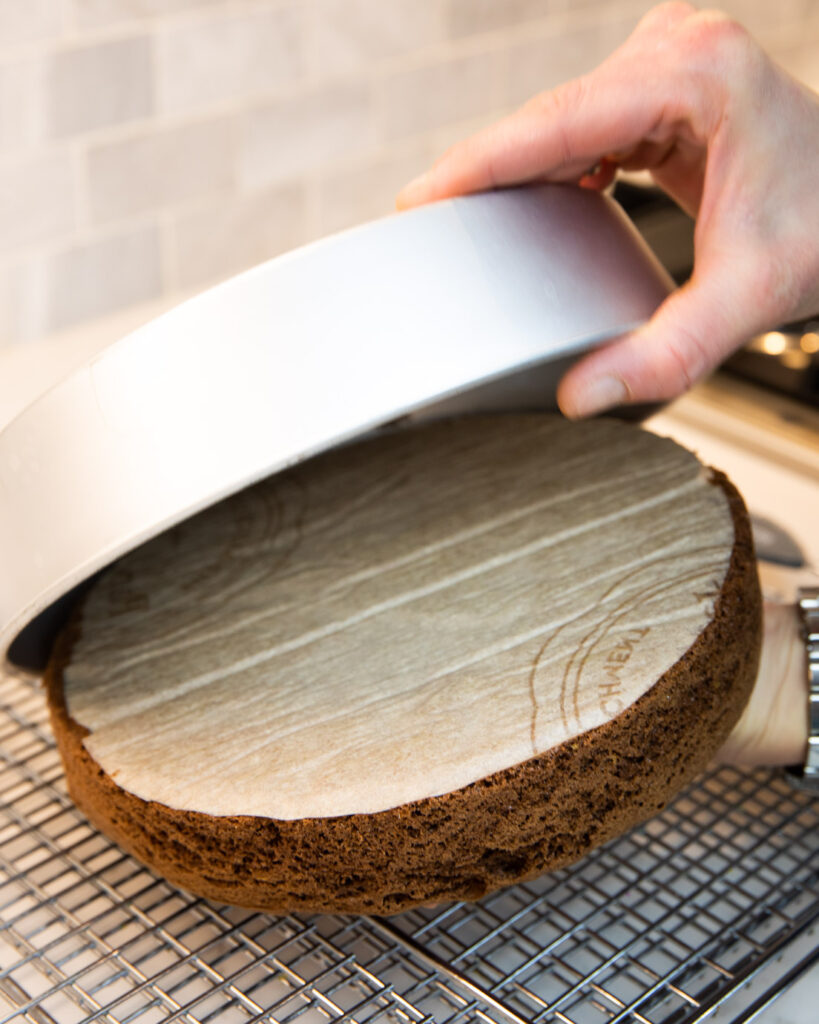
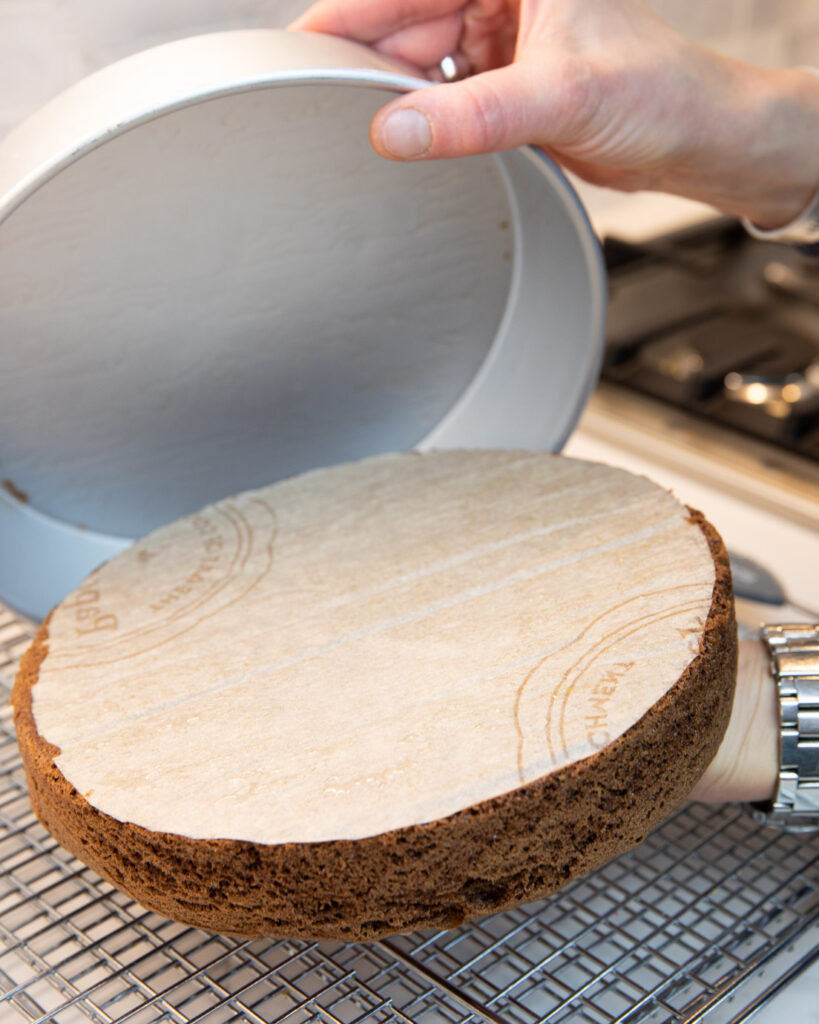
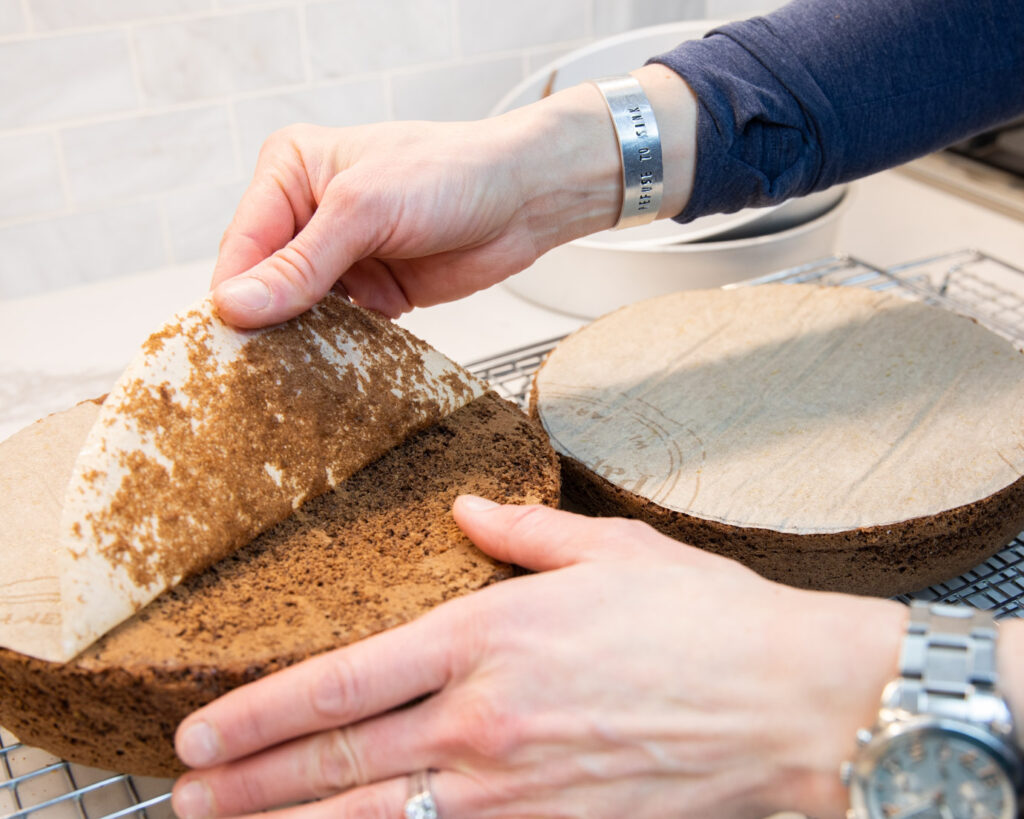
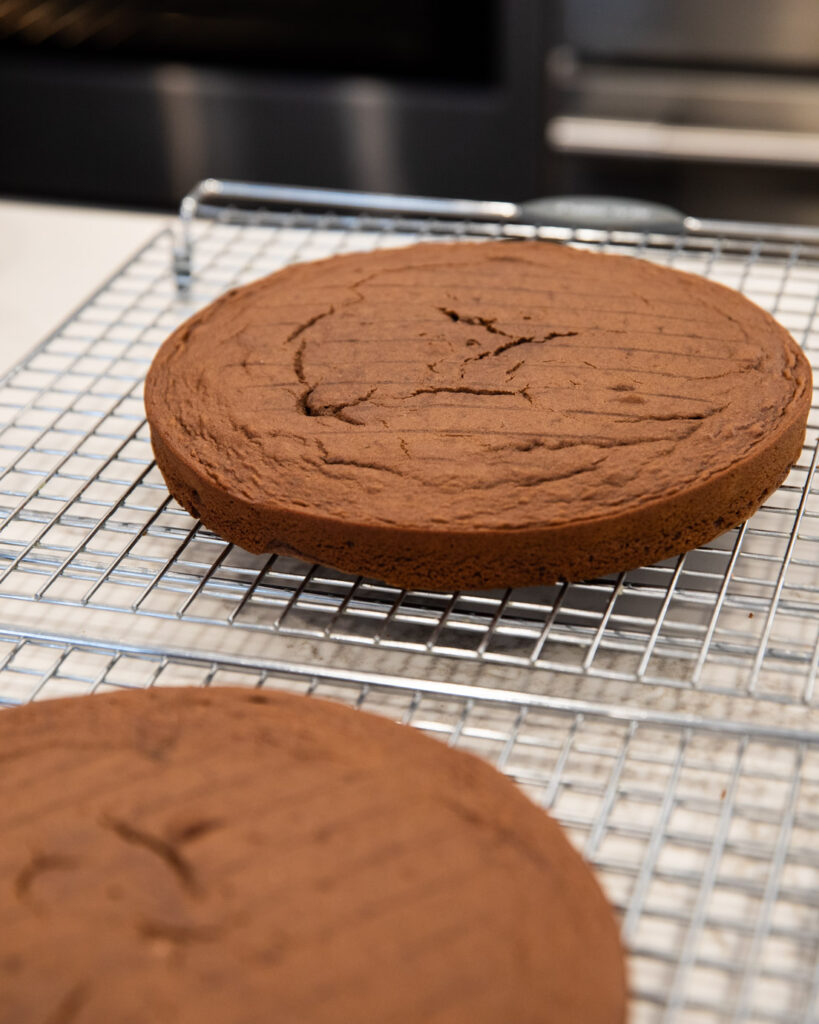
After the cakes have sat in the pans on the cooling rack for approximately 5-10 min to cool, you can flip them over and take them out of the pans to continue to cool. Simply peel the bakers paper off and leave them sit while you get the rest of your cakes components ready.
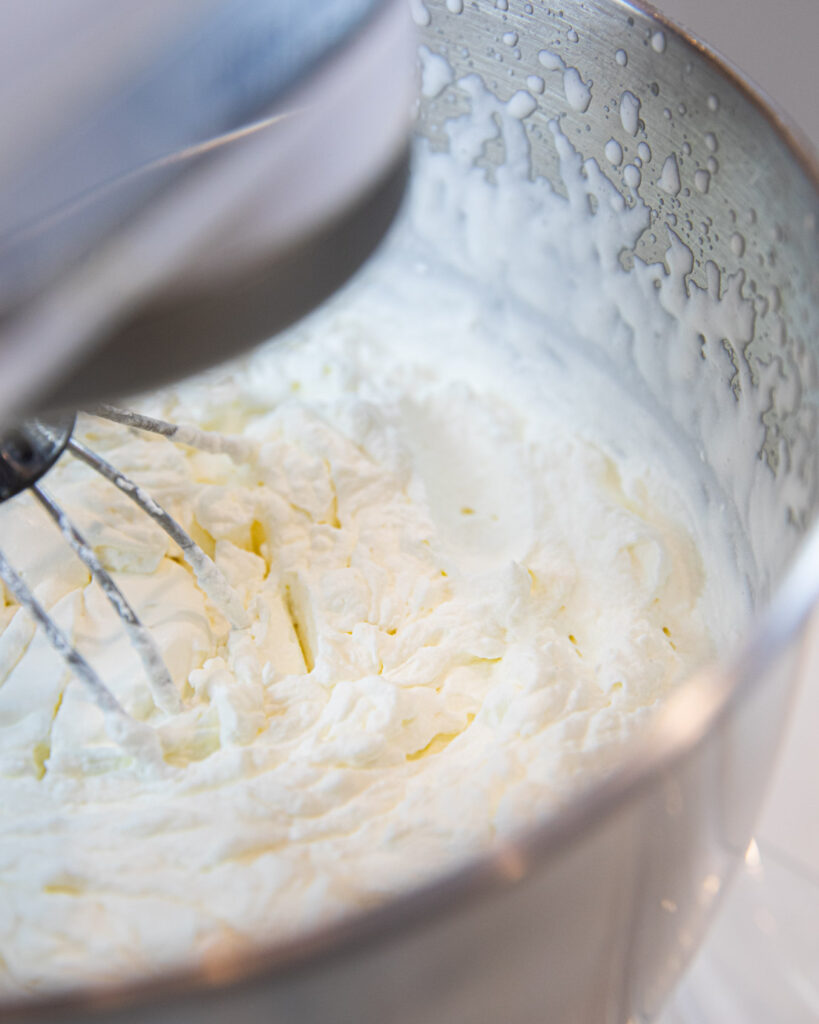
Ganache is made, keep the mixer running while you begin to make your regular whipping cream and chocolate shavings for decorating the outside. To make the chocolate shavings, ensure your chocolate is slightly warm (even just the warmth of your hands might be enough) and using a vegetable peeler, “peel” the chocolate into a bowl.

Before you begin, this is important and will save you time at the end. Using 4-6 pieces of baking paper, line them around the edge of your serving plate. Then place your first cake layer centered in the middle. The pieces don’t have to be fully under the entire cake. Just ensure they’re securely tucked around the edge of your cake. They are simply meant to catch all the drips and bits that will fall when you’re making your cake. This process will help create a gorgeous end result without having your serving plate full of crumbs and bits and pieces of your whipped toppings and chocolate falling as you build.
Alright, It’s construction time!
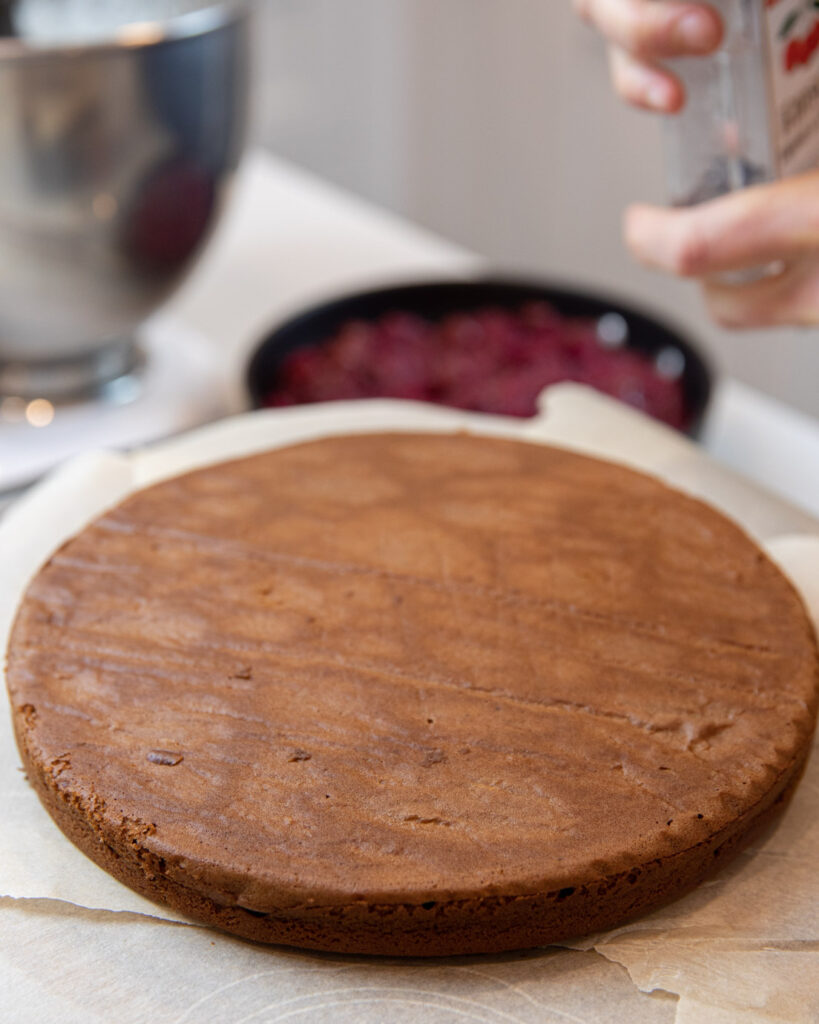
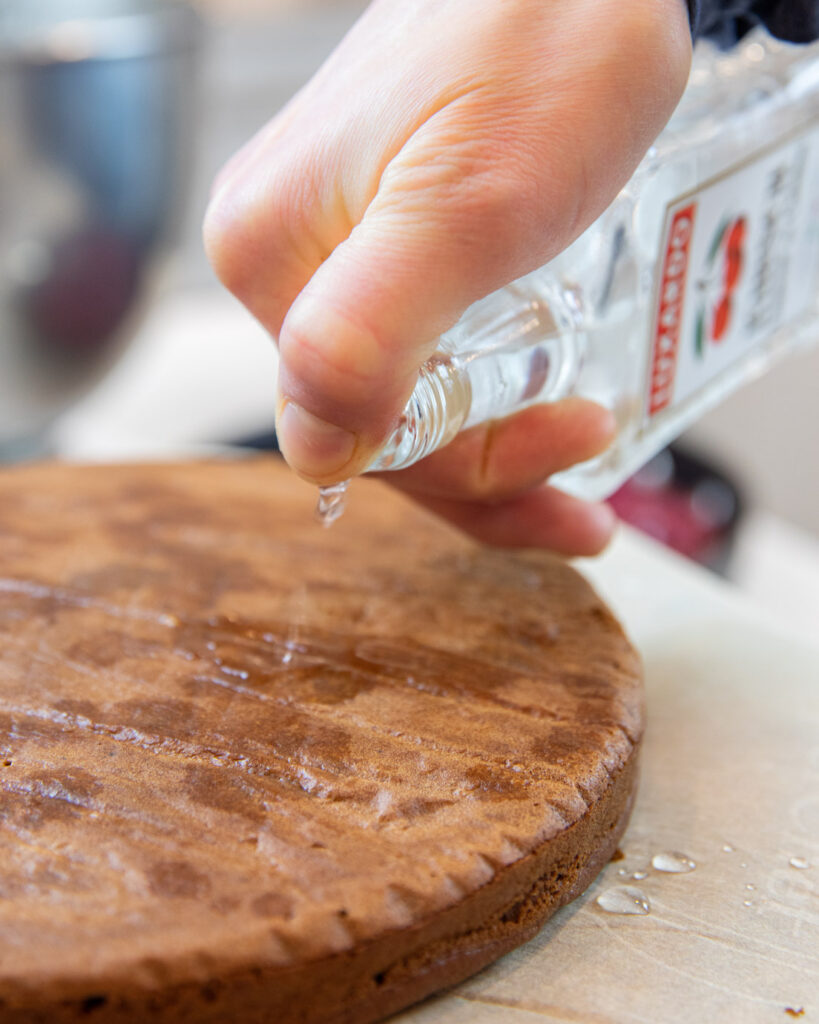
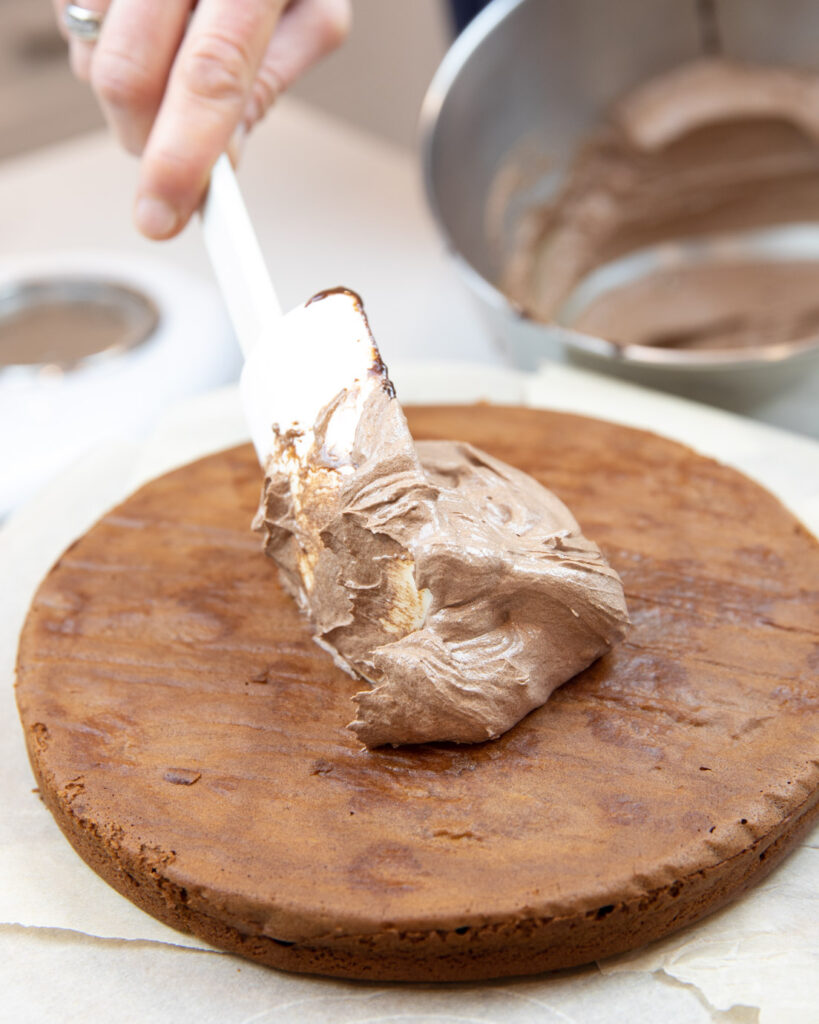
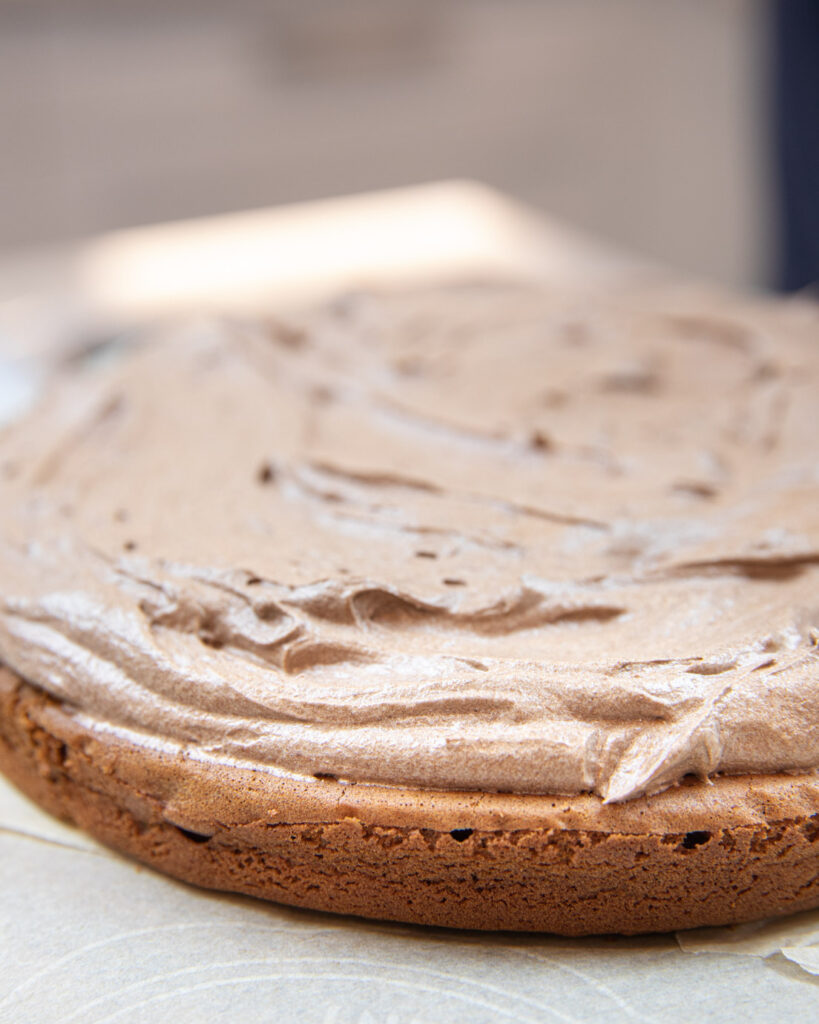
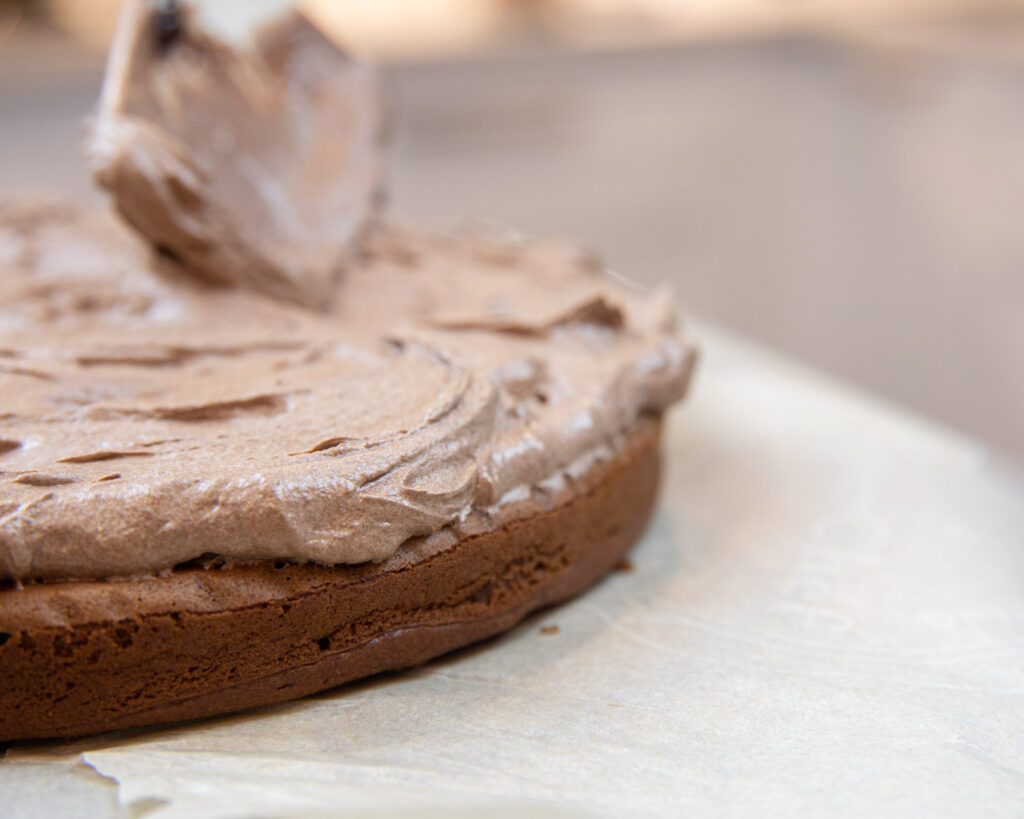
Begin by sprinkling kirsch on top of the cake. It absorbs quickly and won’t make the cake mushy. Promise. But just a sprinkle here and there! Then spread a layer of the whipped chocolate ganache.
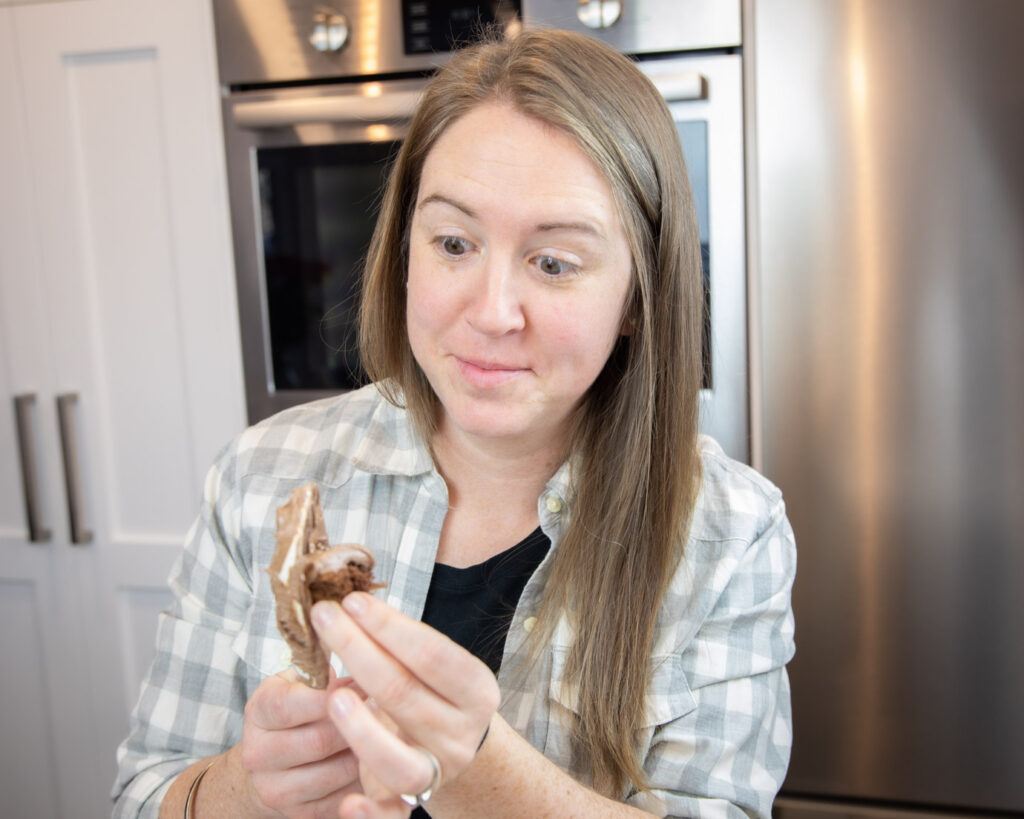
Ha! Meg would have to agree, that’s some delicious stuff! Don’t waste any ganache goodness. Next – cherries!
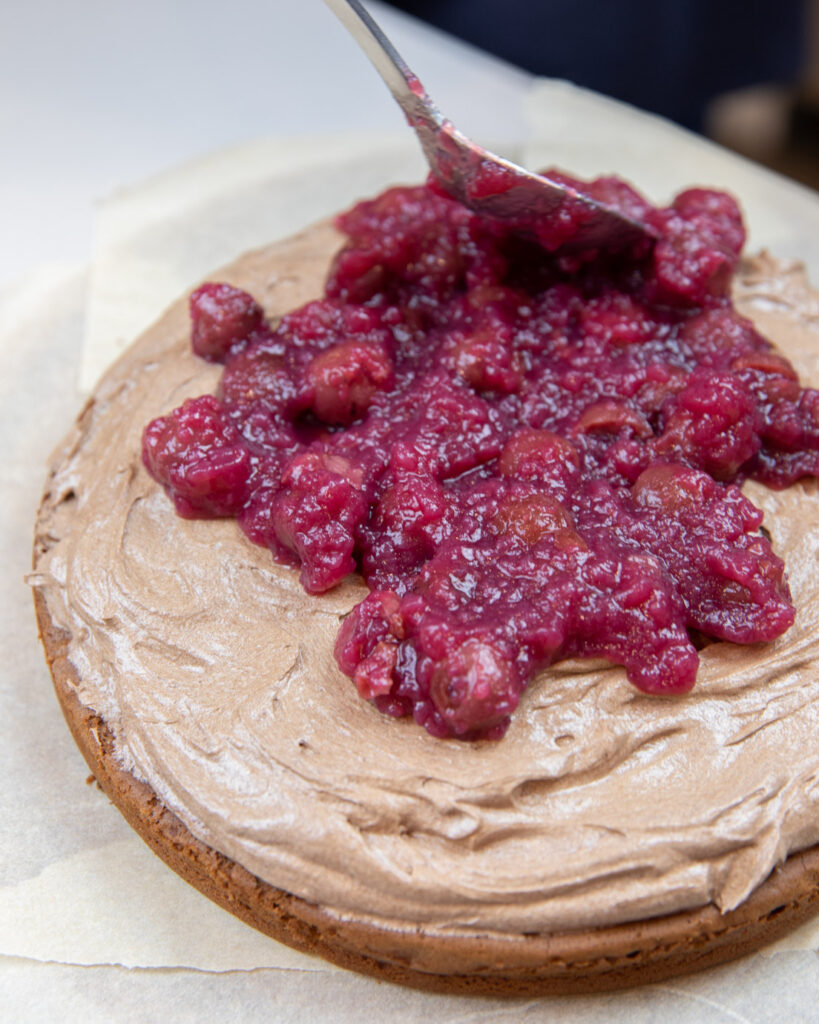
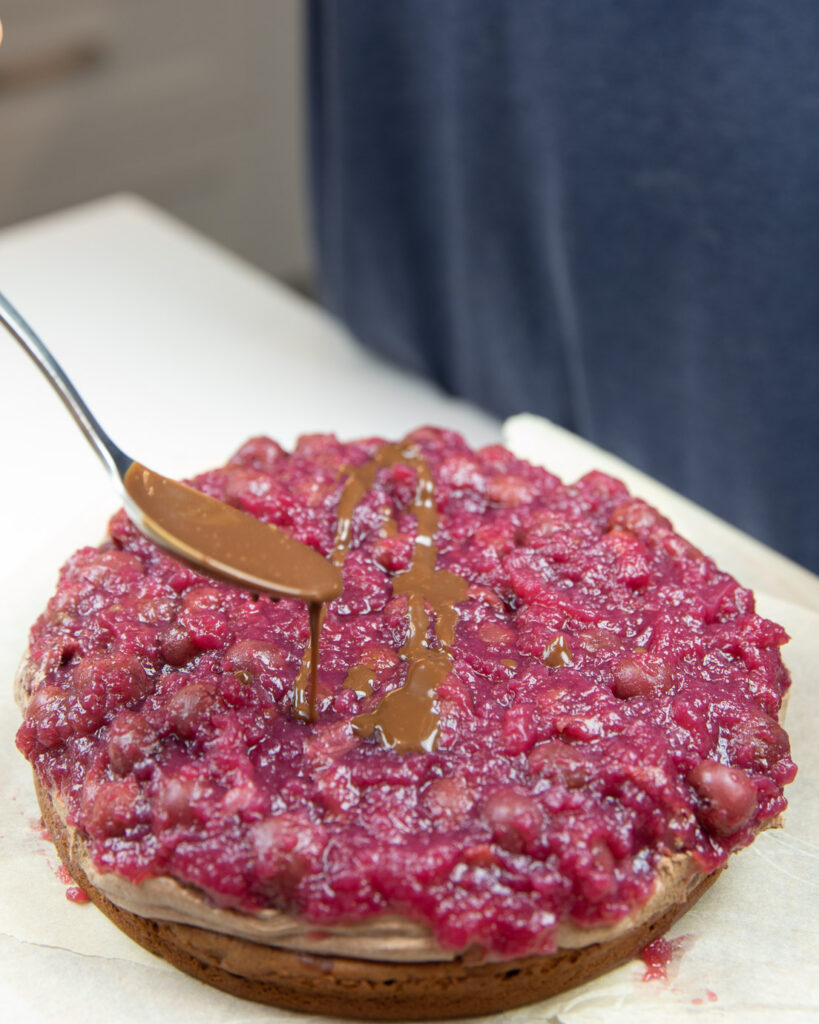
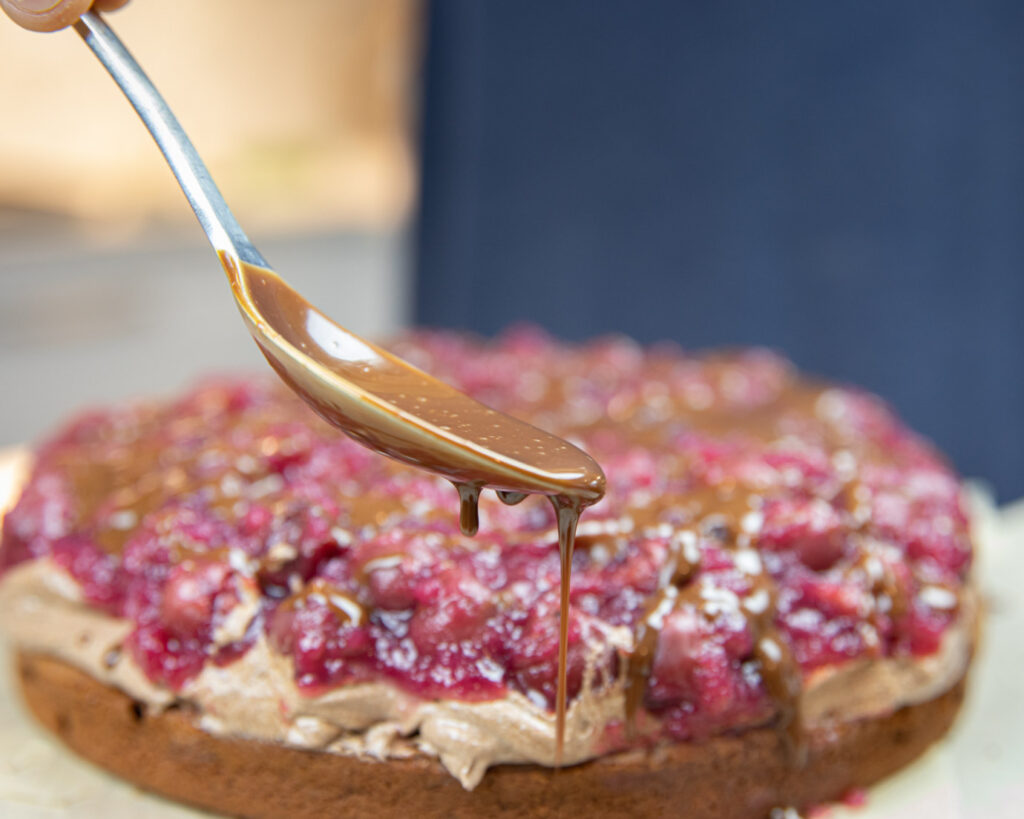
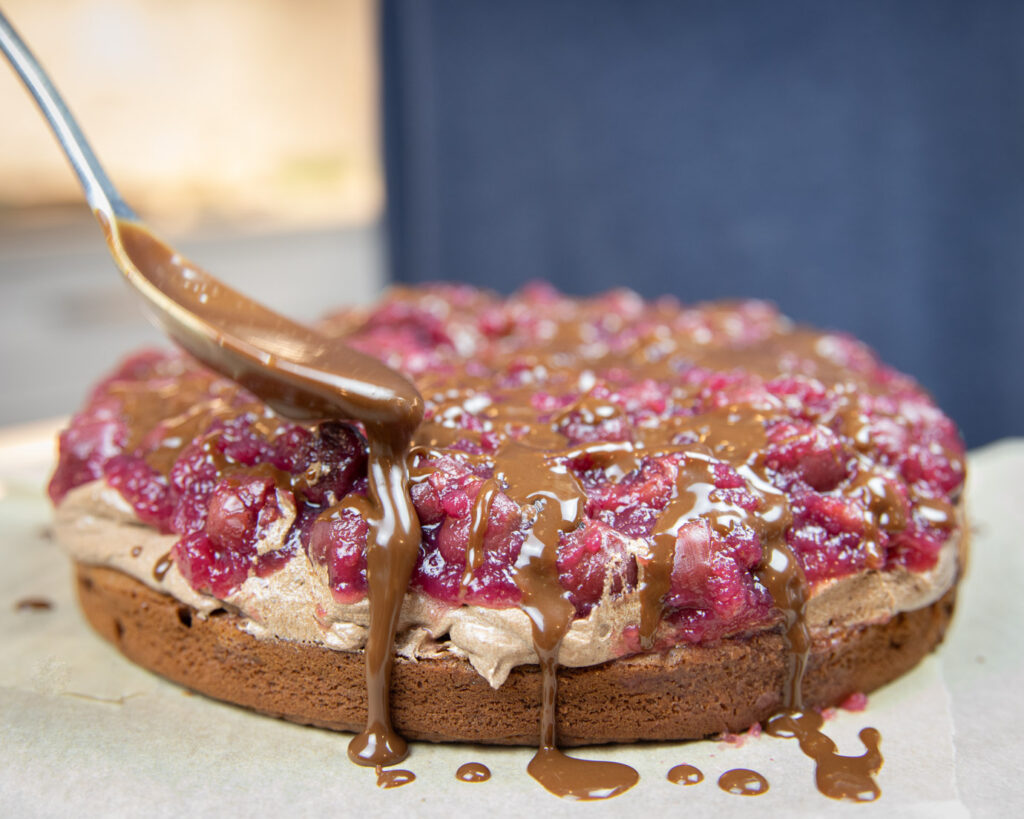
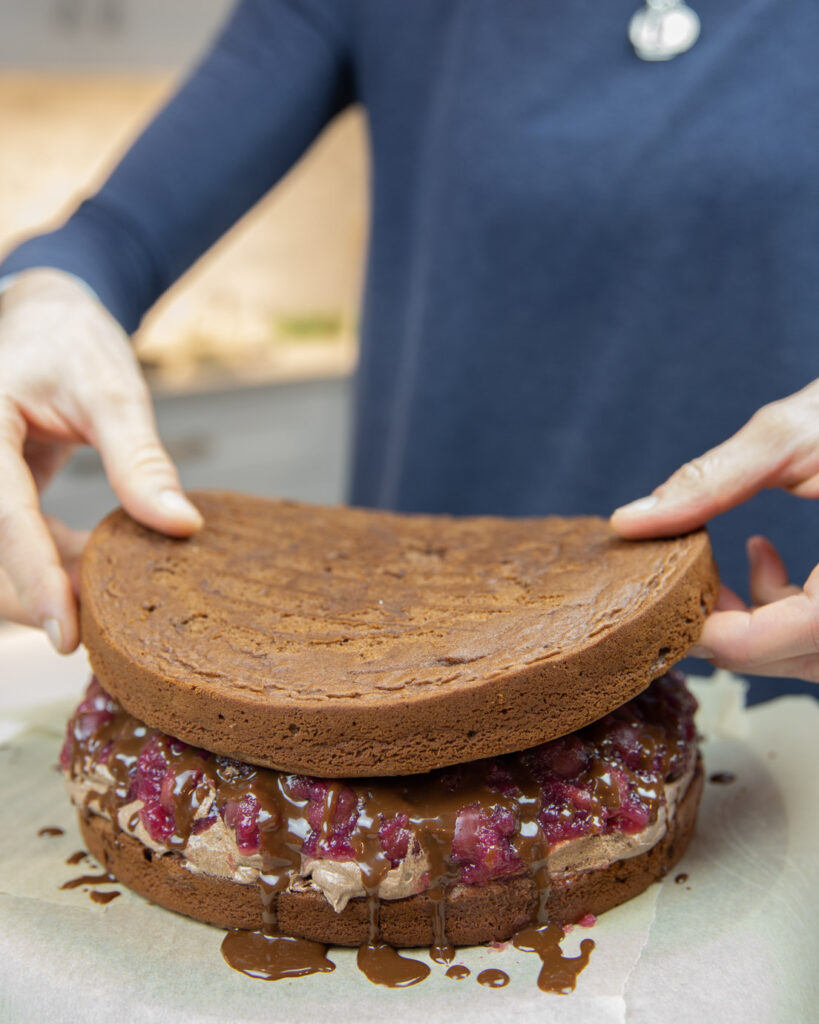
Once you’ve spread a layer of the cherry compote over the whipped ganache, you’ll drizzle the ‘icing’ ganache over top. This doesn’t have to be a solid layer but rather just a bit.
Alright, it’s time to stack and get the outside finished. Place gently the second brownie cake on top of the cherries layer. Don’t push down, but rather let the weight of the cake just sit on the cherries. This will naturally create a gorgeous second/middle layer.
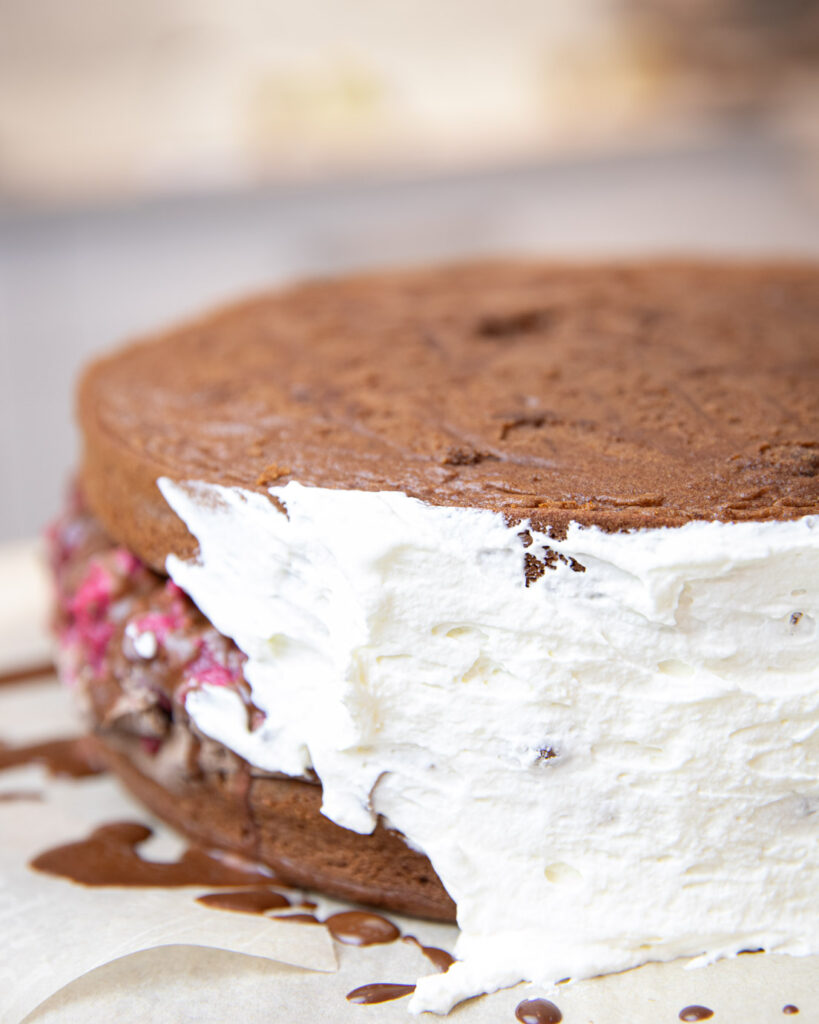
**Baker’s secret – At this stage, before icing the outside of then cake, place the cake in the freezer. This will ensure that when you are icing the outside, no crumbs will incorporate in your icing or show through. This also helps to spread the icing, making it easier and more even. Even for a half hour to an hour will help!
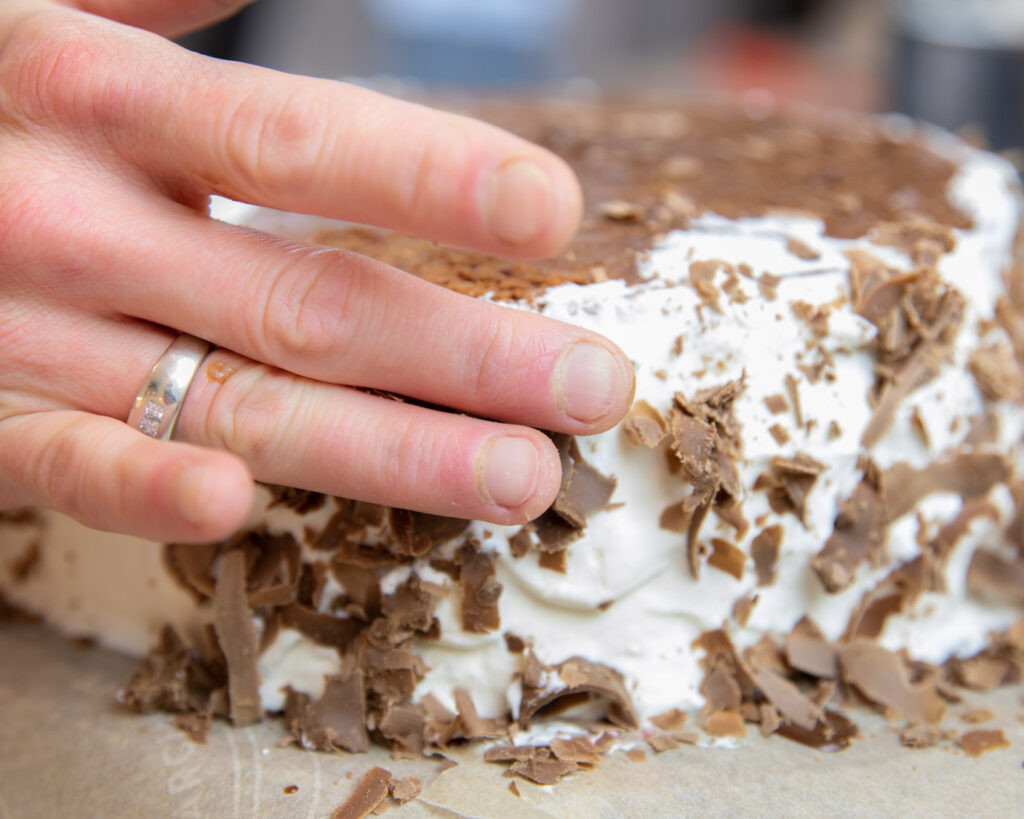
When you’re done spreading the whipping cream all around the side, place or gently toss the grated chocolate along the edge. You may need to gently press it into the whipping cream but it should also ‘stick’ quite well.
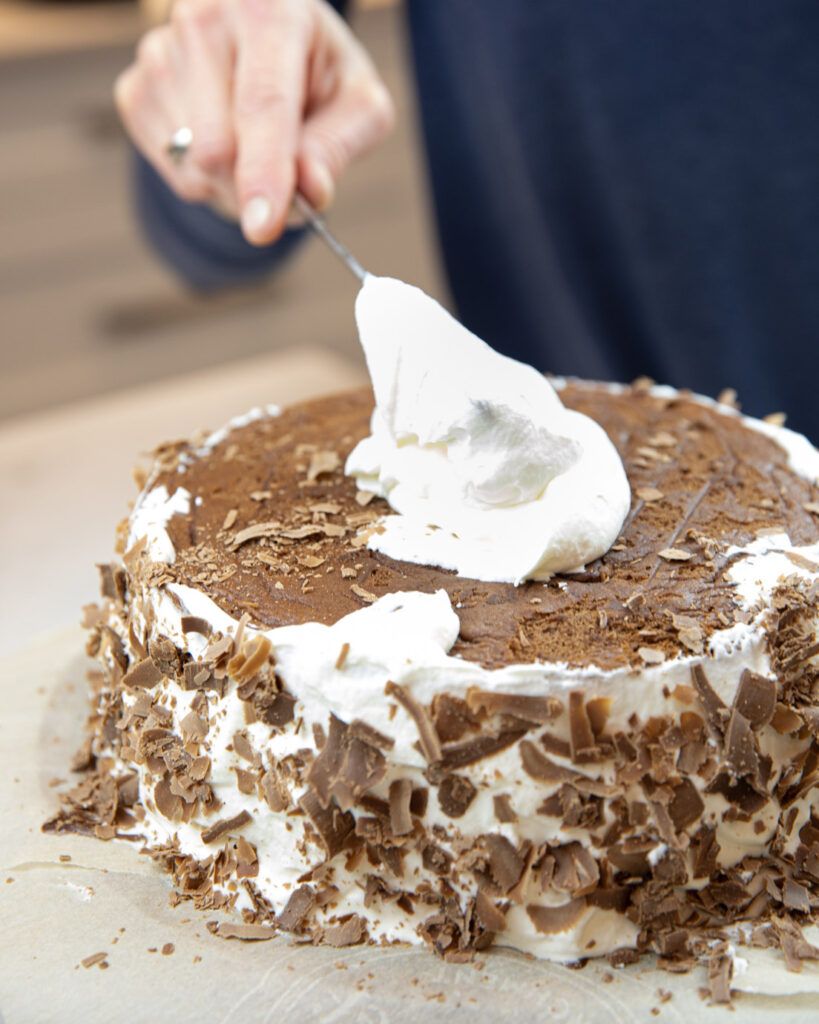
Ok, we’re moving onto the top! Spread more whipping cream to ensure all edges are covered. We then spread a thin chocolate ‘icing’ ganache layer in the middle, and also used the whipped ganache and fresh cherries to finish decorating. You can follow our design or change it up! Have some fun.

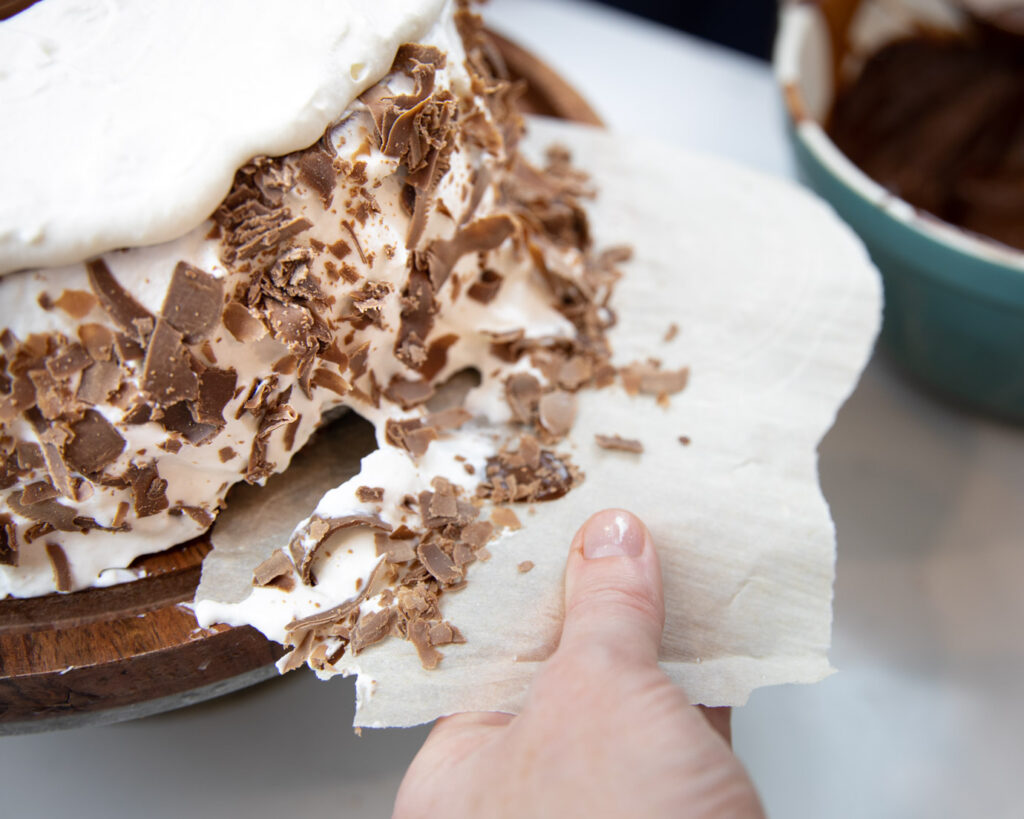
Last but not least; gently pull those papers we placed earlier on your serving plate or cake stand. Remember the ones to protect your serving plate from being full of crumbs, drops of cream, generally that your end result doesn’t look like it was put through a wind storm?! LOL.
Amazing isn’t it! You truly are a cake boss. Well done.

Layered Black Forest Brownie
Course: DessertCuisine: CanadianDifficulty: Moderate1
cake3
hoursThis black forest cake is anything but traditional. Encompassing 3 layers, it’s bursting with texture from the brownie-like cake, sour cherries, whipped cream and sweet chocolate, fudgey ganache topping.
Ingredients
- Chocolate brownie cake
1/2 cup softened butter
3/4 cup sugar
3 eggs
1 cup plain yogurt
3/4 cup milk
1 tsp vanilla
1/2 cup cocoa powder
1/2 tsp baking soda
2 tsp baking powder
1/2 tsp salt
1 1/2 cup CUT Flour
1 cup mini chocolate chips
- Cherry Compote
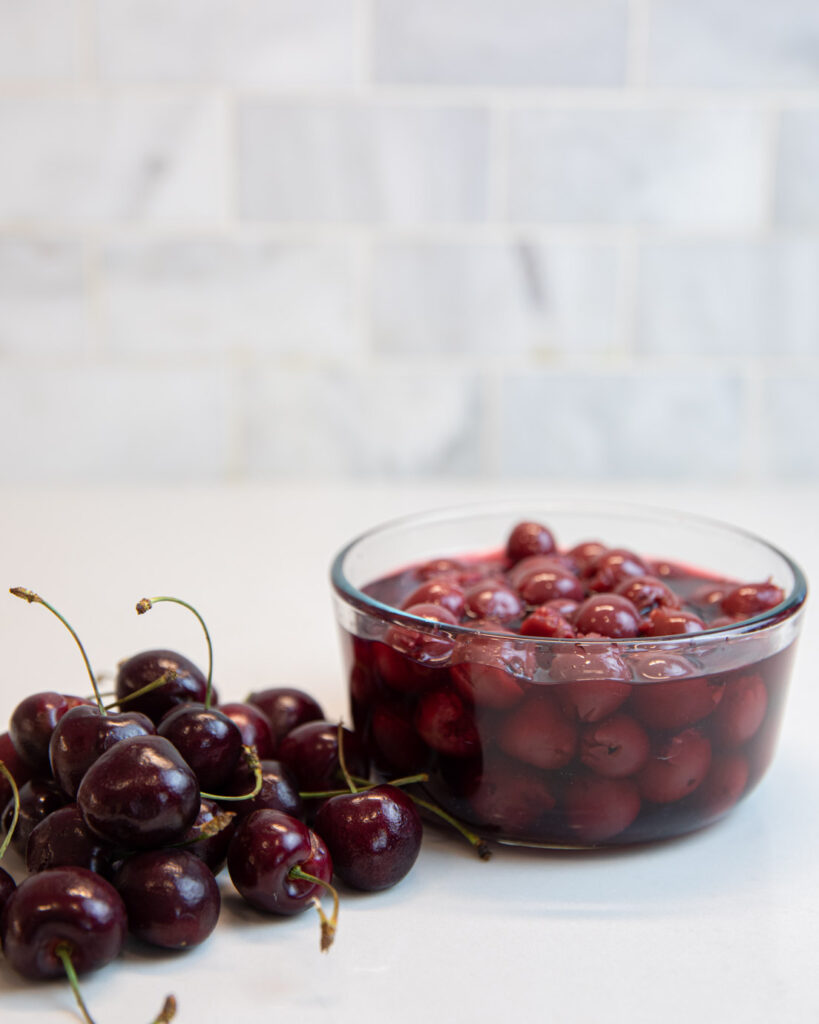
1 jar sour cherries (540 ml, 19 Fl oz, 350g) This jar should contain approximately 2 cups cherries and 1 1/2 cup juice.
3 tbsp corn starch
2 tbsp cold water
- Chocolate ganache
See recipe on previous blog post https://cutcooking.com/chocolate-ganache/
double recipe, reserve 3/4 cup of the chocolate sauce form and whip the rest
- Whipping cream
1 L whipping cream
2 tbsp icing sugar
1 tsp vanilla
- Optional
fresh Cherries
shaved milk or dark chocolate
Kirsch Liqour
baking paper
Directions
- Preheat oven to 350°F
- Prep 8″ diameter round cake pans using coconut spray and baking paper.
- Make Cake layer first – whip butter until softened, add sugar and beat well.
- Add eggs and continue to beat.
- Mix well yogurt, milk and vanilla.
- Gradually add CUT Flour, cocoa powder, baking powder, and baking soda. Mix on low until fully incorporated.
- Add chocolate chips and mix slightly again.
- Divide batter into 2 parts and pour into cake pans.
- Bake for 28-30 min.
- Strain the juice from the cherries into a medium saucepan. Take 2 tbsp of juice and mix with the water and cornstarch in a small container/jar with a lid. Shake or stir well .
- Pour cornstarch and cherry juice mixture into the saucepan on medium heat. Whisk well. It won’t take long and before you know it, the cherry juice will be a thick cherry syrup.
- Turn heat to low and add the whole cherries. Carefully stir to keep the cherries whole.
- Add approximately 2 oz. Kirsch liquor and continue stirring. Once combined, turn off the heat.
- Cool cherry compote before creating the middle layer. Transferring the compote to another bowl and placing in the fridge will help this process.
- Make a double recipe of chocolate ganache. Reserve 3/4 cup ‘icing syrup’ form and then make whipped topping with the rest. See previous blog recipe. https://cutcooking.com/chocolate-ganache/
- Make whipping cream by mixing cream and add sugar and vanilla. Beat until thick.
- Grate chocolate using a vegetable peeler.
- Once cakes and cherries are cooled, chocolate grated, ganache and whipping cream made; you’re ready to build the cake. Set baking paper squares on serving plate to cover edges. Place first cake layer centered in the middle.
- Sprinkle Kirsch over cake.
- Spread whipped chocolate ganache topping approximately 1″ thick.
- Spread cooled cherry compote using spatula over whipped ganache topping.
- Using a spoon, drizzle ‘icing’ ganache chocolate over cherry compote.
- Gently lay 2nd cake on top of cherry layer.
- Spread whipping cream around outside of cake. Carefully spread evenly and gently as to not incorporate crumbs. (**See baker’s tip in blog)
- Gently press or ‘toss’ grated chocolate pieces onto sides of cake. Allowing them to ‘stick’ into the whipping cream.
- Add whipping cream to the top of cake and spread evenly.
- Continue to decorate the top of cake using the icing or whipped ganache and fresh cherries. Be adventurous or follow our design.
- Gently remove papers protecting your serving plate and you’re done!
- Cake boss for sure, Stacey and Meg
We’re not going to lie, there’s a few steps. But you absolutely did it. Well done!